Unity Shaders and Effects Cookbook (2-6) 在 C# 代码中创建 Texture2D 并赋值给 Shader
有一些需求 ,比如截屏 然后把你的游戏人物头像 印在截屏图片的左上角。
这就是要在代码中生成一张图片,然后进行修改。
转自http://blog.csdn.net/huutu http://www.thisisgame.com.cn
Unity Shader and effect Cookbook 2.6
这一节讲的就是在 C# 代码中创建一个 Texture2D , 并且在 Shader 中使用,然后显示出来。
学完这一节后创建的效果是,一个 由中心 向四周 由明亮 渐变 黑暗的效果。
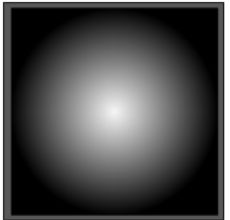
先来分析
这是一个圆,圆心是最亮的,然后慢慢的亮度递减,直到边缘,然后变为黑色。
简单的认为这个变暗的效果是线性的,那么可以使用 点 距离 圆点 的距离,来决定这个 点 的颜色。
首先,如果当前点是圆心,那么距离为0,所以最亮。
如果当前点是圆的边缘,那么距离为 R,所以最暗。
由于颜色值范围是 (0,1)
所以对当前 点,设置颜色为 (1 - 距离),就能得到这个线性变暗的效果。
首先创建一个Shader,创建对应的 Material,创建一个 Quad,加一个灯光照亮,把Material 拖到 Quad上。
这一节不用改 Shader 代码,默认的 Shader 中已经有一个 _MainTex 属性供我们使用。
创建一个 CS 脚本,添加到 Quad 上,通过这个脚本,创建一个 Texture2D,赋值到 Material 中。
using UnityEngine;
using System.Collections;

public class ProceduralTexture : MonoBehaviour
{

    int widthHeight = 512;
    Texture2D generatedTexture;

    Material currentMaterial;
    Vector2 centerPixelPosition;


	// Use this for initialization
	void Start ()
    {
        currentMaterial = transform.renderer.sharedMaterial;

        centerPixelPosition = new Vector2(0.5f*widthHeight, 0.5f*widthHeight);
        generatedTexture = generateTexture();
        currentMaterial.SetTexture("_MainTex", generatedTexture);
	}

    Texture2D generateTexture()
    {
        Texture2D texture2D = new Texture2D(widthHeight, widthHeight);

        for (int x = 0; x < widthHeight; x++)
        {
            for (int y = 0; y < widthHeight; y++)
            {
                Vector2 currentPixelPosition = new Vector2(x, y);

                //计算当前位置 距离 圆心
                float pixelDistance = Vector2.Distance(centerPixelPosition, currentPixelPosition);


                //从pixelDistance 规范化 到 (0,1)范围,因为是当前位置 与 圆心的距离,所以把距离除以半径就好了。
                float distance = pixelDistance / (widthHeight / 2);

                //Vector2.Distance返回的是常量距离,没有方向. Mathf.Abs 是求绝对值,这里没有必要;
                //distance = Mathf.Abs(distance);

                //因为是 512x512的正方形,所以有些点的位置距离圆心是 > 512的,这里要限定到 (0,1)范围,超出范围的取0或1;
                distance = Mathf.Clamp(distance, 0, 1);

                //想想,按照上面的算法,距离圆心越近的地方,distance越小,这个像素点就越黑。
                //如果要 圆心更亮,然后慢慢的越来越黑,就用 1-distance;
                distance = 1 - distance;


                //把 distance 赋值给颜色。
                Color pixelColor = new Color(distance, distance, distance, 1);


                texture2D.SetPixel(x, y, pixelColor);
            }
        }

        texture2D.Apply();
        return texture2D;
    }

	// Update is called once per frame
	void Update () {

	}
}
转自http://blog.csdn.net/huutu http://www.thisisgame.com.cn
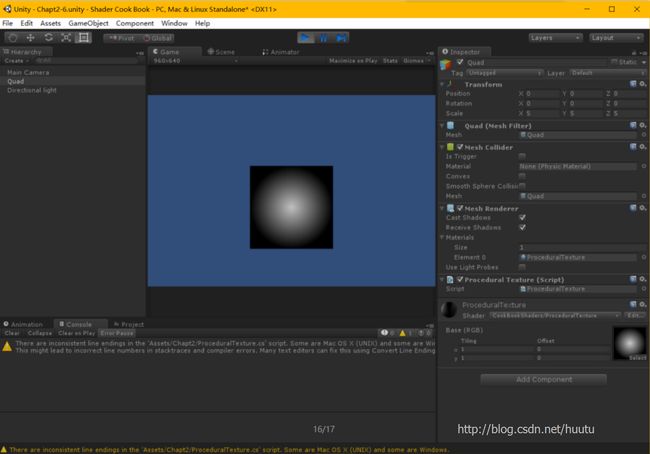
运行效果如图
示例项目下载:
http://pan.baidu.com/s/1eS8UXA6