从今天起傻蛋打算做一个系列文章,对最新的Android 4.0 系统中的Launcher,也就是Android 4.0原生的桌面程序,进行一个深入浅出的分析,从而引领Android系统的编程爱好者对 Launcher的设计思想,实现方式来做一个研究,从而能够通过这个实例最掌握到目前世界领先的设计方法,同时在程序中加入我们的一些新的实现。众所周知,对一些优秀源代码的分析,是提高编程水平的一条便捷的方式,希望本系列文章能够给大家带来一定的启发,同时欢迎大家和作者一起讨论,作者的微博是:http://weibo.com/zuiniuwang/
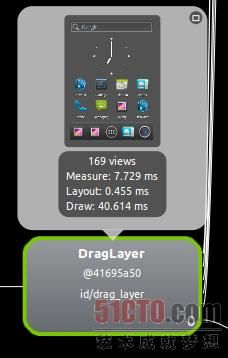
先从整体上对Launcher布局作一个分析,让我们通过查看Launcher.xml 和使用hierarchyviewer布局查看工具两者结合的方法来对Launcher的整体结构有个了解。通过hierarchyviewer来对整个桌面做个截图,如下:
放大后如下所示: 可以看到整个桌面包含的元素,最上面是Google的搜索框,下面是一个始终插件,然后是图标,再有就是一个分隔线,最后是dock。请注意,桌面程序其实并不包含桌面壁纸,桌面壁纸其实是由 WallpaperManagerService来提供,整个桌面其实是叠加在整个桌面壁纸上的另外一个层。
点击查看大图
整个Launcher.xml布局文件如下:
- <com.android.launcher2.DragLayer
- xmlns:android="http://schemas.android.com/apk/res/android"
- xmlns:launcher="http://schemas.android.com/apk/res/com.android.launcher"
-
- android:id="@+id/drag_layer"
- android:layout_width="match_parent"
- android:layout_height="match_parent">
-
- <!-- Keep these behind the workspace so that they are not visible when
- we go into AllApps -->
- <include
- android:id="@+id/dock_divider"
- layout="@layout/workspace_divider"
- android:layout_width="match_parent"
- android:layout_height="wrap_content"
- android:layout_marginBottom="@dimen/button_bar_height"
- android:layout_gravity="bottom" />
- <include
- android:id="@+id/paged_view_indicator"
- layout="@layout/scroll_indicator"
- android:layout_width="wrap_content"
- android:layout_height="wrap_content"
- android:layout_gravity="bottom"
- android:layout_marginBottom="@dimen/button_bar_height" />
-
- <!-- The workspace contains 5 screens of cells -->
- <com.android.launcher2.Workspace
- android:id="@+id/workspace"
- android:layout_width="match_parent"
- android:layout_height="match_parent"
- android:paddingTop="@dimen/qsb_bar_height_inset"
- android:paddingBottom="@dimen/button_bar_height"
- launcher:defaultScreen="2"
- launcher:cellCountX="4"
- launcher:cellCountY="4"
- launcher:pageSpacing="@dimen/workspace_page_spacing"
- launcher:scrollIndicatorPaddingLeft="@dimen/workspace_divider_padding_left"
- launcher:scrollIndicatorPaddingRight="@dimen/workspace_divider_padding_right">
-
- <include android:id="@+id/cell1" layout="@layout/workspace_screen" />
- <include android:id="@+id/cell2" layout="@layout/workspace_screen" />
- <include android:id="@+id/cell3" layout="@layout/workspace_screen" />
- <include android:id="@+id/cell4" layout="@layout/workspace_screen" />
- <include android:id="@+id/cell5" layout="@layout/workspace_screen" />
- </com.android.launcher2.Workspace>
-
- <include layout="@layout/hotseat"
- android:id="@+id/hotseat"
- android:layout_width="match_parent"
- android:layout_height="@dimen/button_bar_height_plus_padding"
- android:layout_gravity="bottom" />
-
- <include
- android:id="@+id/qsb_bar"
- layout="@layout/qsb_bar" />
-
- <include layout="@layout/apps_customize_pane"
- android:id="@+id/apps_customize_pane"
- android:layout_width="match_parent"
- android:layout_height="match_parent"
- android:visibility="invisible" />
-
- <include layout="@layout/workspace_cling"
- android:id="@+id/workspace_cling"
- android:layout_width="match_parent"
- android:layout_height="match_parent"
- android:visibility="gone" />
-
- <include layout="@layout/folder_cling"
- android:id="@+id/folder_cling"
- android:layout_width="match_parent"
- android:layout_height="match_parent"
- android:visibility="gone" />
- </com.android.launcher2.DragLayer>
Launcher整个布局的根是DragLayer,DragLayer继承了FrameLayout,所以DragLayer本身可以看作是一个FrameLayout。下面是 dock_divider,它通过include关键字包含了另外一个布局文件workspace_divider.xml ,而这个workspace_divider.xml包含了一ImageView,其实dock_divider就是dock区域上面的那条直线。
再下面是paged_view_indicator,同样它包含了scroll_indicator.xml,其中包含了一个ImageView,显示的是一个.9的png文件。实际上就是当Launcher滚动翻页的时候,那个淡蓝色的页面指示条。
然后桌面的核心容器WorkSpace,如下图所示,当然你看到的只是Workspace的一部分,其实是一个workspace_screen,通过 Launcher.xml可以看到,整个workspace由5个workspace_screen组成,每个workspace_screen其实就是对应桌面一页。而每个workspace_screen包含了一个CellLayout,这是一个自定义控件,继承自ViewGroup,所以它算是一个用来布局的控件,在这里主要用来承载我们每页的桌面图标、widget和文件夹。
点击查看大图
通过查看如下的布局结构(由于图太大只截取了一部分)可以看到,Workspace包含了序号从0到4的5个CellLayout。
接下来是一个Hotseat,其实就是这块dock区域了。如图所示:
点击查看大图
从如下的布局图我们可以看到,这个Hotseat其实还是包含了一个CellLayout,用来承载4个图标和中间启动所有程序的按钮。
再下来就是那个qsb_bar,就是屏幕最顶端的Google搜索框。这个搜索框是独立于图标界面的,所以当我们对桌面进行翻页的时候,这个搜索框会巍然不动滴固定在最顶端,如下所示:
紧接着是3个初始化时被隐藏的界面。
apps_customize_pane,点击dock中显示所有应用程序的按钮后才会从隐藏状态转换为显示状态,如下图所示,显示了所有应用程序和所有插件的界面。
点击查看大图
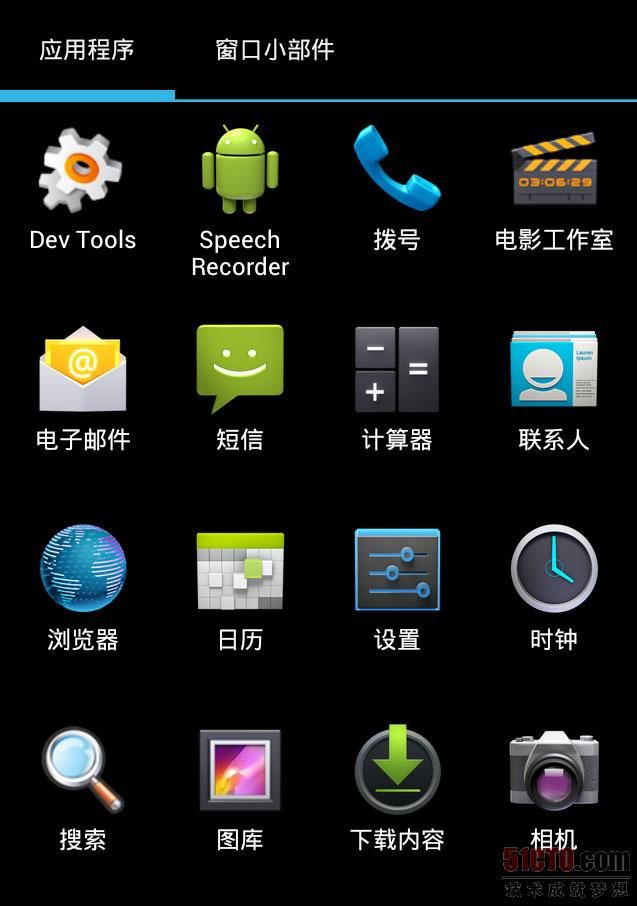
通过查看apps_customize_pane.xml ,我们可以看到apps_customize_pane主要由两部分组成:tabs_container 和tabcontent。tabs部分,用来让我们选择是添加应用程序还是widget,如下图所示:
点击查看大图
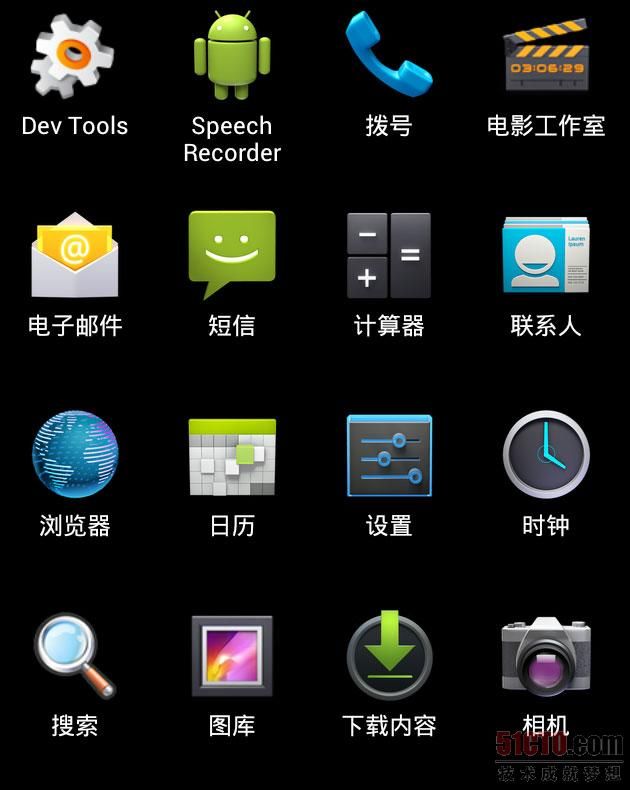
tabcontent,选择了相应的tab之后,下面的部分就会相应的显示应用程序或是widget了,如下图所示:
点击查看大图
workspace_cling 和 folder_cling 是刚刷完机后,进入桌面时,显示的使用向导界面,介绍怎么使用workspace和folder,跳过以后就再也不会出现了,这里就不截图了。
【51CTO.com独家特稿,非经授权谢绝转载,合作媒体转载请注明原文作者及出处!】
http://mobile.51cto.com/hot-312129.htm


