安装
conda install -n tensorflow matplotlib
实例,scipy部分有应用
import sys
import matplotlib.pyplot as plt
import numpy as np
print(sys.version)
'''
3.5.3 |Continuum Analytics, Inc.| (default, May 15 2017, 10:43:23) [MSC v.1900 64 bit (AMD64)]
'''
'''
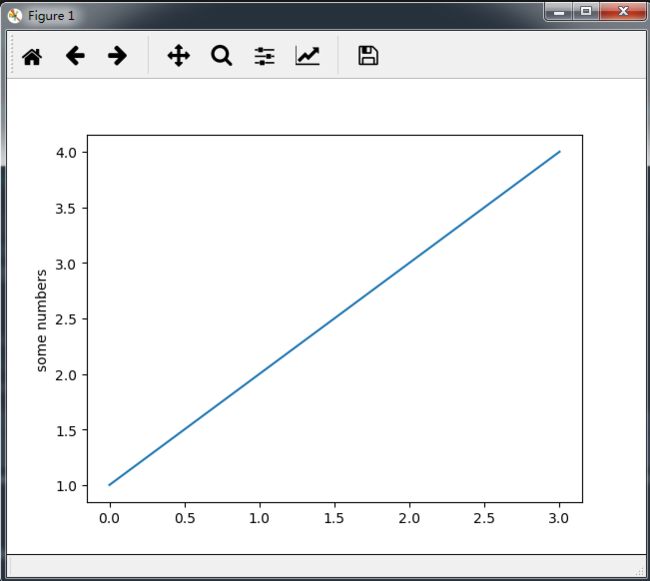
plot()为画线函数,下面的小例子给ploy()一个列表数据[1,2,3,4],matplotlib假设它是y轴的数值序列,然后会自动产生x轴的值,因为python是从0作为起始的,所以这里x轴的序列对应为[0,1,2,3]。
'''
plt.plot([1,2,3,4])#画线
plt.ylabel('some numbers')    #为y轴加注释
plt.show()
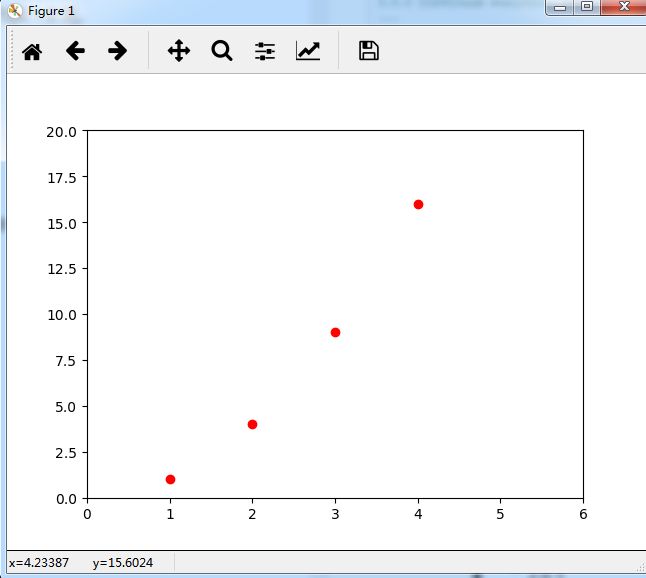
plt.plot([1,2,3,4], [1,4,9,16], 'ro')#画红点
plt.axis([0, 6, 0, 20])#[xmin,xmax,ymin,ymax]设定x,y刻量范围
plt.show()
# evenly sampled time at 200ms intervals
t = np.arange(0., 5., 0.2)
# red dashes, blue squares and green triangles
plt.plot(t, t, 'r--', t, t**2, 'bs', t, t**3, 'g^')
plt.show()
def f(t):
    return np.exp(-t) * np.cos(2*np.pi*t)

t1 = np.arange(0.0, 5.0, 0.1)
t2 = np.arange(0.0, 5.0, 0.02)

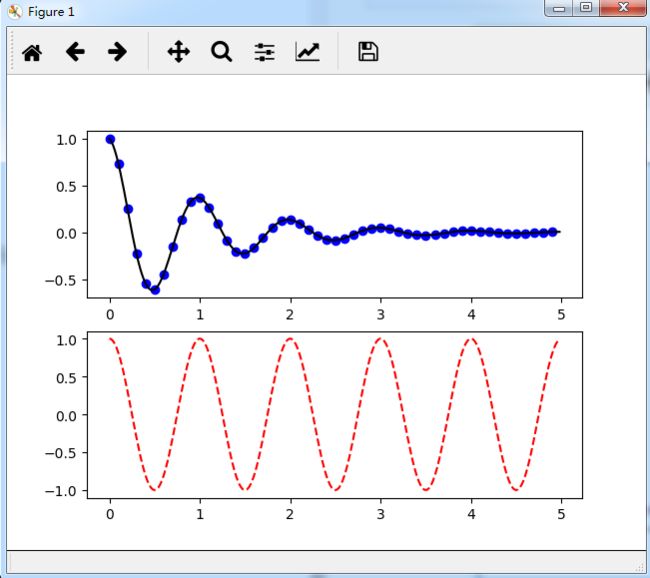
plt.figure(1)#figure()命令时可选的,因为figure(1)是默认创建的。
#subplot()命令会指定一个坐标系,默认是subplot(111),111参数分别说明行的数目numrows,列的数目numcols,第几个图像fignum(fignum的范围从1到numrows*numcols)。
#subplot(211)指定显示两行,每行一图,接下来为第一幅图像。
plt.subplot(211)
plt.plot(t1, f(t1), 'bo', t2, f(t2), 'k')

plt.subplot(212)
plt.plot(t2, np.cos(2*np.pi*t2), 'r--')
plt.show()
mu, sigma = 100, 15
x = mu + sigma * np.random.randn(10000)

# the histogram of the data
n, bins, patches = plt.hist(x, 50, normed=1, facecolor='g', alpha=0.75)


plt.xlabel('Smarts')
plt.ylabel('Probability')
plt.title('Histogram of IQ')
plt.text(60, .025, r'$\mu=100,\ \sigma=15$')
plt.axis([40, 160, 0, 0.03])
plt.grid(True)
plt.show()
线条属性:实线,虚线,点横线等等
线条标记:点,正方形,星型
线条颜色:蓝,红,青,绿,黄,黑


