Android 5.X新特性——Notification
Notification作为一个事件触发通知型的交互提示接口,让我们可以再获得消息的时候,再状态栏、锁屏界面得到相应的提示信息。从QQ、微信到各种推送通知、短信,这些Notification常常出现在状态栏。
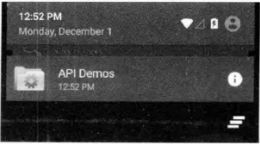
Google在Android5.0上又进一步改进了通知栏,优化了Notification。现在,在Android5.X设备上,一个标准的Notification界面如下图所示。
当长按Notification的时候,会显示消息来源,如图12.33所示。
Notification会有一个从白色到灰色的动画切换效果,最终显示发出这个Notification的调用者。同时,在Android 5.X设备上,锁屏状态下我们也可以看见Notification通知了,如图所示。
1.基本的Notification
通过NotificationCompat.Builder创建一个NotificationCompat的builder,代码如下所示。
NotificationCompat.Builder builder = new NotificationCompat.Builder(this, "basic_notification");这个与AlterDialog的使用方法是不是非常相似呢?接下来,给点击Notification后要执行的操作增进一个Intent,由于这个Intent不是马上就执行的,而是由用户触发的,所以Android给这样的Intent提供了一个PendingIntent来帮助我们完成这样的延迟操作。
PendingIntent的使用非常简单,只需要在普通的Intent的基础上包装一层就可以了,代码如下所示。
        Intent intent = new Intent(Intent.ACTION_VIEW, Uri.parse("http://www.baidu.com"));
        //构造PendingIntent
        PendingIntent pendingIntent = PendingIntent.getActivity(this,0,intent,0);
这样当点击Notification之后,就会出发PendingIntent事件,打开浏览器开始浏览网页。
与使用AlertDialog一样,有了builder对象,可以给他增加各种属性。
        builder.setSmallIcon(R.drawable.blue);
        builder.setContentIntent(pendingIntent);
        builder.setAutoCancel(true);
        builder.setLargeIcon(BitmapFactory.decodeResource(getResources(), R.drawable.red));
        builder.setContentTitle("Basic Notification");
        builder.setContentText("I am a basic Notification");
        builder.setSubText("it is really basic");
这些属性的具体含义,也不必一个个去仔细理解,结合后面演示的效果和命名,很容易就能理解了。最后一步,自然是将
Notification显示出来,Android系统通过NotificationManager系统服务来帮助我们管理Notification,并通过调用notify方法来发出Notification。
        NotificationManager notificationManager = (NotificationManager)getSystemService(Context.NOTIFICATION_SERVICE);
        notificationManager.notify(NOTIFICATION_ID_BASIC, builder.build());
调用NotificationManager的notify()方法时,需要穿进去一个ID。每个Notification都会有一个ID,这个ID就是用来区分不同的APP的Notification的。
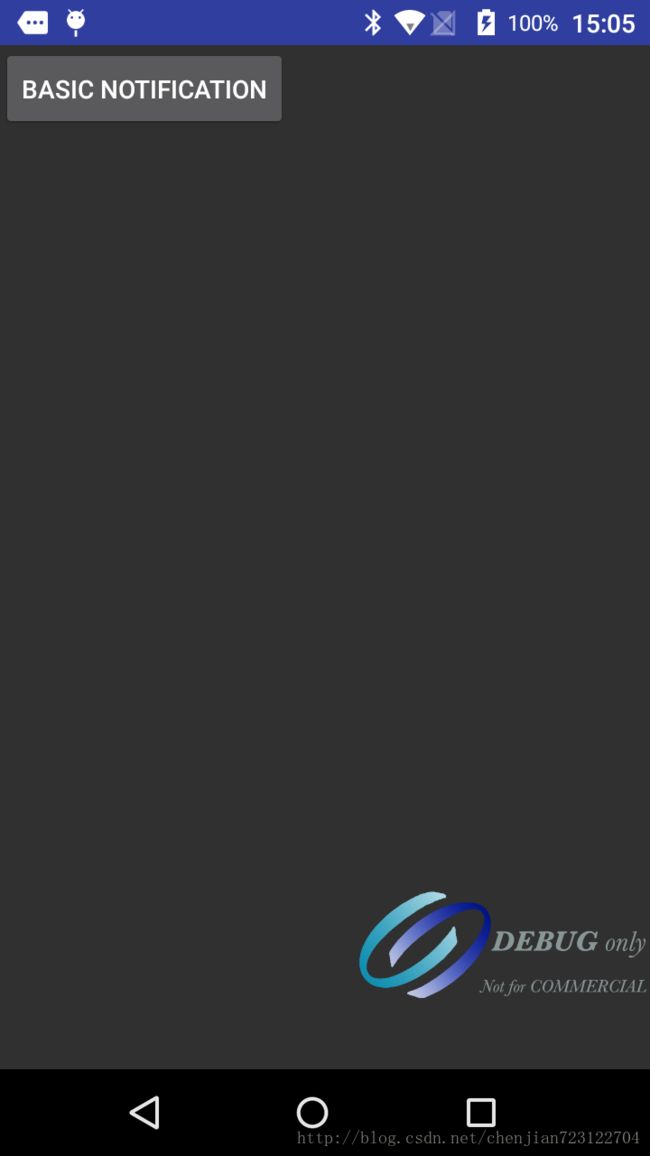
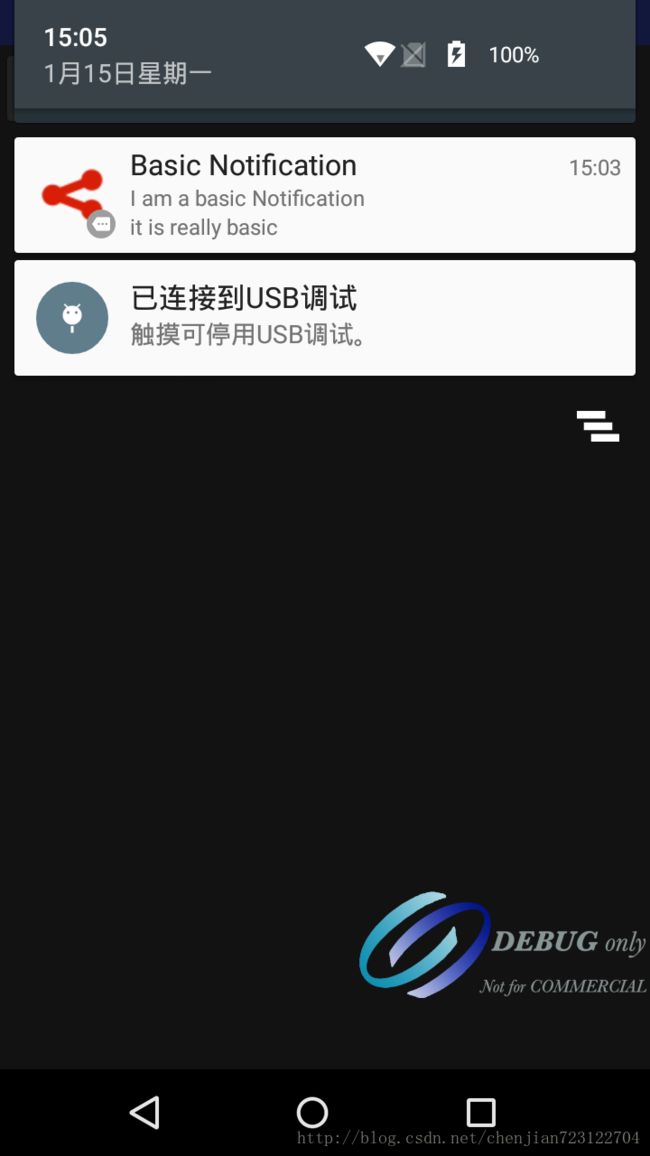
通过以上很简单的几个步骤,就完成了基本的Notification。Notification还可以配置LED灯和震动等选项,不过这些都只是增加一个属性罢了。最后来看看BasicNotification的效果如何,如图所示。
相信结合运行出来的例子,大家应该可以很清楚的理解上面配置的参数的意义了.
2.折叠式Notification
折叠式Notification也是一种自定义视图的Notification,常常用于显示长文本。它拥有两个视图状态,一个是普通状态下的视图状态,另一个是展开状态下的视图状态。在Notification中,使用RemoteViews来帮助我们创建一个自定义的Notification视图,代码如下所示。
        RemoteViews contentView = new RemoteViews(getPackageName(),R.layout.notification);
        contentView.setTextViewText(R.id.tv, "show me when collapsed");
Notification的布局如下所示。
通过如下代码,就可以将一个视图指定为Notification正常状态下的视图。
notification.contentView = contentView; 通过如下代码,就可以将一个视图指定为Notification展开状态下的视图。
notification.bigContentView = expandView;完整代码如下所示。
        NotificationCompat.Builder builder = new NotificationCompat.Builder(this, "basic_notification");
        Intent intent = new Intent(Intent.ACTION_VIEW, Uri.parse("http://www.baidu.com"));
        //构造PendingIntent
        PendingIntent pendingIntent = PendingIntent.getActivity(this,0,intent,0);

        builder.setSmallIcon(R.drawable.blue);
        builder.setContentIntent(pendingIntent);
        builder.setAutoCancel(true);
        builder.setLargeIcon(BitmapFactory.decodeResource(getResources(), R.drawable.red));

        Notification notification = builder.build();

        //通过RemoteViews来创建自定义的Notification视图
        RemoteViews contentView = new RemoteViews(getPackageName(),R.layout.notification);

        //指定视图
        notification.contentView = contentView;

        //通过RemoteViews来创建自定义的Notification视图
        RemoteViews expandView = new RemoteViews(getPackageName(),R.layout.notification_expand);
        //指定视图
        notification.bigContentView = expandView;

        NotificationManager notificationManager = (NotificationManager)getSystemService(Context.NOTIFICATION_SERVICE);
        notificationManager.notify(NOTIFICATION_ID_COLLAPSE, notification);
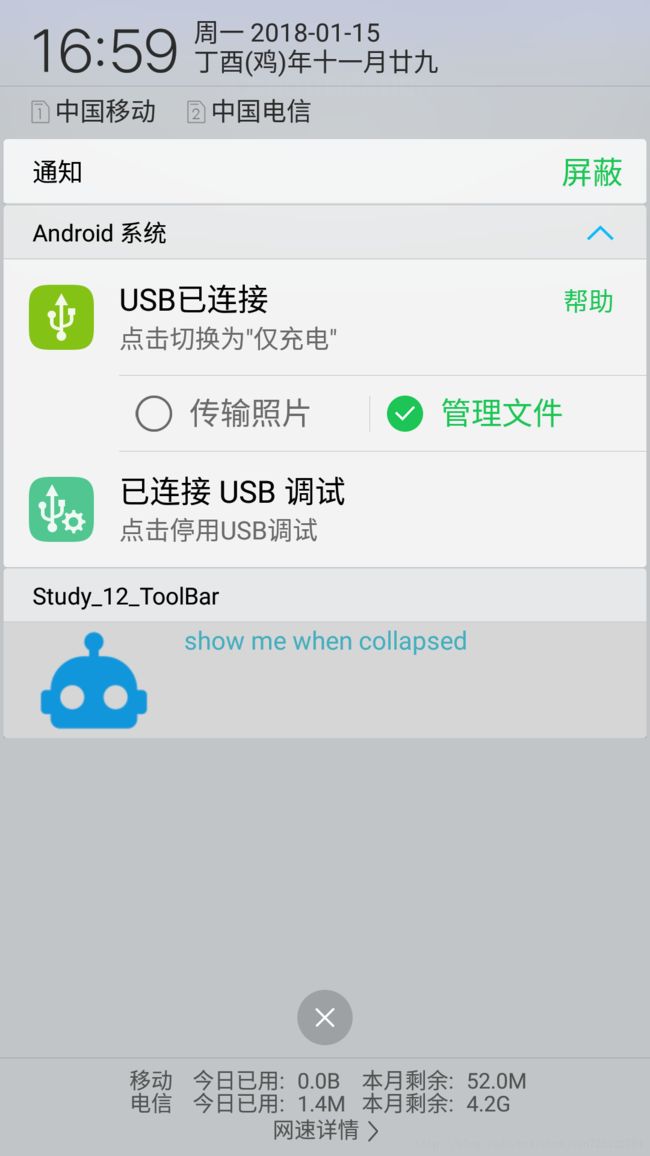
折叠时和展开式的图片如下所示。

3.悬挂式Notification
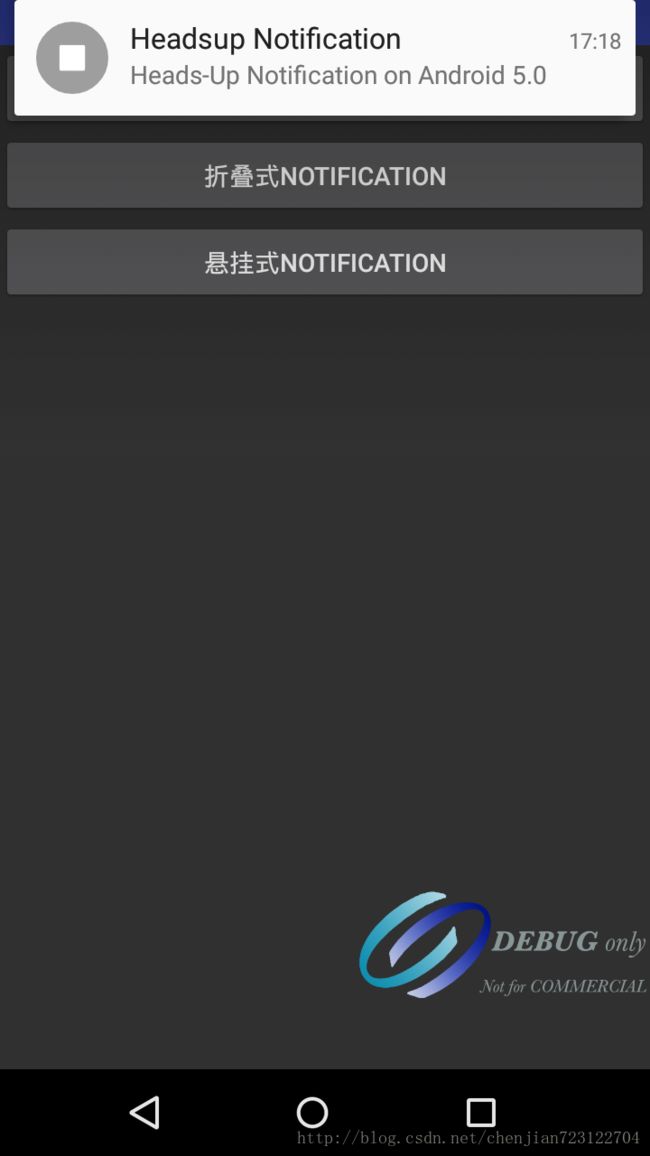
悬挂式Notification时再Android5.0中新增的方式,Google系统通过这种方式来给用户带来更好的体验,这种被称为Headsup的Notification方式,可以再屏幕上方产生Notification且不会打断用户操作,能给用户已Notification形式的通知。
再Android Sample中,Google给我们展示了如何完成这样一个效果,代码如下所示。
        NotificationCompat.Builder builder = new NotificationCompat.Builder(this,"Push Notification")
                .setSmallIcon(R.mipmap.ic_launcher)
                .setPriority(Notification.PRIORITY_DEFAULT)
                .setCategory(Notification.CATEGORY_MESSAGE)
                .setContentTitle("Headsup Notification")
                .setContentText("I am a Headsup Notification");

        Intent push = new Intent();
        push.addFlags(Intent.FLAG_ACTIVITY_NEW_TASK);
        push.setClass(this, MyNotification.class);
        PendingIntent pi = PendingIntent.getActivity(this,0,push,PendingIntent.FLAG_CANCEL_CURRENT);
        builder.setContentText("Heads-Up Notification on Android 5.0")
                .setFullScreenIntent(pi,true);
        NotificationManager notificationManager = (NotificationManager)getSystemService(Context.NOTIFICATION_SERVICE);
        notificationManager.notify(NOTIFICATION_ID_COLLAPSE, builder.build());
如上所示,通过setFullScreenIntent,我们很轻松地将一个Notification变成了悬挂式Notification,程序显示效果如下所示。
4. 显示等级的Notification
最后也就是再Android 5.X中新加入的一种模式——Notification的显示等级。Android 5.X将Notification分成了三个等级。
- VISIBILIETY_PRIVATE——表面当前没有锁屏的时候会显示
- VISIBILIETY_PUBLIC——表面任何情况下都会显示
- VISIBILIETY_SECRET——表面在pin、password等安全锁和没有锁屏的情况下才能够显示
设置Notification等级的方式非常简单,同样时借助builder对象,代码如下所示。
builder.setVisibility(Notification.VISIBILITY_PUBLIC);在前面的示例代码中,我们使用了一个RadioGroup来演示VISIBILIETY等级,实现代码如下所示。
private void selectNotofovatiomLevel(Notification.Builder builder) {
        switch (radioGroup.getCheckedRadioButtonId()) {
            case R.id.rb_public:
                builder.setVisibility(Notification.VISIBILITY_PUBLIC);
                builder.setContentText("public");
                break;
            case R.id.rb_private:
                builder.setVisibility(Notification.VISIBILITY_PRIVATE);
                builder.setContentText("private");
                break;
            case R.id.rb_secret:
                builder.setVisibility(Notification.VISIBILITY_SECRET);
                builder.setContentText("secret");
                break;
            default:
                builder.setVisibility(Notification.VISIBILITY_PUBLIC);
                builder.setContentText("public");
                break;

        }
    }
代码结构非常清晰,通过build对象的setVisibility方法,就可以轻松地设置Notification显示等级了。
Notification在Android 5.X中地改动非常多,这里只是让大家有一个初步地概念,还有其他地改动,比如以下两种。
增加了设置Notification背景颜色地接口,代码如下所示。
builder.setColor(Color.RED)增加了设置Notification的category接口,category用来确定Notification显示的位置,参数就是各种category类型,代码如下所受。
setCategory(Notification.CATEGORY_MESSAGE)
