首先两个工具类,mat转bitmap和bitmap转mat
#include
#include
#include
#include
#include
#include
#include

using namespace cv;
#define TAG "JNI_TAG"
#define LOGE(...) __android_log_print(ANDROID_LOG_ERROR,TAG,__VA_ARGS__)

/**
 * bitmap转成mat
 */

Mat bitmap2Mat(JNIEnv *env, jobject bitmap) {
    // 1. 获取图片的宽高,以及格式信息
    AndroidBitmapInfo info;
    AndroidBitmap_getInfo(env, bitmap, &info);
    void *pixels;
    AndroidBitmap_lockPixels(env, bitmap, &pixels);

    Mat mat;

    if (info.format == ANDROID_BITMAP_FORMAT_RGBA_8888) {
        LOGE("nMatToBitmap: CV_8UC4 -> RGBA_8888");
        mat = Mat(info.height, info.width, CV_8UC4, pixels);
    } else {
        LOGE("nMatToBitmap: CV_8UC2 -> RGBA_565");
        mat = Mat(info.height, info.width, CV_8UC2, pixels);
    }

    AndroidBitmap_unlockPixels(env, bitmap);
    return mat;
}

/**
 * mat转成bitmap
 */
void mat2bitmap(JNIEnv *env, Mat src, jobject bitmap) {
    // 1. 获取图片的宽高,以及格式信息
    AndroidBitmapInfo info;
    AndroidBitmap_getInfo(env, bitmap, &info);
    void *pixels;
    AndroidBitmap_lockPixels(env, bitmap, &pixels);

    if (info.format == ANDROID_BITMAP_FORMAT_RGBA_8888) {
        Mat tmp(info.height, info.width, CV_8UC4, pixels);
        if (src.type() == CV_8UC1) {
            LOGE("nMatToBitmap: CV_8UC1 -> RGBA_8888");
            cvtColor(src, tmp, COLOR_GRAY2RGBA);
        } else if (src.type() == CV_8UC3) {
            LOGE("nMatToBitmap: CV_8UC3 -> RGBA_8888");
            cvtColor(src, tmp, COLOR_RGB2RGBA);
        } else if (src.type() == CV_8UC4) {
            LOGE("nMatToBitmap: CV_8UC4 -> RGBA_8888");
            src.copyTo(tmp);
        }
    } else {
        // info.format == ANDROID_BITMAP_FORMAT_RGB_565
        Mat tmp(info.height, info.width, CV_8UC2, pixels);
        if (src.type() == CV_8UC1) {
            LOGE("nMatToBitmap: CV_8UC1 -> RGB_565");
            cvtColor(src, tmp, COLOR_GRAY2BGR565);
        } else if (src.type() == CV_8UC3) {
            LOGE("nMatToBitmap: CV_8UC3 -> RGB_565");
            cvtColor(src, tmp, COLOR_RGB2BGR565);
        } else if (src.type() == CV_8UC4) {
            LOGE("nMatToBitmap: CV_8UC4 -> RGB_565");
            cvtColor(src, tmp, COLOR_RGBA2BGR565);
        }
    }

    AndroidBitmap_unlockPixels(env, bitmap);
}
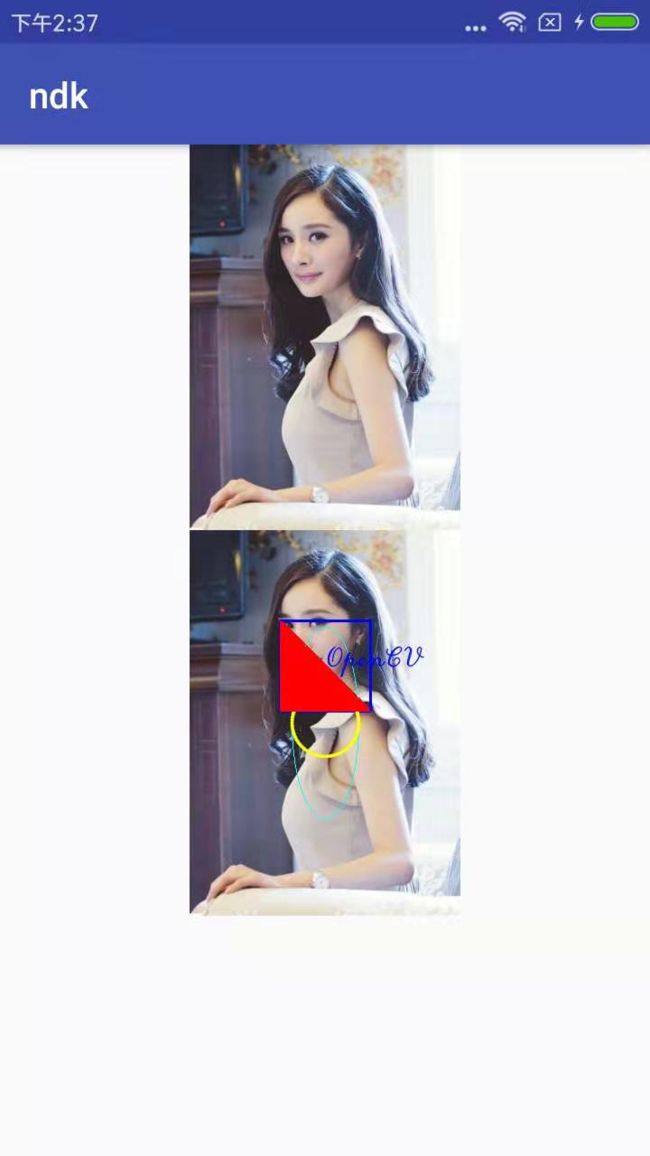
绘制形状和文字
线,椭圆,矩形,圆,填充,文字
Mat src = bitmap2Mat(env, bitmap);
    //线line
    line(src, Point(100, 100), Point(200, 200), Scalar(255, 0, 0), 2, LINE_8);
    //矩形rectangle
    rectangle(src, Point(100, 100), Point(200, 200), Scalar(0, 0, 255), 2, LINE_8);
    //椭圆ellipse
    //第二个是椭圆的中心点
    //第三个参数,椭圆的大小 第一个参数宽,第二个参数高
    //第四个参数:旋转度数
    ellipse(src, Point(src.cols / 2, src.rows / 2), Size(src.cols / 8, src.rows / 4), 180, 0, 360,
            Scalar(0, 255, 255), 1);
    //圆
    circle(src, Point(src.cols / 2, src.rows / 2), src.cols / 8, Scalar(255, 255, 0), 2, LINE_AA);
    //填充
    Point pt[1][4];
    pt[0][0] = Point(100, 100);
    pt[0][1] = Point(100, 200);
    pt[0][2] = Point(200, 200);
    pt[0][3] = Point(100, 100);

    const Point *pts[] = {pt[0]};
    int nps[] = {4};
    fillPoly(src, pts, nps, 1, Scalar(255, 0, 0),8);


    //文字putText LINE_AA抗锯齿
    putText(src,"OpenCV",Point(150,150),CV_FONT_BLACK,1,Scalar(0,0,255),1,LINE_AA);
效果图
图像的卷积操作和滤波操作
- 淹膜操作
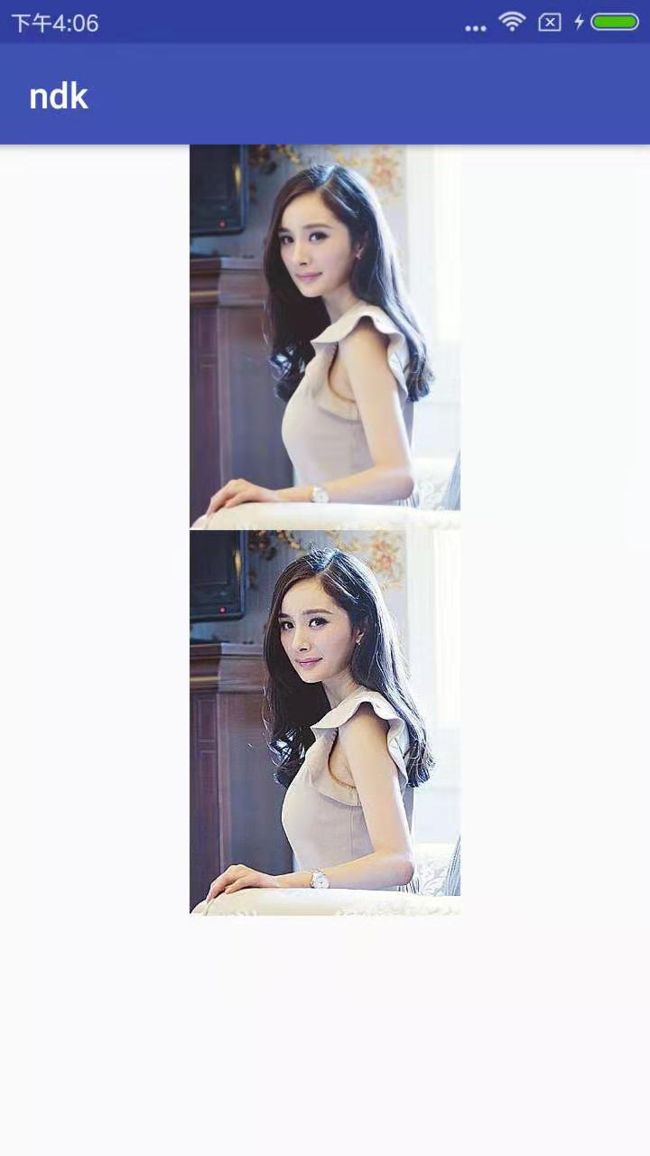
所谓掩膜其实就是一个矩阵,然后根据这个矩阵重新计算图片中像素的值。可以过滤图像信息
    Mat src = bitmap2Mat(env, bitmap);
    //I(i,j)=5∗I(i,j)−[I(i−1,j)+I(i+1,j)+I(i,j−1)+I(i,j+1)]
    Mat dest;
    //生成一个和源图像大小相等类型相同的全0矩阵
    dest = Mat::zeros(src.size(), src.type());
    //获取图像的列数,一定不要忘记图像的通道数
    int cols = (src.cols - 1) * src.channels();
    //获取图像的行数
    int rows = src.rows;
    int offsetx = src.channels();

    for (int row = 1; row < rows - 1; row++) {
        //获取上一行
        uchar *previous = src.ptr(row - 1);
        //获取当前行
        uchar *current = src.ptr(row);
        //下一行
        uchar *next = src.ptr(row + 1);
        //输出
        uchar *output = dest.ptr(row);
        for (int col = offsetx; col < cols; col++) {
            output[col] = saturate_cast(5 * current[col-offsetx] -
                                             (previous[col] + next[col] + current[col - offsetx] + current[col + offsetx]));
        }
    }
    mat2bitmap(env, dest, bitmap);
效果图
opencv实现掩膜操作
    Mat src = bitmap2Mat(env, bitmap);
    Mat dest;
    //-1表示src的深度
    Mat kernel;
    kernel = (Mat_(3, 3) << 0, -1, 0, -1, 5, -1, 0, -1, 0);
    filter2D(src, dest, src.depth(), kernel, Point(-1, -1));

    mat2bitmap(env, dest, bitmap);
效果图
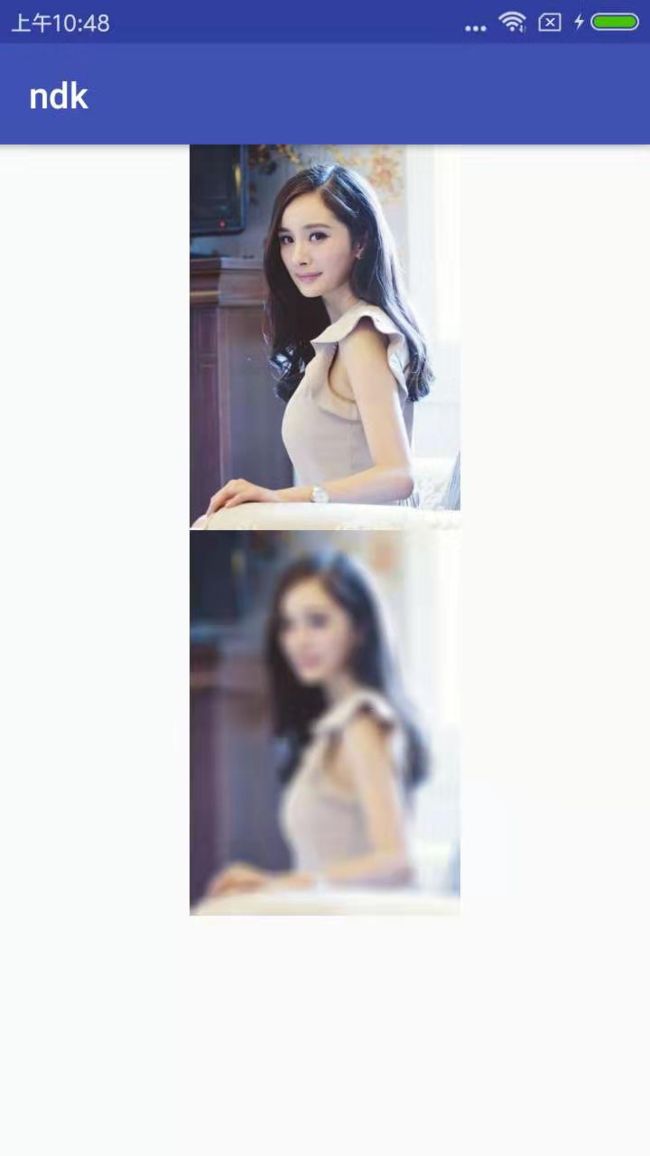
- 均值模糊
根据周边像素值来确定自己的像素值
 Mat src = bitmap2Mat(env, bitmap);
    Mat dest;
    //均值模糊
    //Size(w,h),只能是基数
    blur(src,dest,Size(15,15),Point(-1,-1));
    mat2bitmap(env, dest, bitmap);
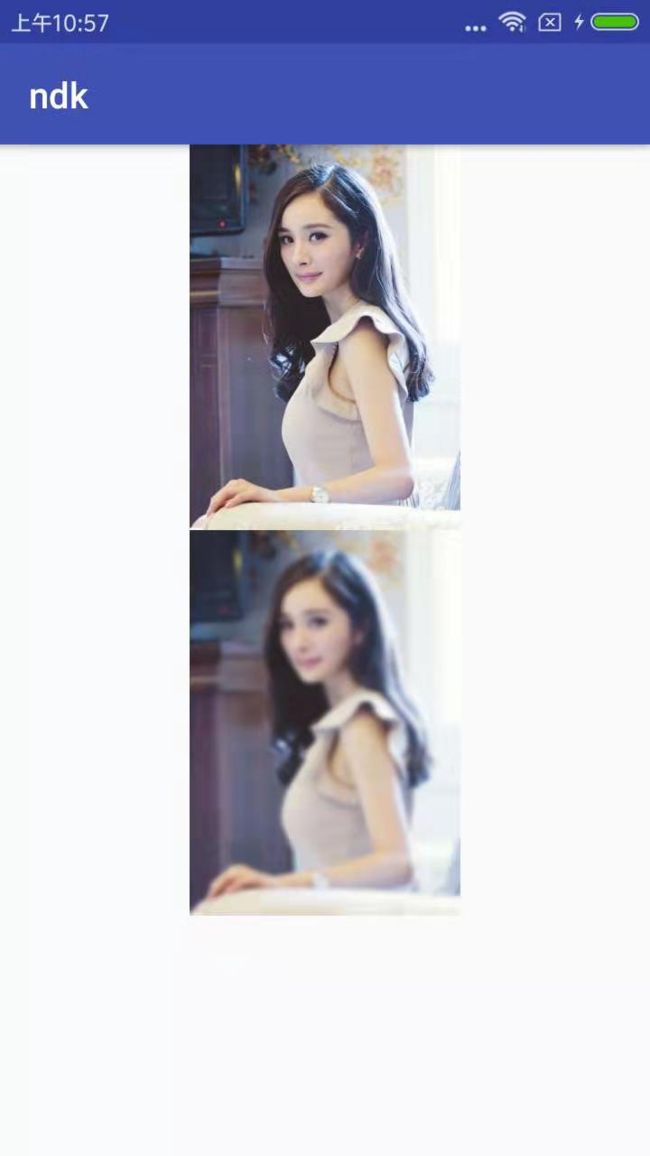
- 高斯模糊
    Mat src = bitmap2Mat(env, bitmap);
    Mat dest;
    //高斯模糊 保留了一些轮廓
    //第四个参数sigmaX
    GaussianBlur(src,dest,Size(15,15),0);
    mat2bitmap(env, dest, bitmap);


