Quartz2D
Quartz2D是一个二维绘图引擎,iOS和Mac都支持
我们可以用来:
- 绘制图形
- 绘制文字
- 绘制、生成图片(圆形头像)
- 读取、生成PDF
- 截图、裁剪图片(常用)
- 自定义UI控件(常用)
- 手势解锁
基本图形绘制
图形上下文(CGContextRef)
保存绘图信息、绘图状态
决定绘制的输出目标(Bitmap、PDF、Window、Layer、Printer)
自定义view步骤
- 实现drawRect方法
- 取得当前view相关联的图形上下文
- 绘制相应的图形内容
- 利用图形上下文将绘制的所有内容渲染显示到view上面
绘制图形的原理是这样的 这里是面对C语言的 不是面向对象了
Ref表示引用
// 只有在drawRect才能获取图形上下文(上面5种中的layer)
- (void)drawRect:(CGRect)rect {
    // 1.获取图形上下文
    CGContextRef ctx = UIGraphicsGetCurrentContext();
    // 2.描述路径(路径 create )
    CGMutablePathRef path = CGPathCreateMutable();
    // path:给哪个路径设置起点
    CGPathMoveToPoint(path, NULL, 50, 50);
    // 添加一个线到某个点
    CGPathAddLineToPoint(path, NULL, 200, 200);
    // 3.把路径添加到上下文
    CGContextAddPath(ctx, path);
    // 4.渲染上下文(Bitmap,PDF 等)
    CGContextStrokePath(ctx);

}
其实可以用我们比较熟悉面向对象的方式 比如贝塞尔曲线
- (void)drawRect:(CGRect)rect {
    UIBezierPath *path = [UIBezierPath bezierPath];

    [path moveToPoint:CGPointMake(50, 50)];

    [path addLineToPoint:CGPointMake(200, 200)];
    // path.lineWidth
    // path.lineCapStyle
    // path.lineJoinStyle
    [path stroke];//stroke是描边
}
补充1: 下面这种不好的地方在于 好几条线都是一个path 不好管理
- (void)drawRect:(CGRect)rect {
    // 1.获取图形上下文
    CGContextRef ctx = UIGraphicsGetCurrentContext();
    // 2.描述路径(直接控制上下文)
    CGContextMoveToPoint(ctx, 50, 50);
    CGContextAddLineToPoint(ctx, 100, 50);
    // 默认起点是从上一个线的终点 (如果不想连在一起 就在MoveToPoint)
    CGContextAddLineToPoint(ctx, 100, 200);
    // 颜色
    [[UIColor greenColor] setStroke];
    // 线宽
    CGContextSetLineWidth(ctx, 10);
    // 设置连接样式
    CGContextSetLineJoin(ctx, kCGLineJoinRound);
    // 设置顶角样式
    CGContextSetLineCap(ctx, kCGLineCapRound);
    // 4.渲染上下文(Bitmap,PDF 等)
    CGContextStrokePath(ctx);
}
当这个view要显示的时候才会调用drawRect绘制图形rect为当前控件的bounds
绘制其他图形
- 曲线(UIBezier画不了曲线)
// path:路径
// controlPointX 150
// controlPointY 150
// 终点x
// 终点y
CGPathAddQuadCurveToPoint(path, NULL, 150, 150, 250, 50);
- 圆形
- (void)drawRect:(CGRect)rect {
    // Drawing code
    UIBezierPath *path = [UIBezierPath bezierPathWithRoundedRect:CGRectMake(20, 20, 200, 200) cornerRadius:100];

    [path stroke];
}
- 矩形
UIBezierPath *path = [UIBezierPath bezierPathWithRect:CGRectMake(20, 20, 200, 200)];
// 如果path是封闭路径 可以填充
[path fill];
- 圆弧
// 起点是右边中间(时钟3点位置)
// Center 圆心
// radios 半径
// startAngle 开始弧度
// endAngle 结束弧度
// clockwise yes顺时针 NO逆时针
UIBezierPath *path = [UIBezierPath bezierPathWithArcCenter:CGPointMake(125, 125) radius:40 startAngle:0 endAngle:M_PI_2 clockwise:NO];
//
[path stroke];
- 扇形(圆弧终点连到圆心 然后关闭路径)
CGPoint circleCenter = CGPointMake(125, 125);
UIBezierPath *path = [UIBezierPath bezierPathWithArcCenter:circleCenter radius:40 startAngle:0 endAngle:M_PI_2 clockwise:YES];

[path addLineToPoint:circleCenter];
[path closePath];

[path stroke];
- 饼状图(PieChart)
- (void)drawRect:(CGRect)rect {

    NSArray *arr = @[@25, @12, @13, @30, @20];
    CGFloat radius = rect.size.width * 0.5;
    CGPoint center = CGPointMake(radius, radius);

    CGFloat startAngle = -M_PI_2;
    CGFloat endAngle = 0;
    CGFloat angle = 0;

    for (NSNumber *value in arr) {
        CGFloat red = (arc4random() % 255) / 255.0f;
        CGFloat green = (arc4random() % 255) / 255.0f;
        CGFloat blue = (arc4random() % 255) / 255.0f;

        angle = [value floatValue] / 100.0f * (M_PI * 2);
        endAngle = startAngle + angle;
        UIBezierPath *path = [UIBezierPath bezierPathWithArcCenter:center radius:radius startAngle:startAngle endAngle:endAngle clockwise:YES];

        [path addLineToPoint:center];
        [path closePath];
        [[UIColor colorWithRed:red green:green blue:blue alpha:1] set];
        [path fill];
        startAngle = endAngle;
    }
}
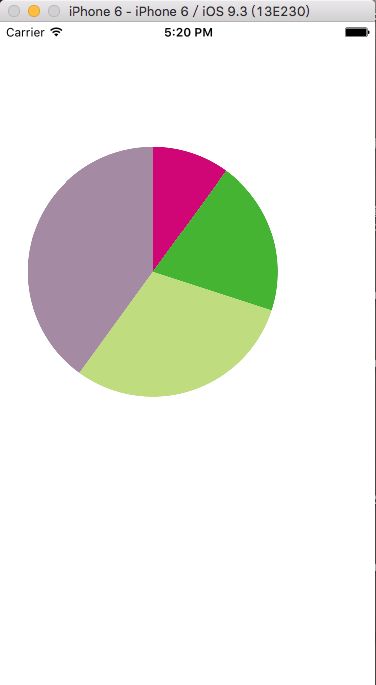
屏幕快照 2016-06-27 下午5.20.35.png
- 柱状图(ColumnChart)
- (void)drawRect:(CGRect)rect {

    NSArray *arr = @[@10, @20, @30, @40];

    CGFloat x = 0;
    CGFloat y = 0;
    CGFloat w = 0;
    CGFloat h = 0;

    NSInteger i = 0;

    for (NSNumber *value in arr) {
        CGFloat red = (arc4random() % 255) / 255.0f;
        CGFloat green = (arc4random() % 255) / 255.0f;
        CGFloat blue = (arc4random() % 255) / 255.0f;

        w = rect.size.width / (2 * arr.count - 1);
        x = 2 * w * i;
        h = [value floatValue] / 100.0f * rect.size.height;
        y = rect.size.height - h;

        UIBezierPath *path = [UIBezierPath bezierPathWithRect:CGRectMake(x, y, w, h)];

        [[UIColor colorWithRed:red green:green blue:blue alpha:1] set];
        [path fill];
        i++;
    }

}
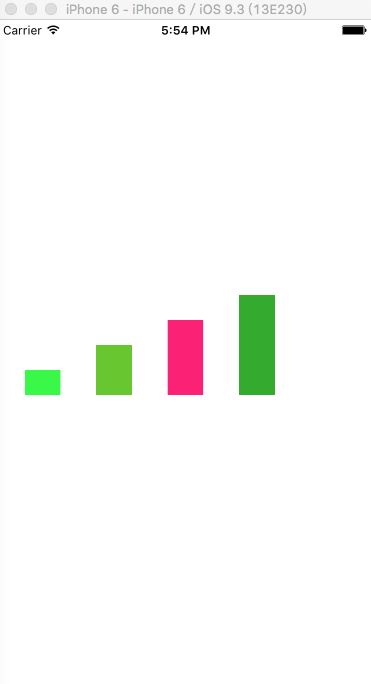
屏幕快照 2016-06-27 下午5.54.30.png
- 绘制文字图片
- (void)drawRect:(CGRect)rect {
    NSString *name = @"Sniper is a very very very very very very very very very very very very very very very very very very very very good boy";

    NSMutableDictionary *textAttr = [NSMutableDictionary dictionary];

    [textAttr setObject:[UIColor redColor] forKey:NSForegroundColorAttributeName];
    [textAttr setObject:[UIFont systemFontOfSize:30] forKey:NSFontAttributeName];
    // 设置文字描边宽度
    [textAttr setObject:@3 forKey:NSStrokeWidthAttributeName];
    // 设置文字颜色
    [textAttr setObject:[UIColor greenColor] forKey:NSStrokeColorAttributeName];
    // 创建阴影对象
    NSShadow *shadow = [[NSShadow alloc] init];
    shadow.shadowBlurRadius = 3;
    shadow.shadowColor = [UIColor orangeColor];
    shadow.shadowOffset = CGSizeMake(4, 4);
    [textAttr setObject:shadow forKey:NSShadowAttributeName];
    // 文字的起点 (不会换行)
//    [name drawAtPoint:CGPointZero withAttributes:textAttr];
    [name drawInRect:rect withAttributes:textAttr];
}

屏幕快照 2016-06-27 下午6.13.46.png
- (void)drawRect:(CGRect)rect {

    UIImage *img = [UIImage imageNamed:@"golee.png"];
    // 裁剪必须放在绘制之前
    UIRectClip(CGRectMake(0, 0, 50, 50));
    // 绘制
    //    [img drawInRect:rect]; // 填充
    [img drawAsPatternInRect:rect]; // 平铺
}

屏幕快照 2016-06-27 下午6.36.56.png
CADisplayLink
如果在绘图的时候需要用到定时器,通常
// CADisplayLink 每次屏幕刷新的时候都会调用 (屏幕一般一秒钟刷新60次)
CADisplayLink *link = [CADisplayLink displayLinkWithTarget:self selector:@selector(timerChanged)];
[link addToRunLoop:[NSRunLoop mainRunLoop] forMode:NSDefaultRunLoopMode];
- (void)timerChanged {
    // 这个方法不会让drawRect马上执行,这个方法只是给当前控件添加刷新的标记,等下一次屏幕刷新的时候才会调用drawrect方法  用CADisplayLink 让刷新明目和timer的时间间隔保持一致 防止卡顿
    [self setNeedsDisplay];
}
矩阵操作
- (void)drawRect:(CGRect)rect {
    CGContextRef ctx = UIGraphicsGetCurrentContext();
    UIBezierPath *path = [UIBezierPath bezierPath];
    [path moveToPoint:CGPointMake(50, 50)];

    [path addLineToPoint:CGPointMake(200, 200)];

    // 平移 x平移100 y平移50
    CGContextTranslateCTM(ctx, 50, 50);
    // 缩放
    CGContextScaleCTM(ctx, 2, 2);
    // 旋转 45度
    CGContextRotateCTM(ctx, M_PI_4);
    // 矩阵操作必须要在添加路径之前
    CGContextAddPath(ctx, path.CGPath);

    CGContextStrokePath(ctx);
}
注意点:
drawRect 不可以手动调用,因为我们不能创建图形上下文 只能由系统帮我们创建,并且传递给drawRect
想重新绘制 调用setNeedsDisplay比较好用