记录一下学习的笔记
核心动画
- 核心动画基本概念
- 基本动画
- 关键帧动画
- 动画组
- 转场动画
Core Animation简介
-
Core Animation,中文翻译译为核心动画,它是一组非常强大动画处理API,使用它能做出非常炫丽的动画效果,而且往往是事半功倍。也就是说,使用少量的代码就可以实现非常强大的功能。 -
Core Animation也可以用在Mac OS X和iOS平台。 -
Core Animation的动画执行过程都是在后台操作的,不会阻塞主线程。 - 要注意的是,
Core Animation是直接作用在CALayer上的,并非UIView。
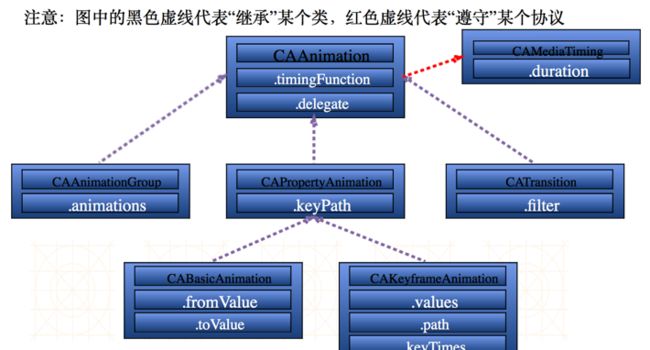
核心动画继承结构
基本动画
一、位移动画
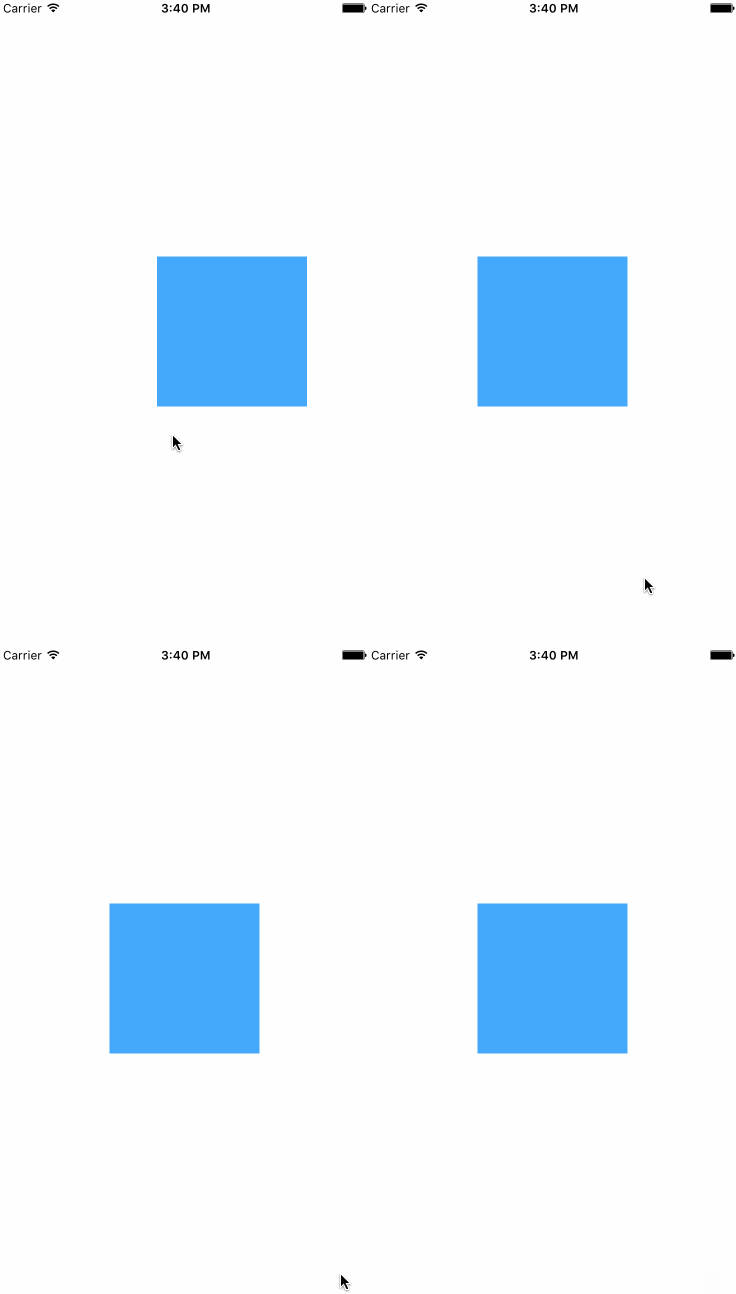
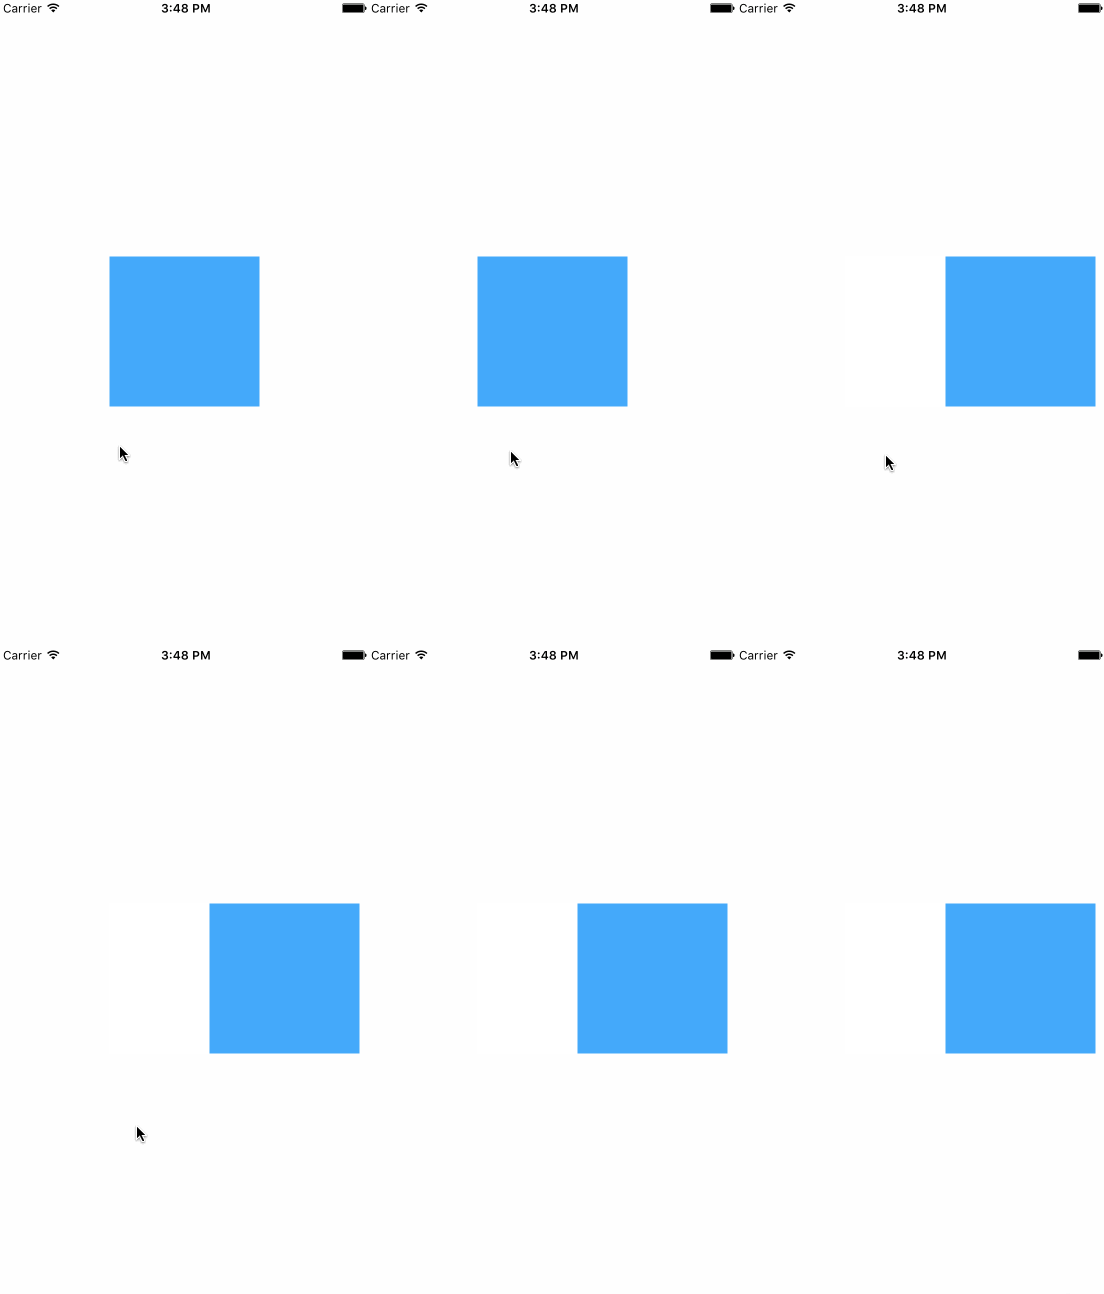
效果图: 注意,这里动画执行完毕后,状态是会还原到开始动画的位置,我们可以继续点击屏幕,再次执行动画。可以使用removedOnCompletion和fillMode控制动画执行完毕后的状态,详情继续往下看。
-
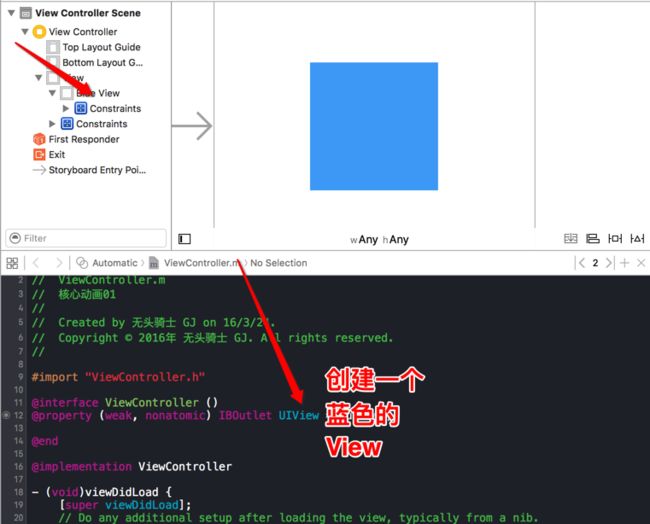
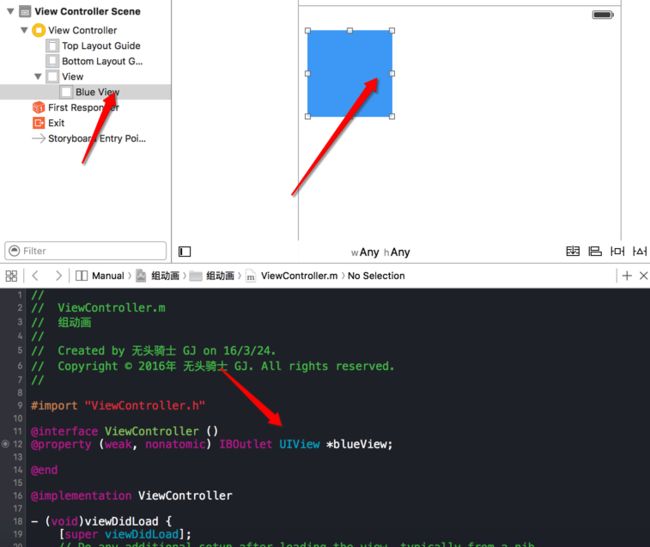
1、创建一个蓝色的
View
2、点击触发位移动画
 - (void)touchesBegan:(NSSet *)touches withEvent:(UIEvent *)event
{
    // 1、初始化动画对象
    CABasicAnimation *anim = [CABasicAnimation animation];

    // 2、设置属性值
    anim.keyPath = @"transform.translation.x";
    anim.toValue = @100;

    // 一个layer里面可能有多个动画,forKey可以方便管理
    [self.blueView.layer addAnimation: anim forKey: nil];
}
- 3、基本属性详解
-
a、
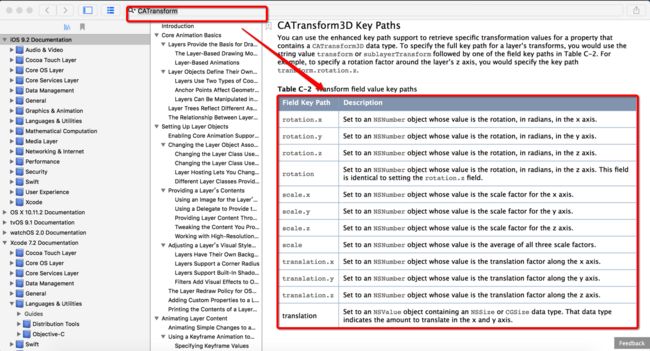
keyPath: 告诉系统要执行什么样的动画,可以在Xcode Documentation中查询可以使用的keyPath的值。
b、
toValue: 通过动画,要把layer移动到哪儿。c、
removedOnCompletion和fillMode配合使用, 可以让动画执行完毕后,图层会保持显示动画执行后的状态。但在实质上,图层的属性值还是动画执行前的初始值,并没有真正被改变.
-
看以下的代码,分别在动画开始前打印了
layer的position的值,动画执行完毕后也打印了layer的position的值,不过要设置一下动画的代理。
     - (void)touchesBegan:(NSSet *)touches withEvent:      (UIEvent *)event
{
        NSLog(@"开始时position的值:%@", NSStringFromCGPoint(self.blueView.layer.position));
        // 1、初始化动画对象
        CABasicAnimation *anim = [CABasicAnimation animation];

        // 2、设置属性值
        anim.keyPath = @"transform.translation.x";
        anim.toValue = @100;

        // 3、动画完成后是否删除动画
        anim.removedOnCompletion = NO;
        anim.fillMode = kCAFillModeForwards;
        anim.delegate = self;
        //  anim.fillMode = @"forwards";    // 也是支持字符串的
        //  anim.fillMode = @"backwards";   // 默认的


        // 一个layer里面可能有多个动画,forKey可以方便管理
        [self.blueView.layer addAnimation: anim forKey: nil];
}

- (void)animationDidStart:(CAAnimation *)anim
{
    NSLog(@"开始动画");
}

- (void)animationDidStop:(CAAnimation *)anim finished:(BOOL)flag
{
    NSLog(@"执行后position的值:%@", NSStringFromCGPoint(self.blueView.layer.position));
}
效果图:
点击屏幕,layer停留在动画结束的那一位置。
实际的position的值并没有改变
二、心跳动画
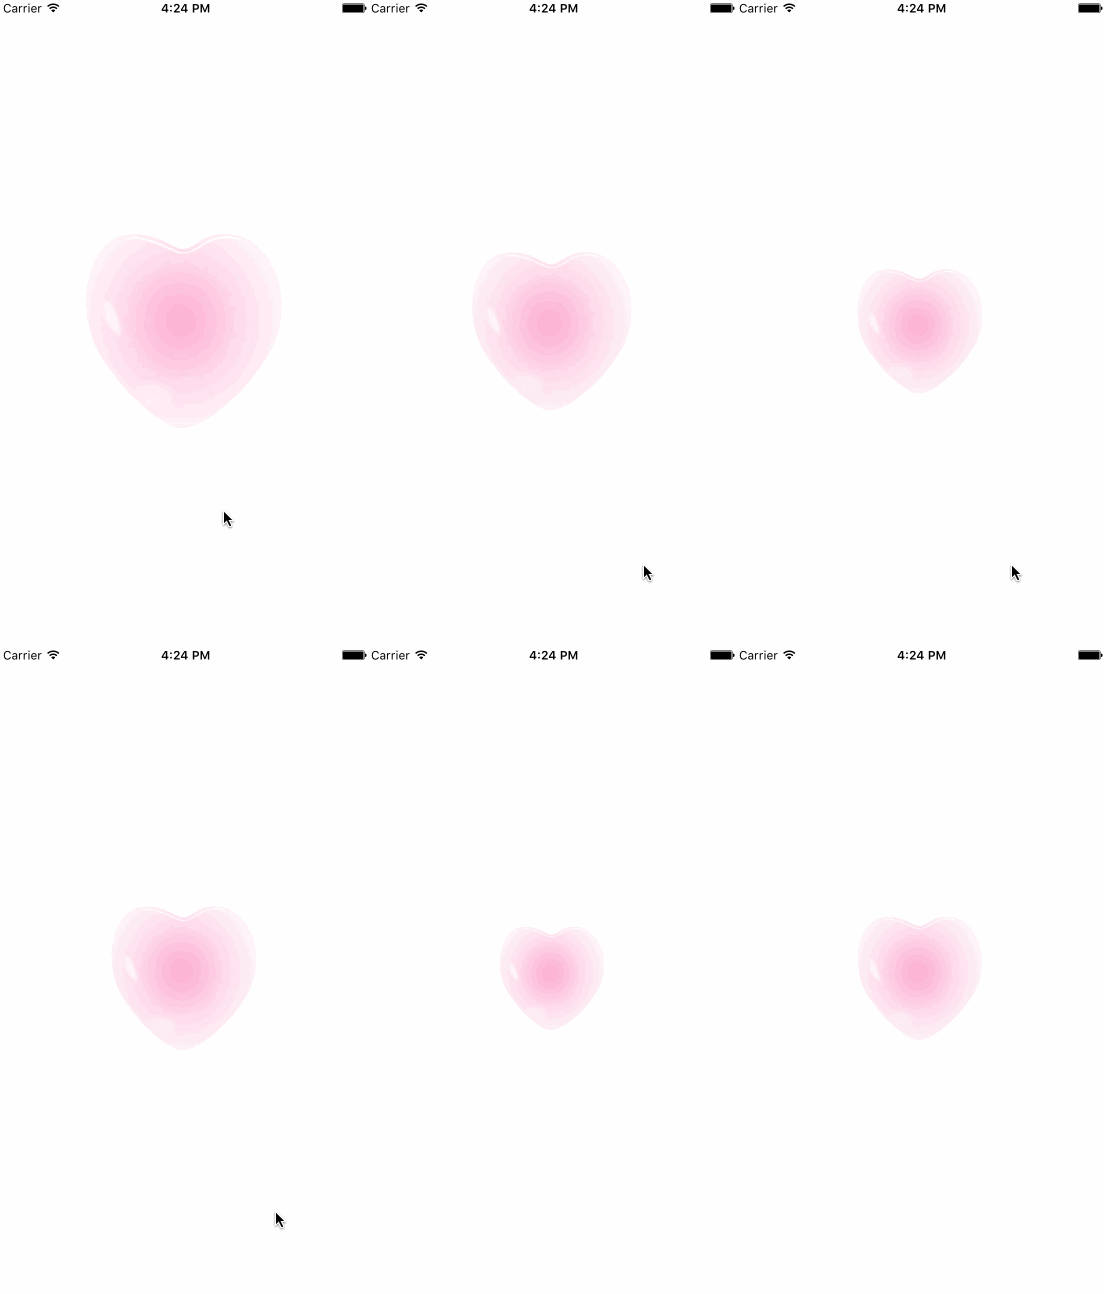
效果图:
-
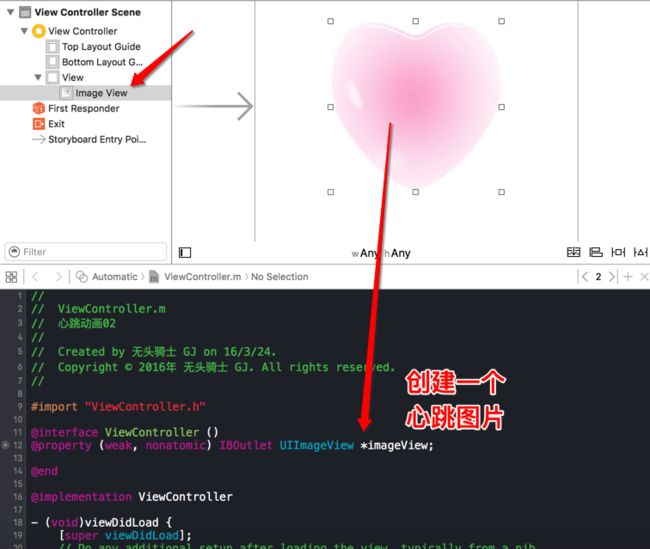
1、创建一个
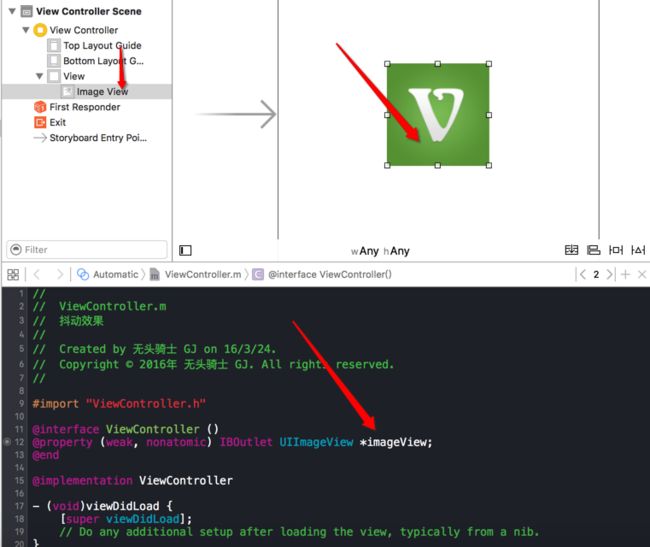
UIImageView并设置心跳图片
2、点击屏幕触发动画, 主要学习一下
duration、repeatCount与autoreverses属性。
- (void)touchesBegan:(NSSet *)touches withEvent:(UIEvent *)event
{
    // 创建动画对象
    CABasicAnimation *anim = [CABasicAnimation animation];

    anim.keyPath = @"transform.scale";  // transform.scale 表示长和宽都缩放
    anim.toValue = @0;                  // @0 缩放到最小

    anim.duration = 0.5;                // 设置动画执行时间
    anim.repeatCount = MAXFLOAT;        // MAXFLOAT 表示动画执行次数为无限次

    anim.autoreverses = YES;            // 控制动画反转 默认情况下动画从尺寸1到0的过程中是有动画的,但是从0到1的过程中是没有动画的,设置autoreverses属性可以让尺寸0到1也是有过程的

    [self.imageView.layer addAnimation: anim forKey: nil];
}
桢动画
是
CApropertyAnimation的子类,跟CABasicAnimation的区别是:CABasicAnimation只能从一个数值(fromValue)变到另一个数值(toValue),而CAKeyframeAnimation会使用一个NSArray保存这些数值, 也可以使用UIBezierPath来绘制动画路径。
属性解析:
-
values:就是上述的NSArray对象。里面的元素称为”关键帧”(keyframe)。动画对象会在指定的时间(duration)内,依次显示values数组中的每一个关键帧。 -
path:可以设置一个CGPathRef\CGMutablePathRef,让层跟着路径移动。path只对CALayer的anchorPoint和position起作用。如果你设置了path,那么values将被忽略。 -
keyTimes:可以为对应的关键帧指定对应的时间点,其取值范围为0到1.0,keyTimes中的每一个时间值都对应values中的每一帧.当keyTimes没有设置的时候,各个关键帧的时间是平分的。
说明:
CABasicAnimation可看做是最多只有2个关键帧的CAKeyframeAnimation。
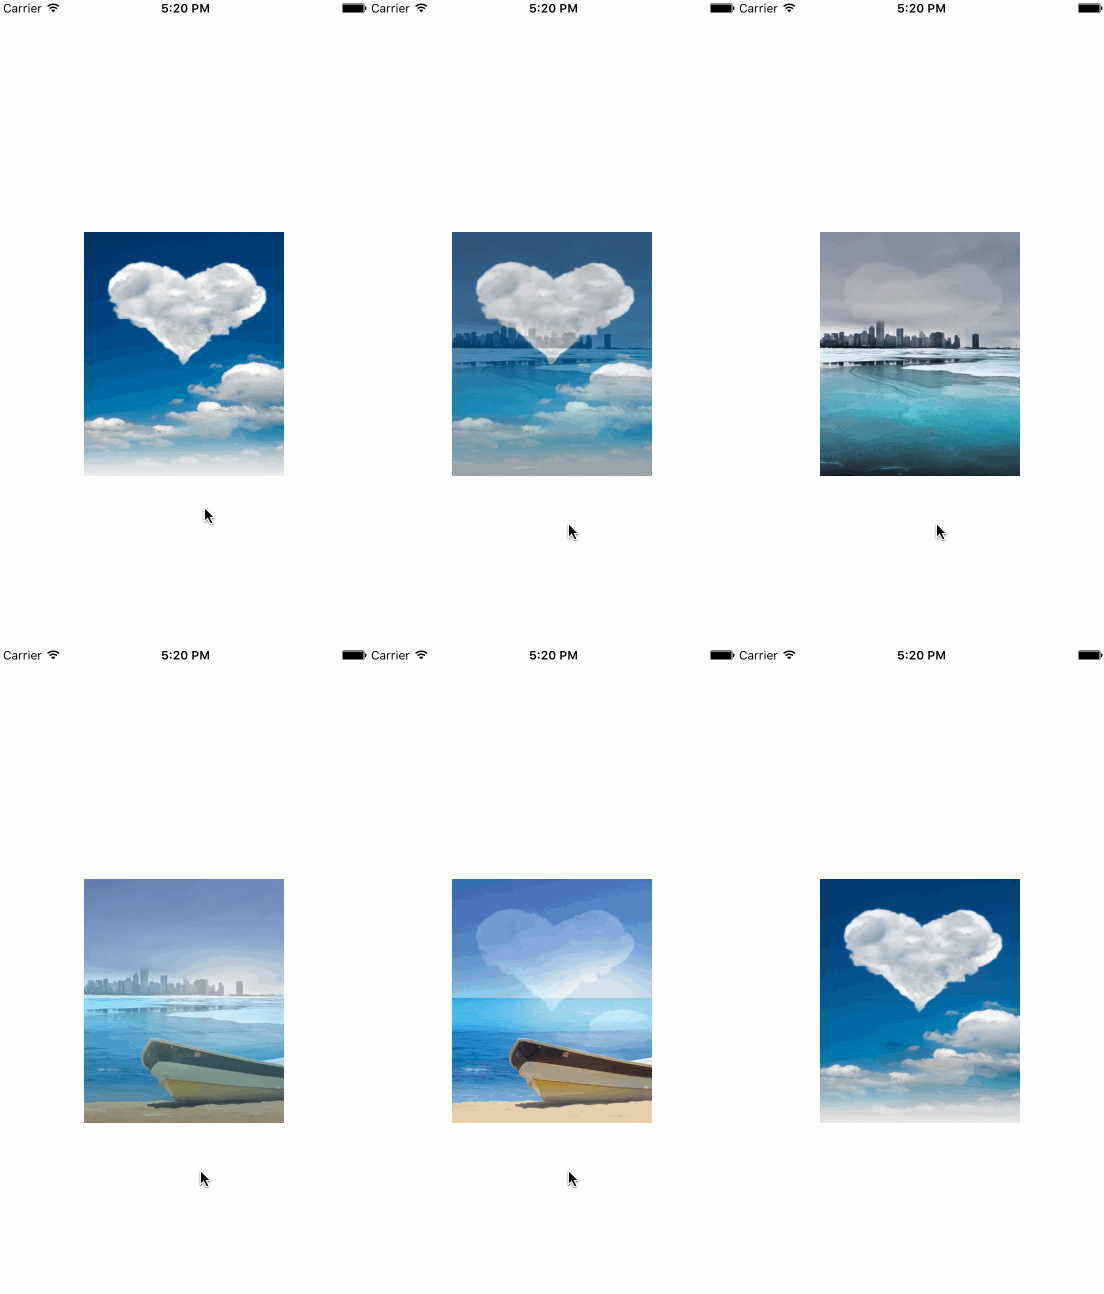
一、抖动效果
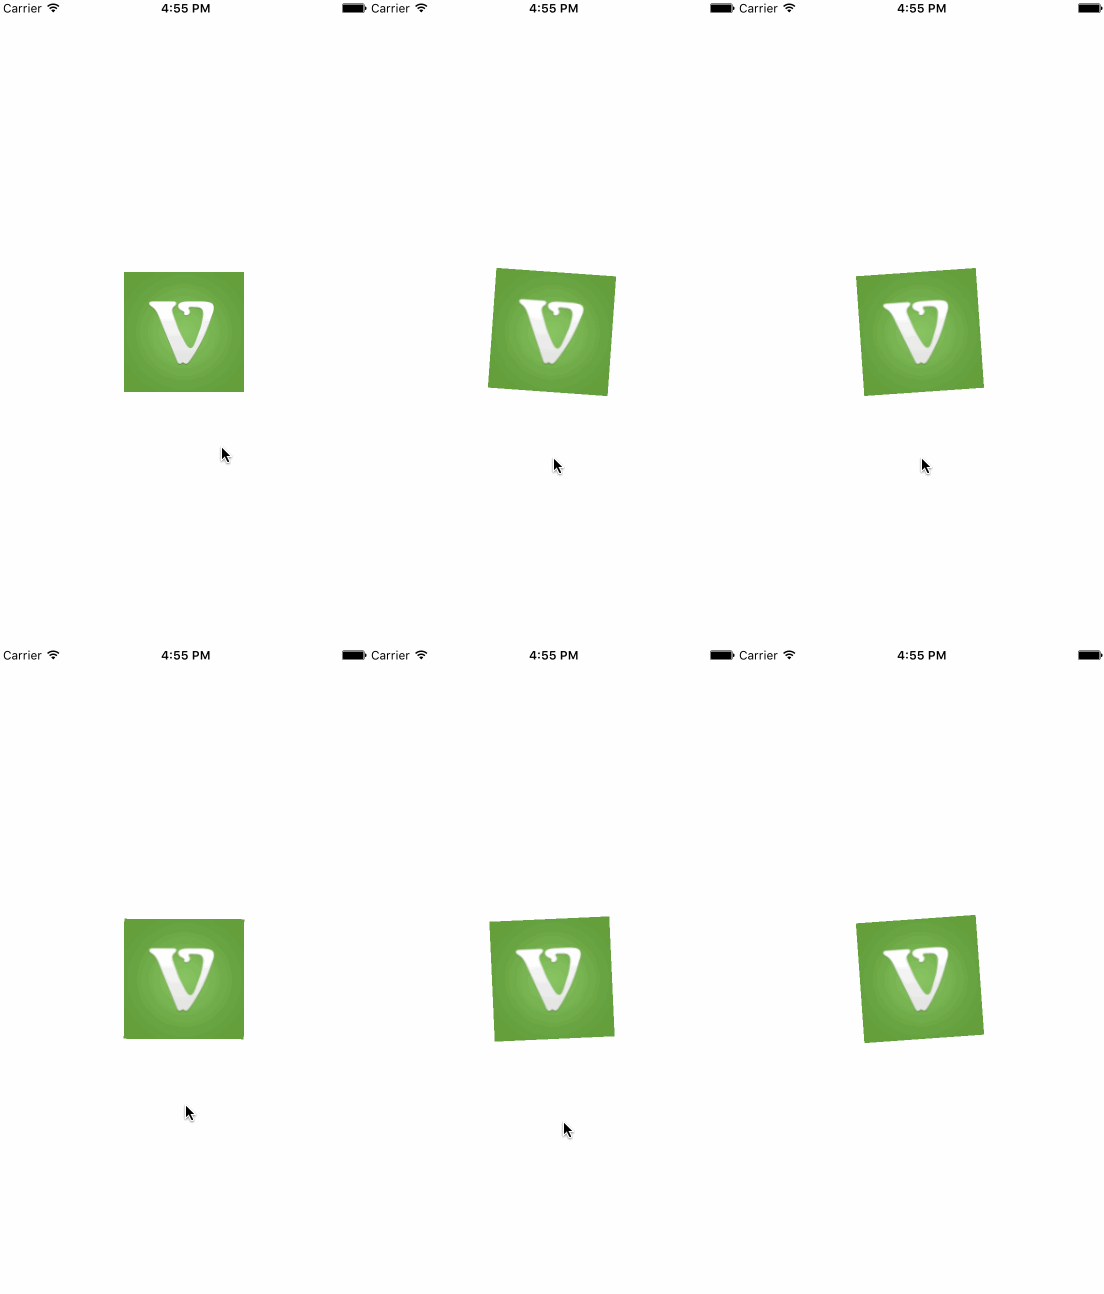
效果图:
-
1、创建一个
UIImageView
2、点击屏幕触发抖动效果
#define angle2Radio(angle) ((angle) * M_PI / 180.0)     // 旋转角度的宏
- (void)touchesBegan:(NSSet *)touches withEvent:(UIEvent *)event
{
    CAKeyframeAnimation *anim = [CAKeyframeAnimation animation];

    anim.keyPath = @"transform.rotation";  // rotation.x、rotation.y与rotation.z 默认是z
    anim.values = @[@(angle2Radio(-5)), @(angle2Radio(5)), @(angle2Radio(-5))]; // 把度数转换为弧度  度数/180*M_PI

    anim.repeatCount = MAXFLOAT;    // 动画执行次数无限次

    [self.imageView.layer addAnimation: anim forKey: nil];
}
转场动画
CAAnimation的子类,用于做转场动画,能够为层提供移出屏幕和移入屏幕的动画效果。iOS比Mac OS X的转场动画效果少一点
UINavigationController就是通过CATransition实现了将控制器的视图推入屏幕的动画效果
属性解析:
-
type:动画过渡类型 -
subtype:动画过渡方向 -
startProgress:动画起点(在整体动画的百分比) -
endProgress:动画终点(在整体动画的百分比)
效果图:
-
1、创建一个
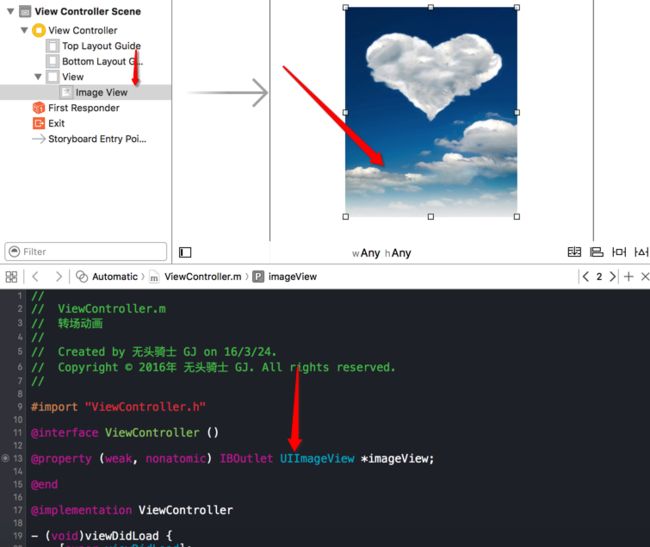
UIImageView
2、点击屏幕触发转场效果
static int _i = 1;
- (void)touchesBegan:(NSSet *)touches withEvent:(UIEvent *)event
{

    // 0、切换图片
    _i++;
    if (_i > 3) {
        _i = 1;
    }
    self.imageView.image = [UIImage imageNamed: [NSString stringWithFormat: @"%d", _i]];

    // 1、创建转场动画
    CATransition *trans = [CATransition animation];
    trans.duration = 1;

    // 2、设置转场类型
    trans.type = @"cude";

    [self.imageView.layer addAnimation: trans forKey: nil];
}
- 3、
type类型的值
| 类型字符串 | 效果说明 | 关键字 | 方向 |
|---|---|---|---|
| fade | 交叉淡化过渡 | YES | |
| push | 新视图把旧视图推出去 | YES | |
| moveIn | 新视图移到旧视图上面 | YES | |
| reveal | 将旧视图移开,显示下面的新视图 | YES | |
| cube | 立体翻转效果 | ||
| oglflip | 上下左右翻转效果 | ||
| suckEffect | 收缩效果,如同一块布被抽走 | NO | |
| rippleEffect | 水滴效果 | NO | |
| pageCurl | 向上翻页效果 | ||
| pageUnCurl | 向下翻页效果 | ||
| cameraIrisHollowOpen | 相机镜头打开效果 | NO | |
| cameraIrisHollowClose | 相机镜头关闭效果 | NO |
动画组
动画组,是
CAAnimation的子类,可以保存一组动画对象,将CAAnimationGroup对象加入层后,组中所有动画对象可以同时并发运行。
属性说明:
- animations:用来保存一组动画对象的NSArray
- 默认情况下,一组动画对象是同时运行的,也可以通过设置动画对象的beginTime属性来更改动画的开始时间
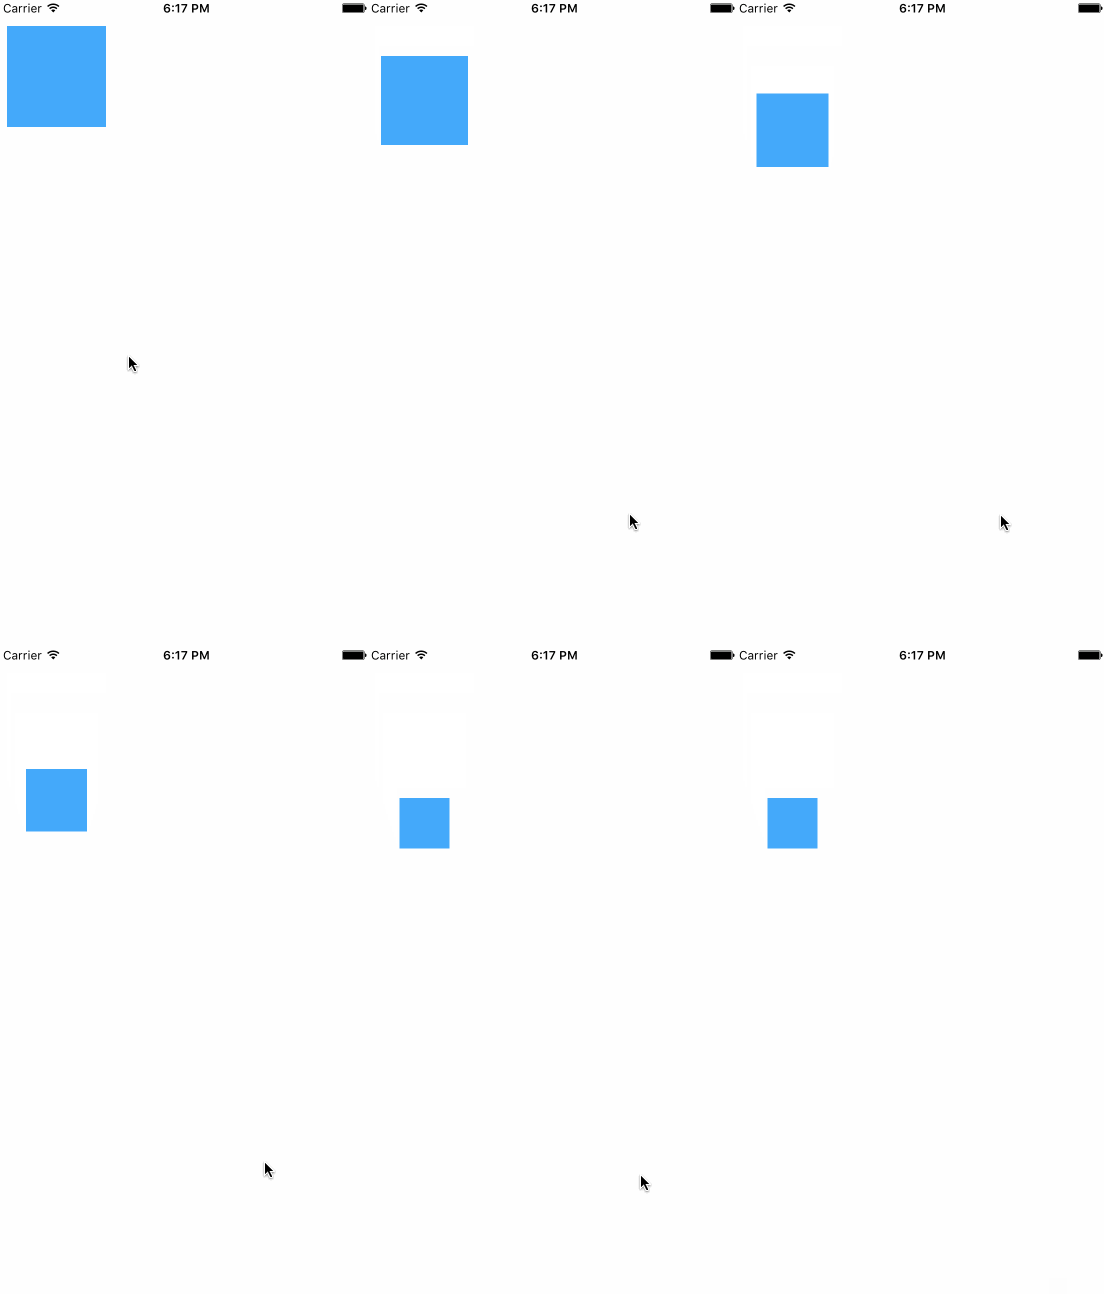
一、移动、缩小同时进行的动画
效果图:
- 1、创建一个蓝色的
UIView
- 2、第一种方法,创建两个基本动画,缺点有些属性需要重复设置
- (void)touchesBegan:(NSSet *)touches withEvent:(UIEvent *)event
{
    CABasicAnimation *anim1 = [CABasicAnimation animation];

    anim1.keyPath = @"transform.translation.y";
    anim1.toValue = @100;
    anim1.duration = 2;
    anim1.removedOnCompletion = NO;
    anim1.fillMode = kCAFillModeForwards;


    CABasicAnimation *anim2 = [CABasicAnimation animation];

    anim2.keyPath = @"transform.scale";
    anim2.toValue = @0.5;
    anim2.duration = 2;
    anim2.removedOnCompletion = NO;
    anim2.fillMode = kCAFillModeForwards;

    [self.blueView.layer addAnimation: anim1 forKey: nil];
    [self.blueView.layer addAnimation: anim2 forKey: nil];
}
- 3、第二种方法,组动画, 可以设置公共属性
- (void)touchesBegan:(NSSet *)touches withEvent:(UIEvent *)event
{
    CAAnimationGroup *groupAnim = [CAAnimationGroup animation];
    groupAnim.duration = 2;
    groupAnim.removedOnCompletion = NO;
    groupAnim.fillMode = kCAFillModeForwards;

    CABasicAnimation *anim1 = [CABasicAnimation animation];
    anim1.keyPath = @"transform.translation.y";
    anim1.toValue = @100;

    CABasicAnimation *anim2 = [CABasicAnimation animation];
    anim2.keyPath = @"transform.scale";
    anim2.toValue = @0.5;

    groupAnim.animations = @[anim1, anim2];
    [self.blueView.layer addAnimation: groupAnim forKey: nil];
}
UIView动画和核心动画的区别和选择
区别:
- 1、核心动画只作用于
Layer。 - 2、核心动画看到的一切都是假像,真实值并没有被修改(详情查看基本动画第一个例子)。
选择:
- 1、什么时候使用
UIView动画: 当与用户交互的时候,使用UIView,不需要与用户进行交互时,使用两个都可以。 - 2、什么时候使用核心动画:当做帧动画,转场动画的时候使用
