由于项目需求,需要实现类似随便走的AR功能,先来张随便走的截图,如下:

目前也有一些第三方的AR框架,所以不知道随便走到底是基于第三方的还是自己做的,但接下来我们会用简单的方式来实现AR功能。在这之前,你得先了解一些基本的常识,
1、真北真北指的是地理的北极
2、磁北 磁北指的是磁场北极
3、方位角是从某点的指北方向线起,依顺时针方向到目标方向线之间的水平夹角
我们知道在iOS系统框架中,有一个叫CoreLocation框架,专门是跟定位有关,通过这个框架,我们可以很方便的实现指南针的功能。我们可以看下CLLocationManager这个管理类,里面有经纬度、设备的真实方向等信息。我们看下CLHeading这个类,如下:

通过这个类,我们可以获取到设备跟磁北、真北的角度,x,y,z方向上的磁力值,我们先简单实现一个这样的功能,先画一个雷达图,在雷达图上有一根线指向磁北,
1、我们先新建一个UIVew,在drawRect:(CGRect)rec函数里画一个黑色的圆圈,代码如下:
[objc]view plaincopy
- (void)drawRect:(CGRect)rect{
CGContextRef context = UIGraphicsGetCurrentContext();
CGContextAddEllipseInRect(context, rect);
[[UIColorcolorWithRed:0green:0blue:0alpha:0.6f]set];
CGContextFillPath(context);
}
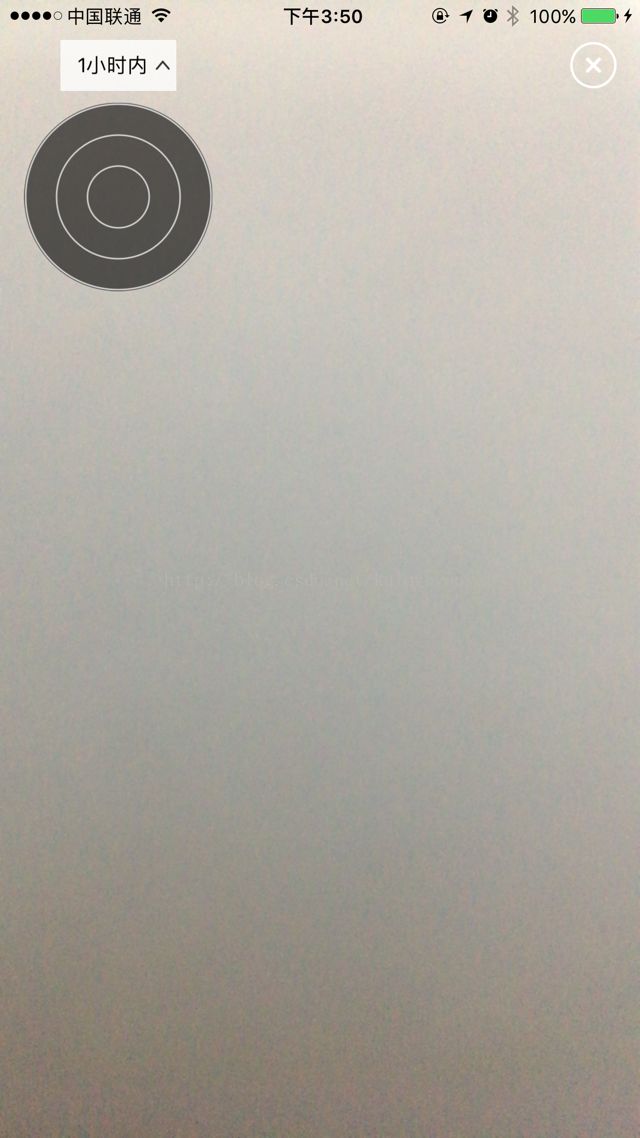
2、我们在黑色的圆圈上面画一圈圈的白色圆圈,画三次,代码如下:
[objc]view plaincopy
NSArray*colors = @[
[UIColorcolorWithRed:240.0/255.0green:240.0/255.0blue:240.0/255.0alpha:0.8],
[UIColorcolorWithRed:240.0/255.0green:240.0/255.0blue:240.0/255.0alpha:0.8],
[UIColorcolorWithRed:240.0/255.0green:240.0/255.0blue:240.0/255.0alpha:0.8]
];
NSInteger radius =self.frame.size.width/2/3, increment =self.frame.size.width/2/3;
NSArray*angles = @[
@{@"start":@0,@"end":@360},
@{@"start":@0,@"end":@360},
@{@"start":@0,@"end":@360},
];
for(inti =0; i < colors.count; i++) {
[colors[i]setStroke];
UIBezierPath*path = [UIBezierPathbezierPathWithArcCenter:CGPointMake(self.frame.size.width/2,self.frame.size.height/2)
radius:radius
startAngle:DEGREES_TO_RADIANS([[angles[i]valueForKey:@"start"]integerValue])
endAngle:DEGREES_TO_RADIANS([[angles[i]valueForKey:@"end"]integerValue])
clockwise:YES];
path.lineWidth=1;
[pathstroke];
if(i==colors.count-2)
{
increment=self.frame.size.width/2/3;
}
radius += increment;
}
效果如下图:
3、然后我们画一根线,代码如下:
[objc]view plaincopy
CGContextSetLineCap(context, kCGLineCapRound);
CGContextSetLineWidth(context,1);//线宽
CGContextSetAllowsAntialiasing(context,true);
CGContextSetRGBStrokeColor(context,70.0/255.0,241.0/255.0,241.0/255.0,1.0);//线的颜色
CGContextBeginPath(context);
CGContextMoveToPoint(context,self.frame.size.width/2,0);
CGContextAddLineToPoint(context,self.frame.size.width/2,self.frame.size.height/2);
CGContextStrokePath(context);
4、我们初始化CLLocationManager这个类,代码如下:
[objc]view plaincopy
self.locationManager= [[CLLocationManageralloc]init];
if([CLLocationManagerlocationServicesEnabled])
{
// Configure and start the LocationManager instance
self.locationManager.delegate=self;
self.locationManager.desiredAccuracy= kCLLocationAccuracyBest;
self.locationManager.distanceFilter=100.0f;
// [self.locationManager startUpdatingLocation];
// [self.locationManager startUpdatingHeading];
}
5、在CLLocationManager回调函数里,
[objc]view plaincopy
- (void)locationManager:(CLLocationManager*)manager
didUpdateToLocation:(CLLocation*)newLocation
fromLocation:(CLLocation*)oldLocation
{
}
我们让这个雷达图跟着角度转,指向磁北或真北,代码如下:
[objc]view plaincopy
floatdirection = newHeading.trueHeading;
floatheadingAngle = -(direction*M_PI/180);
_arcsView.transform= CGAffineTransformMakeRotation(angle);
效果如下:
