写在前面:
在上一篇代码 MJRefresh 的简单集成介绍之后,这一次再给大家带来另一个使用率非常广的组件 ZXing,上一篇中我们使用 Binding Library 去引用第三方的 SDK,需要时候这些 Binding 的问题处理非常繁琐,同样这一次我们会使用更简单的方式,直接添加大牛已经开发好的开源 Nuget,然后再根据业务场景进行部分定制即可。
zxing.png
Getting Started
ZXing.Net Mobile 是一个在 Xamarin 开发中非常老牌的二维码扫码组件,可以作为 NuGet package 安装在 iOS,Android,Windows,PCL 项目中使用,对于这篇文章,我将着重介绍 Xamarin.Forms 部分的集成使用。我们可以非常容易的在 NuGet package 中找到并安装到你的 Xamarin.Forms 项目中。


ZXingScannerPage
只需两行代码即可在应用程序中集成二维码扫码功能。首先,创建一个新的 ZXingScannerPage,然后将页面放置到导航栈上:
var scanPage = new ZXingScannerPage ();
// Navigate to our scanner page
await Navigation.PushAsync (scanPage);
Checking results
当扫码成功后,你可以在 OnScanResult 这个方法中处理返回的结果:
scanPage.OnScanResult += (result) =>
{
    // Stop scanning
    scanPage.IsScanning = false;

    // Pop the page and show the result
    Device.BeginInvokeOnMainThread (async () =>
    {
        await Navigation.PopAsync ();
        await DisplayAlert("Scanned Barcode", result.Text, "OK");
    });
};
Handling Permissions
Android
- 添加相机和闪光灯请求权限:
- 在你的 MainActivity 中重写下面的方法:
protected override void OnCreate(Bundle bundle)
{
        TabLayoutResource = Resource.Layout.Tabbar;
        ToolbarResource = Resource.Layout.Toolbar;

        base.OnCreate(bundle);

        global::Xamarin.Forms.Forms.Init(this, bundle);
        ZXing.Net.Mobile.Forms.Android.Platform.Init();
        ZXing.Mobile.MobileBarcodeScanner.Initialize(this.Application);
        LoadApplication(new App());
}
public override void OnRequestPermissionsResult(int requestCode, string[] permissions, Permission[] grantResults)
{
    global::ZXing.Net.Mobile.Forms.Android.PermissionsHandler.OnRequestPermissionsResult (requestCode, permissions, grantResults);
}
iOS
- 在 Info.plist 中添加使用相机的权限提示:
NSCameraUsageDescription
This app needs to access a camera to scan the barcode.
- 然后在 AppDelegate 中初始化:
public override bool FinishedLaunching(UIApplication app, NSDictionary options)
{
        global::Xamarin.Forms.Forms.Init();
        LoadApplication(new App());

        //Inicializa o Zxing no iOS
        ZXing.Net.Mobile.Forms.iOS.Platform.Init();

        return base.FinishedLaunching(app, options);
}
之后就能显示默认的扫码页面了:
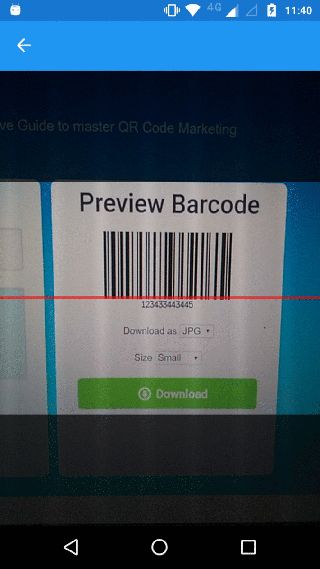
default.png
Customization
如果要自定义 Overlay,则必须为每个平台创建自己的视图。你可以像这样自定义:
var scanner = new ZXing.Mobile.MobileBarcodeScanner();
scanner.UseCustomOverlay = true;
scanner.CustomOverlay = myCustomOverlayInstance;
var result = await scanner.Scan();
//Handle result
Android
- 添加布局文件:
- 加载视图并处理事件:
    public class CustomScanView : RelativeLayout
    {
        public Action OnCancel;
        public Action OnTorch;
        public CustomScanView(Context context) : base(context)
        {
            View.Inflate(context, Resource.Layout.CustomScanView, this);
            TextView back= FindViewById(Resource.Id.back);
            back.Text = "Cancel";
            TextView flash = FindViewById(Resource.Id.flash);
            flash.Text = "Flash";

            back.Click += Back_Click;
            flash.Click += Flash_Click;
        }

        private void Flash_Click(object sender, EventArgs e)
        {
            OnTorch?.Invoke();
        }

        private void Back_Click(object sender, System.EventArgs e)
        {
            OnCancel?.Invoke();
        }

    }
- 自定义 Overlay 视图:
public class CustomOverlayView : View
    {
        float screenRate;
        float lineWidth;
        float textSize;
        float left;
        float width;
        float height;
        float top;
        Paint paint;
        public CustomOverlayView(Context context) : base(context)
        {
            InitData(context);
        }

        public CustomOverlayView(Context context, IAttributeSet attrs) : base(context, attrs)
        {
            InitData(context);
        }

        public override void Draw(Canvas canvas)
        {
            left = canvas.Width * 0.125f;
            width = canvas.Width * 0.75f;
            height = canvas.Width * 0.75f;
            top = (canvas.Height - height) / 2;

            paint = new Paint { AntiAlias = true, };
            paint.SetStyle(Paint.Style.FillAndStroke);

            AddScreenFillRect(canvas);
            AddCenterClearRect(canvas);
            AddWhiteCanvas(canvas);
            AddCornerLineWithCanvas(canvas);
            AddTextWithCanvas(canvas);
        }

        private void InitData(Context context)
        {
            screenRate = 15 * context.Resources.DisplayMetrics.Density;
            lineWidth = 2 * context.Resources.DisplayMetrics.Density;
            textSize = 16 * context.Resources.DisplayMetrics.Density;
        }

        //添加屏幕半透明填充色
        private void AddScreenFillRect(Canvas canvas)
        {
            paint.Color = Color.Black;
            paint.Alpha = 128;

            canvas.DrawRect(0, 0, canvas.Width, top, paint);
            canvas.DrawRect(0, top, left, top + width, paint);
            canvas.DrawRect(width + left, top, canvas.Width, top + width, paint);
            canvas.DrawRect(0, top + width, canvas.Width, canvas.Height, paint);
        }
        //添加中心全透明填充色
        private void AddCenterClearRect(Canvas canvas)
        {
            paint.Color = Color.Transparent;

            canvas.DrawRect(left, top, left + width, top + width, paint);
        }
        //添加白色方框
        private void AddWhiteCanvas(Canvas canvas)
        {
            paint.Color = Color.Rgb(255, 255, 255);

            canvas.DrawRect(left, top, left + width, top + 2, paint);
            canvas.DrawRect(left, top, left + 2, top + height, paint);
            canvas.DrawRect(left + width, top, left + width + 2, top + height, paint);
            canvas.DrawRect(left, top + height, left + width, top + height + 2, paint);
        }
        //添加四个角的蓝色
        private void AddCornerLineWithCanvas(Canvas canvas)
        {
            paint.Color = Color.Rgb(22, 118, 188);

            canvas.DrawRect(left, top, left + screenRate, top + lineWidth, paint);
            canvas.DrawRect(left, top, left + lineWidth, top + screenRate, paint);
            canvas.DrawRect(left + width - screenRate, top, left + width, top + lineWidth, paint);
            canvas.DrawRect(left + width, top, left + width + lineWidth, top + screenRate, paint);
            canvas.DrawRect(left, top + width, left + screenRate, top + width + lineWidth, paint);
            canvas.DrawRect(left, top + width - screenRate, left + lineWidth, top + width, paint);
            canvas.DrawRect(left + width - screenRate, top + width, left + width + lineWidth, top + width + lineWidth, paint);
            canvas.DrawRect(left + width, top + width - screenRate, left + width + lineWidth, top + width + lineWidth, paint);
        }
        //添加文字提醒
        private void AddTextWithCanvas(Canvas canvas)
        {
            paint.Color = Color.Rgb(255, 255, 255);
            paint.SetTypeface(Typeface.DefaultBold);
            paint.TextSize = textSize;
            string text = TranslationHelper.Translate("BottomText");

            float textWidth = paint.MeasureText(text);

            canvas.DrawText(text,(canvas.Width - textWidth)/2, top + width + textSize , paint);
        }
    }
iOS
- 添加自定义视图:
public class CustomOverlayView : UIView
    {
        UILabel textBottom;
        UIView redLine;
        public Action OnCancel;
        public Action OnTorch;
        CGSize screenSize = UIScreen.MainScreen.Bounds.Size;

        public CustomOverlayView() : base()
        {
            Opaque = false;
            BackgroundColor = UIColor.Clear;

            textBottom = new UILabel()
            {
                Frame = new CGRect(0, (screenSize.Height - 44 + screenSize.Width * 0.75f) / 2, screenSize.Width, 40f),
                Text = "BottomText",
                Font = UIFont.SystemFontOfSize(13),
                TextAlignment = UITextAlignment.Center,
                TextColor = UIColor.White,
                Lines = 0,
                BackgroundColor = UIColor.Clear
            };
            this.AddSubview(textBottom);

            var captureDevice = AVCaptureDevice.GetDefaultDevice(AVMediaType.Video);

            bool hasTorch = false;

            if (captureDevice != null)
                hasTorch = captureDevice.TorchAvailable;

            InvokeOnMainThread(delegate {
                // Setting tool bar
                var toolBar = new UIToolbar(new CGRect(0, Frame.Height - 44, Frame.Width, 44));

                var buttons = new List();
                UIBarButtonItem cancel = new UIBarButtonItem("Cancel", UIBarButtonItemStyle.Done, delegate { OnCancel(); });
                cancel.SetTitleTextAttributes(new UITextAttributes {TextColor = UIColor.White }, UIControlState.Normal);
                buttons.Add(cancel);
                if (hasTorch)
                {
                    buttons.Add(new UIBarButtonItem(UIBarButtonSystemItem.FlexibleSpace));

                    UIBarButtonItem torch = new UIBarButtonItem("Flash", UIBarButtonItemStyle.Done, delegate { OnTorch(); });
                    torch.SetTitleTextAttributes(new UITextAttributes { TextColor = UIColor.White }, UIControlState.Normal);
                    buttons.Add(torch);
                }

                toolBar.Items = buttons.ToArray();
                toolBar.BarTintColor = UIColor.Clear;
                toolBar.Translucent = true;
                toolBar.TintColor = UIColor.Black;
                toolBar.AutoresizingMask = UIViewAutoresizing.FlexibleWidth | UIViewAutoresizing.FlexibleTopMargin;
                Add(toolBar);
            });

        }

        public override void Draw(CGRect rect)
        {
            CGRect screenDrawRect = new CGRect(0, 0, screenSize.Width, screenSize.Height - 44);

            //中间清空的矩形框
            CGRect clearDrawRect = new CGRect(screenDrawRect.Size.Width *0.125f, (screenDrawRect.Size.Height - screenDrawRect.Size.Width *0.75f) / 2,
                                              screenDrawRect.Size.Width * 0.75f, screenDrawRect.Size.Width * 0.75f);

            CGContext ctx = UIGraphics.GetCurrentContext();
            AddScreenFillRect(ctx, screenDrawRect);
            AddCenterClearRect(ctx, clearDrawRect);
            AddWhiteRect(ctx, clearDrawRect);
            AddCornerLineWithContext(ctx, clearDrawRect);
        }
        //添加屏幕半透明填充色
        private void AddScreenFillRect(CGContext ctx, CGRect rect)
        {
            ctx.SetFillColor(new CGColor(0, 0, 0, 0.5f));
            ctx.FillRect(rect);
        }
        //添加中心全透明填充色
        private void AddCenterClearRect(CGContext ctx, CGRect rect)
        {
            ctx.ClearRect(rect);
        }
        //根据点画线
        private void AddLine(CGPoint[] pointA, CGPoint[] pointB, CGContext ctx)
        {
            ctx.SetLineWidth(2f);
            ctx.AddLines(pointA);
            ctx.AddLines(pointB);
        }
        //添加白色方框
        private void AddWhiteRect(CGContext ctx, CGRect rect)
        {
            ctx.StrokeRect(rect);
            ctx.SetStrokeColor(new CGColor(1, 1, 1, 1));
            ctx.SetLineWidth(0.8f);
            ctx.AddRect(rect);
            ctx.StrokePath();
        }
        //添加四个角的蓝色
        private void AddCornerLineWithContext(CGContext ctx, CGRect rect)
        {
            //画四个边角
            ctx.SetLineWidth(2f);
            ctx.SetStrokeColor(UIColor.FromRGB(22, 118, 188).CGColor);

            //左上角
            CGPoint[] poinsTopLeftA =new CGPoint[] {new CGPoint(rect.Location.X + 0.7f, rect.Location.Y), new CGPoint(rect.Location.X + 0.7f, rect.Location.Y + 15f)};

            CGPoint[] poinsTopLeftB = new CGPoint[] { new CGPoint(rect.Location.X, rect.Location.Y + 0.7f), new CGPoint(rect.Location.X + 15f, rect.Location.Y + 0.7f) };

            AddLine(poinsTopLeftA, poinsTopLeftB, ctx);

            //左下角
            CGPoint[] poinsBottomLeftA = new CGPoint[] { new CGPoint(rect.Location.X + 0.7f, rect.Location.Y + rect.Size.Height -15f), new CGPoint(rect.Location.X + 0.7f, rect.Location.Y + rect.Size.Height) };

            CGPoint[] poinsBottomLeftB = new CGPoint[] { new CGPoint(rect.Location.X, rect.Location.Y + rect.Size.Height - 0.7f), new CGPoint(rect.Location.X + 0.7f + 15f, rect.Location.Y + rect.Size.Height - 0.7f) };

            AddLine(poinsBottomLeftA, poinsBottomLeftB, ctx);

            //右上角
            CGPoint[] poinsTopRightA = new CGPoint[] { new CGPoint(rect.Location.X + rect.Size.Width - 15f, rect.Location.Y + 0.7f), new CGPoint(rect.Location.X + rect.Size.Width, rect.Location.Y + 0.7) };

            CGPoint[] poinsTopRightB = new CGPoint[] { new CGPoint(rect.Location.X + rect.Size.Width - 0.7f, rect.Location.Y), new CGPoint(rect.Location.X + rect.Size.Width - 0.7f, rect.Location.Y + 15 + 0.7) };

            AddLine(poinsTopRightA, poinsTopRightB, ctx);

            CGPoint[] poinsBottomRightA = new CGPoint[] { new CGPoint(rect.Location.X + rect.Size.Width - 0.7f, rect.Location.Y + rect.Size.Height -15f), new CGPoint(rect.Location.X - 0.7f + rect.Size.Width, rect.Location.Y + rect.Size.Height) };

            CGPoint[] poinsBottomRightB = new CGPoint[] { new CGPoint(rect.Location.X + rect.Size.Width - 15f, rect.Location.Y + rect.Size.Height - 0.7f), new CGPoint(rect.Location.X + rect.Size.Width, rect.Location.Y + rect.Size.Height - 0.7f) };

            AddLine(poinsBottomRightA, poinsBottomRightB, ctx);

            ctx.StrokePath();
    }

        public void Destroy()
        {
            InvokeOnMainThread(() => {
                textBottom.RemoveFromSuperview();
                redLine.RemoveFromSuperview();

                textBottom = null;
                redLine = null;
            });
        }

    }
最后显示的效果为:
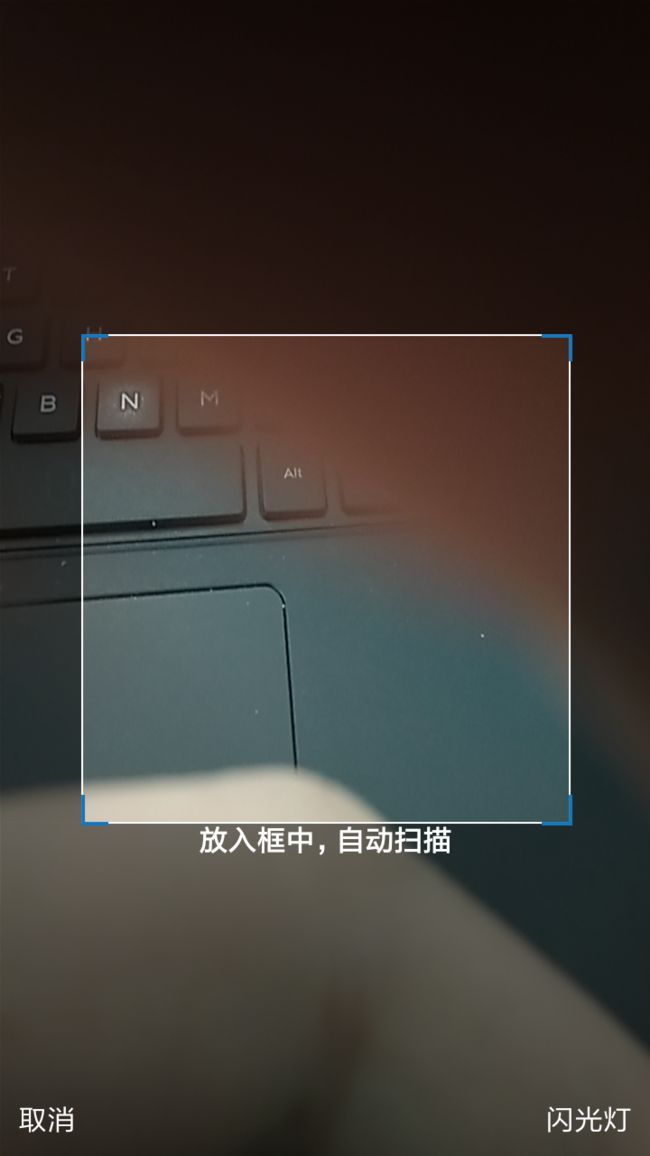
custom.png
注意事项:
1.当然这里并没有添加透明框的上下重复滚动动画,以及从相机选择图片功能,如果你们有这样的业务场景,可以添加继续添加这些功能。
2.这里由于Android默认的跳转到 ZXingScannerPage 时会有黑屏效果,所以这里采用分平台定制。
Reference
- Sample on github
- Barcode Scanning Made Easy with ZXing.Net Mobile
- Scanning and Generating Barcodes with ZXing on Xamarin.Forms
到这里Xamarin.Forms ZXing集成的介绍就完成了,希望能对您有所帮助。
——End 有问题可以加我微信,大家一起讨论,加好友前请备注您的简称,谢谢!