Python使用嵌套循环实现图像处理算法
- 推荐自己的专栏:分享一些Python案例,将所学用出来
- 使用Python第三方图像处理库Pillow处理图像时,通常是调用模块中提供的函数和对象来处理图像的基本处理
图像的数据结构基础
一:在“底层”图像是由像素点组成的二维数,每个像素点的位置表示为两个整数的元组
二:像素的值根据图像模式由对应的元组组成(例如,RGB模式表示为三个整数值组成的元组,分别表示构成颜色的红、绿、蓝的值,范围从0到255)
PIL.Image模块中的Image类的方法:
- getpixel(loc) 返回位于位置loc的像素的颜色
- putpixel(loc, pix) 把位于位置loc的颜色替换为pix
拷贝图像
拷贝图像的算法可以通过打开原始图像,创建一个新的大小相同的空白图像,然后将旧图像中的像素颜色复制到新图像相应的像素中。
即使用嵌套循环,把旧图像位置 (i, j) 的像素复制到新图像的位置 (i, j)
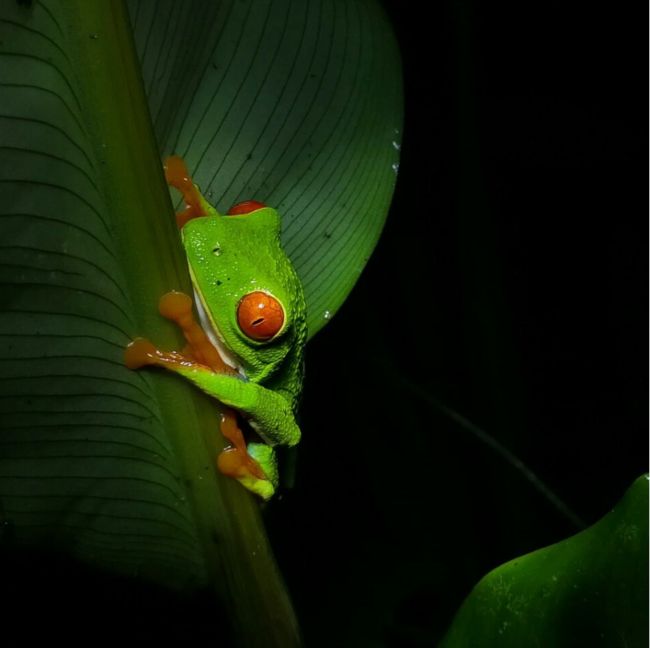
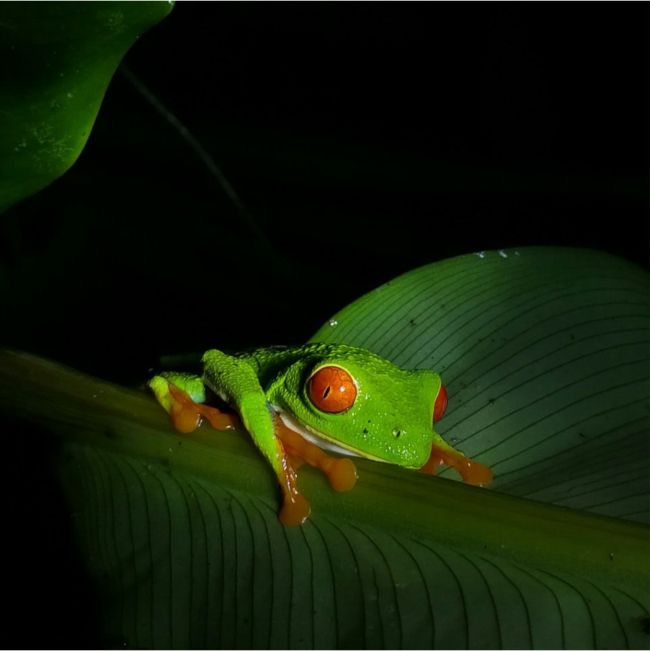
我的电脑,D:\zgh\picture这个路径下有一个图片zgh.png

import PIL.Image

def copy(im):
    im_new = PIL.Image.new(im.mode, im.size)
    width, height = im.size
    for i in range(0, width):
        for j in range(0, height):
            pix = im.getpixel((i, j))
            im_new.putpixel((i, j), pix)
    return im_new

if __name__ == '__main__':
    im = PIL.Image.open("D:\zgh\picture\zgh.png")
    copy(im).show()
运行之后,会出现一个图像文件,显示的图像与上图一样
- im.size返回包含图像宽度和高度的元组,单位为像素
- im.mode返回包含图像模式的字符串(RGB、CYMK、Grayscale…)
剪裁图像
剪裁图像的算法可以通过打开原始图像,指定一个四元组的剪裁框,创建一个与剪裁框大小相同的空白图像,然后将旧图像中剪裁框内的像素颜色复制到新图像中。同样可以实用嵌套循环实现像素复制
import PIL.Image

def crop(im, box):
    x1, y1, x2, y2 = box
    width, height = x2-x1, y2-y1
    im_new = PIL.Image.new(im.mode, (width, height))
    for i in range(0, width):
        for j in range(0, height):
            pix = im.getpixel((x1+i, y1+j))
            im_new.putpixel((i, j), pix)
    return im_new

if __name__ == '__main__':
    box = (400, 400, 800, 800)
    im = PIL.Image.open("D:\zgh\picture\zgh.png")
    crop(im, box).show()
我图像对图像的剪裁框,左上角坐标为(400, 400),右下角为(800, 800)
box = (400, 400, 800, 800)
运行后,显示剪裁图像:
水平或垂直翻转图像
水平或垂直翻转的算法可以通过打开原始图像,创建一个新的大小相同的空白图像,然后讲旧图像复制到新图像对应的像素中
- 水平翻转时:原始图像的的像素(i, j)映射到目标图像的位置(width-i-1, j)
- 垂直翻转时:原始图像的的像素(i, j)映射到目标图像的位置(i, height-j-1)
import PIL.Image

def flip(im, orient='H'):
    width, height = im.size
    im_new = PIL.Image.new(im.mode, im.size)
    for i in range(0, width):
        for j in range(0, height):
            pix = im.getpixel((i, j))
            if orient == 'H':
                im_new.putpixel((width-1-i, j), pix)
            else:
                im_new.putpixel((i, height-1-j), pix)
    return im_new

if __name__ == '__main__':
    im = PIL.Image.open("D:\zgh\picture\zgh.png")
    flip(im, 'H').show()
    flip(im, 'V').show()
语义化的取名:
- H 即horizon,水平线
- V 即vertical,垂直线
逆时针或顺时针旋转图像90度
逆时针或顺时针旋转图像90度的算法可以通过打开原始图像,创建一个新的大小相同的空白图像,然后讲旧图像复制到新图像对应的像素中
- 逆时针旋转图像90度:原始图像的的像素(i, j)映射到目标图像的位置(j, width-i-1)
- 顺时针旋转图像90度:原始图像的的像素(i, j)映射到目标图像的位置(height-j-1, i)
import PIL.Image

def rotate(im, orient='CCW'):
    width, height = im.size
    im_new = PIL.Image.new(im.mode, im.size)
    for i in range(0, width):
        for j in range(0, height):
            pix = im.getpixel((i, j))
            if orient == 'CCW':
                im_new.putpixel((j, width-1-i), pix)
            else:
                im_new.putpixel((height-1-j, i), pix)
    return im_new

if __name__ == '__main__':
    im = PIL.Image.open("D:\zgh\picture\zgh.png")
    rotate(im, 'CCW').show()
    rotate(im, 'CW').show()
语义化的取名:
- CCW,即Counter clockwise rotation逆时针旋转
- CW,即Clockwise rotation顺时针旋转
平滑图像过滤器
图像过滤器是原始图像中靠近位置(i, j)的多个像素颜色以某种方式组合运算形成新的图像对象
例如,简单的平滑过滤器算法可以通过打开原始图像,创建一个新的大小相同的空白图像,然后将新图像中的每个像素(i, j)的颜色设置为原始像素(i, j)及其相邻像素的颜色的平均值。
- 不位于图像边界上像素(i, j)有8个相邻像素,其相邻像素位于从列 i-1 到 列 i+1,和行 j-1 到 行 j+1 范围
- 位于图像边界上像素(i, j)
需要特殊处理,我偷个懒,因为边界上的点相对于图像占比特别小,我就让边界点上的像素不变了
代码一(跟个傻憨憨一样,写的繁琐,且容易出错):
import PIL.Image

def smooth(im):
    width, height = im.size
    im_new = PIL.Image.new(im.mode, im.size)
    for i in range(0, width):
        for j in range(0, height):
            if i > 0 and i < width-1 and j > 0 and j < height-1:
                pix_R = int((im.getpixel((i, j))[0] + im.getpixel((i-1, j))[0] + im.getpixel((i+1, j))[0] + im.getpixel((i, j-1))[0] + im.getpixel((i, j+1))[0] + im.getpixel((i-1, j-1))[0] + im.getpixel((i-1, j+1))[0] + im.getpixel((i+1, j-1))[0] + im.getpixel((i+1, j+1))[0]) / 9)
                pix_G = int((im.getpixel((i, j))[1] + im.getpixel((i-1, j))[1] + im.getpixel((i+1, j))[1] + im.getpixel((i, j-1))[1] + im.getpixel((i, j+1))[1] + im.getpixel((i-1, j-1))[1] + im.getpixel((i-1, j+1))[1] + im.getpixel((i+1, j-1))[1] + im.getpixel((i+1, j+1))[1]) / 9)
                pix_B = int((im.getpixel((i, j))[2] + im.getpixel((i-1, j))[2] + im.getpixel((i+1, j))[2] + im.getpixel((i, j-1))[2] + im.getpixel((i, j+1))[2] + im.getpixel((i-1, j-1))[2] + im.getpixel((i-1, j+1))[2] + im.getpixel((i+1, j-1))[2] + im.getpixel((i+1, j+1))[2]) / 9)
                pix = (pix_R, pix_G, pix_B)
            else:
                pix = im.getpixel((i, j))
            im_new.putpixel((i, j), pix)
    return im_new

if __name__ == '__main__':
    im = PIL.Image.open("D:\zgh\picture\zgh.png")
    smooth(im).show()
代码二(代码简洁明了):
import PIL.Image
import numpy

def smooth(im):
    width, height = im.size
    im_new = PIL.Image.new(im.mode, im.size)
    for i in range(1, width-1):
        for j in range(1, height-1):
            pix_R = 0; pix_G = 0; pix_B = 0
            for x in range(-1, 2):
                for y in range(-1, 2):
                    pix_R += im.getpixel((i+x, j+y))[0] / 9
                    pix_G += im.getpixel((i+x, j+y))[1] / 9
                    pix_B += im.getpixel((i+x, j+y))[2] / 9
            im_new.putpixel((i, j), (int(pix_R), int(pix_G), int(pix_B)))
    return im_new

if __name__ == '__main__':
    im = PIL.Image.open("D:\zgh\picture\zgh.png")
    smooth(im).show()
可惜水平有限,我写的平滑图像处理器的代码性能不高,运行需要一定时间,我的电脑至少需要15秒


