MATLAB学习笔记 形态学图像处理(二)
腐蚀
imerode(image, s) 对图像进行腐蚀操作
f = imread('img8.tif');
se = strel('disk', 10);
g = imerode(f, se);
subplot(1, 2, 1), imshow(f), title('原图');
subplot(1, 2, 2), imshow(g), title('腐蚀后');
利用一个10*10的菱形进行腐蚀
* 输入:
![]()
![]()
利用其它大小的菱形进行腐蚀后的结果
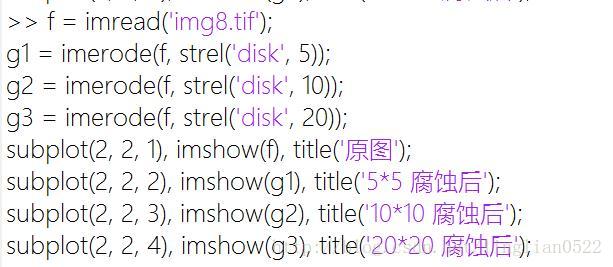
f = imread('img8.tif');
g1 = imerode(f, strel('disk', 5));
g2 = imerode(f, strel('disk', 10));
g3 = imerode(f, strel('disk', 20));
subplot(2, 2, 1), imshow(f), title('原图');
subplot(2, 2, 2), imshow(g1), title('5*5 腐蚀后');
subplot(2, 2, 3), imshow(g2), title('10*10 腐蚀后');
subplot(2, 2, 4), imshow(g3), title('20*20 腐蚀后');- 输入:
- 输出:
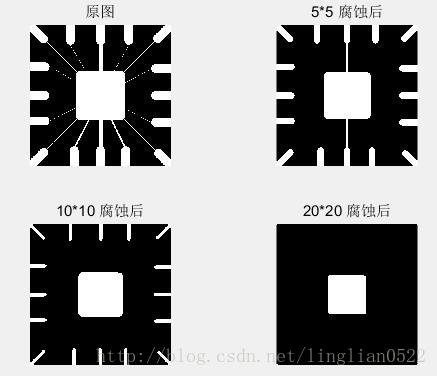
腐蚀和膨胀的组合
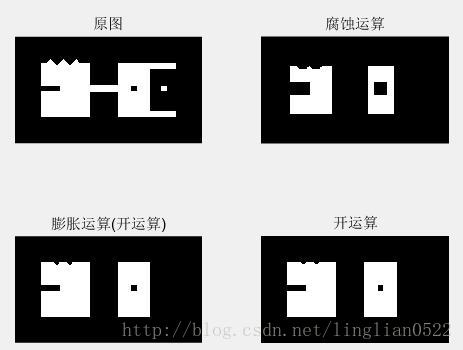
imopen(A, B) 将A,B进行开运算
A被B腐蚀后再用B来膨胀
f = imread('img9.tif');
se = strel('square', 20);
g = imopen(f, se);
g1 = imerode(f, se);
g2 = imdilate(g1, se);
subplot(2, 2, 1), imshow(f), title('原图');
subplot(2, 2, 2), imshow(g1), title('腐蚀运算');
subplot(2, 2, 3), imshow(g2), title('膨胀运算(开运算)');
subplot(2, 2, 4), imshow(g), title('开运算');- 输入:
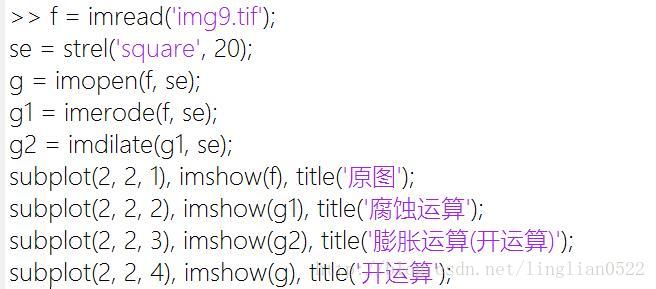
- 输出:
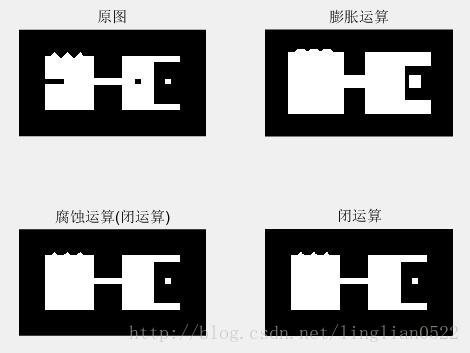
imclose(A, B) 将A,B进行闭运算
A被B膨胀在用B腐蚀,跟开运算相反
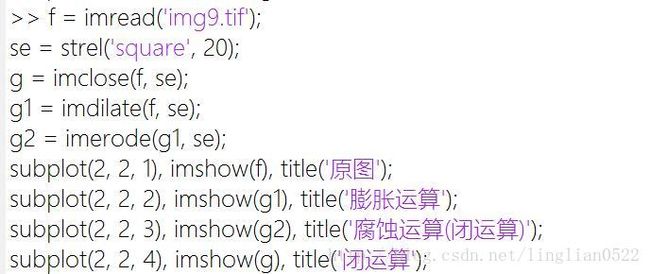
f = imread('img9.tif');
se = strel('square', 20);
g = imclose(f, se);
g1 = imdilate(f, se);
g2 = imerode(g1, se);
subplot(2, 2, 1), imshow(f), title('原图');
subplot(2, 2, 2), imshow(g1), title('膨胀运算');
subplot(2, 2, 3), imshow(g2), title('腐蚀运算(闭运算)');
subplot(2, 2, 4), imshow(g), title('闭运算');- 输入:
- 输出:
一般来说都是将开闭操作配合使用,可以达到去除噪声的效果。
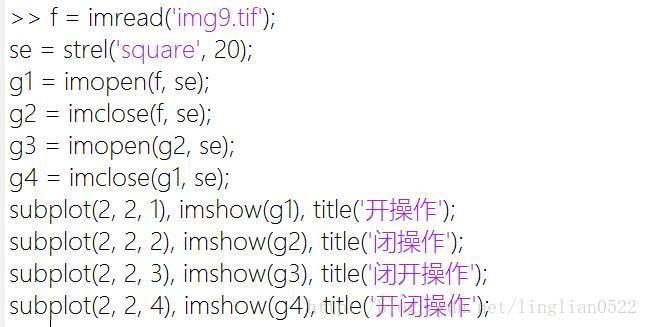
在这之前,我们先研究一下开闭操作和闭开操作
f = imread('img9.tif');
se = strel('square', 20);
g1 = imopen(f, se);
g2 = imclose(f, se);
g3 = imopen(g2, se);
g4 = imclose(g1, se);
subplot(2, 2, 1), imshow(g1), title('开操作');
subplot(2, 2, 2), imshow(g2), title('闭操作');
subplot(2, 2, 3), imshow(g3), title('闭开操作');
subplot(2, 2, 4), imshow(g4), title('开闭操作');- 输入:
- 输出:
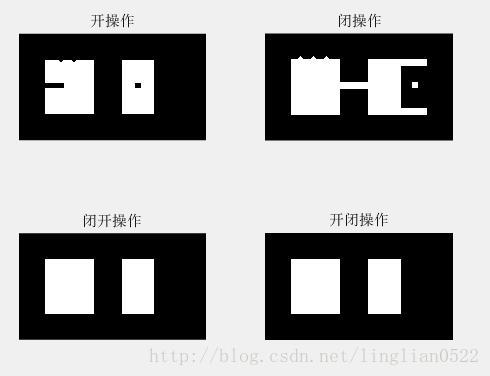
可以看出,闭开 和 开闭是没有区别的!所以先开或者先闭得到的结果也就一样啦。
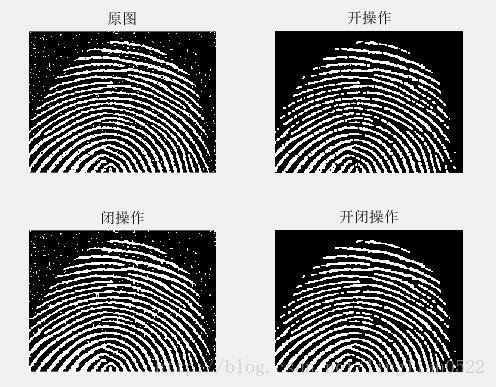
接着看看他去除噪音的效果
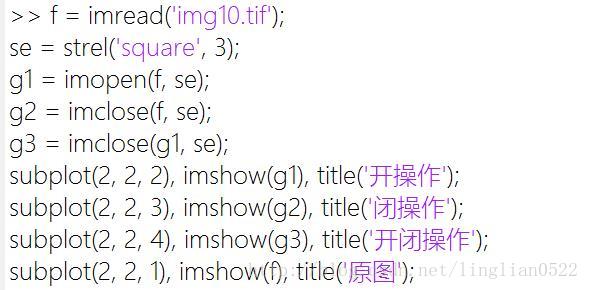
f = imread('img10.tif');
se = strel('square', 3);
g1 = imopen(f, se);
g2 = imclose(f, se);
g3 = imclose(g1, se);
subplot(2, 2, 2), imshow(g1), title('开操作');
subplot(2, 2, 3), imshow(g2), title('闭操作');
subplot(2, 2, 4), imshow(g3), title('开闭操作');
subplot(2, 2, 1), imshow(f), title('原图');- 输入:
- 输出:
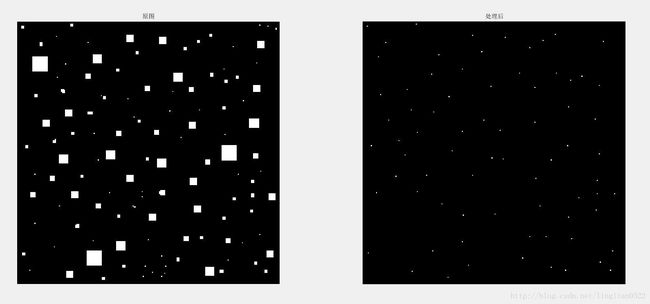
bwhitmiss(A, B1, B2) 击中或未击中, B1为击中的结构,B2为未击中的结构
取B1击中的地方和B2未击中的地方
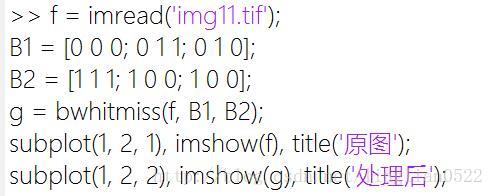
f = imread('img11.tif');
B1 = [0 0 0; 0 1 1; 0 1 0];
B2 = [1 1 1; 1 0 0; 1 0 0];
g = bwhitmiss(f, B1, B2);
subplot(1, 2, 1), imshow(f), title('原图');
subplot(1, 2, 2), imshow(g), title('处理后');- 输入:
- 输出:
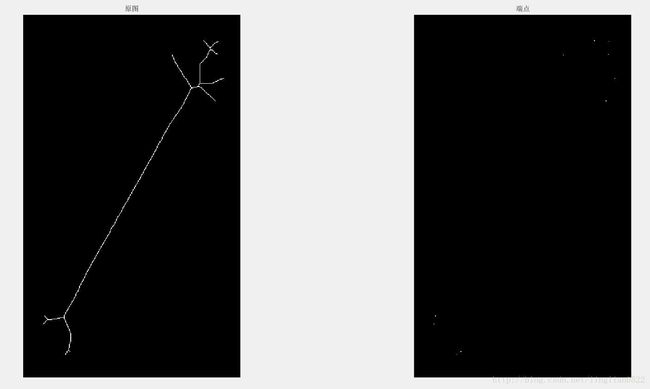
**endpoints(f) 使用makelut 和 applylut 在二值图中检测端点
f = imread('img12.tif');
g = endpoints(f);
subplot(1, 2, 1), imshow(f), title('原图');
subplot(1, 2, 2), imshow(g), title('端点');- 输入:

- 输出:
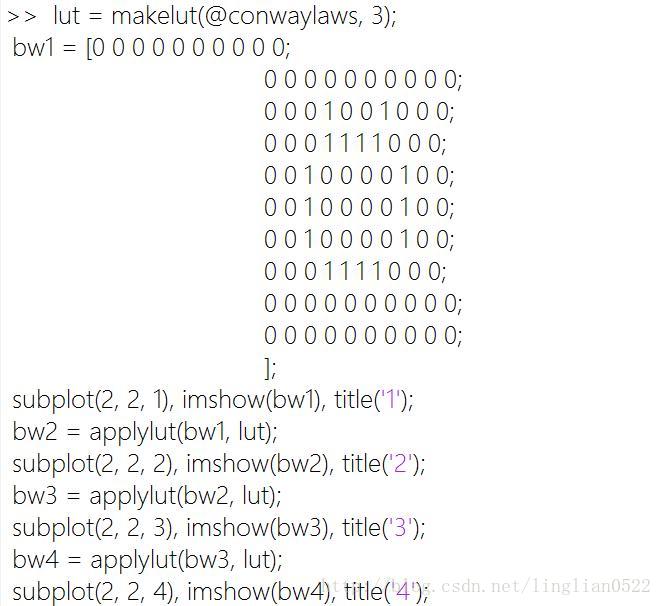
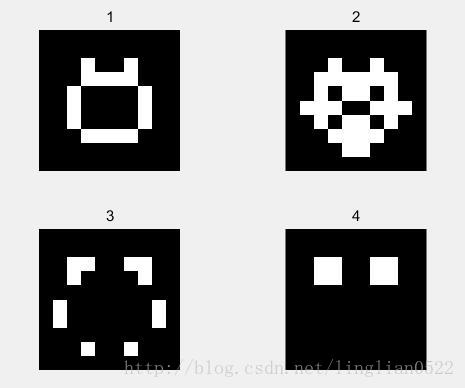
书中大脸猫实验
 lut = makelut(@conwaylaws, 3);
 bw1 = [0 0 0 0 0 0 0 0 0 0;
 0 0 0 0 0 0 0 0 0 0;
 0 0 0 1 0 0 1 0 0 0;
 0 0 0 1 1 1 1 0 0 0;
 0 0 1 0 0 0 0 1 0 0;
 0 0 1 0 0 0 0 1 0 0;
 0 0 1 0 0 0 0 1 0 0;
 0 0 0 1 1 1 1 0 0 0;
 0 0 0 0 0 0 0 0 0 0;
 0 0 0 0 0 0 0 0 0 0;
 ];
 subplot(2, 2, 1), imshow(bw1), title('1');
 bw2 = applylut(bw1, lut);
 subplot(2, 2, 2), imshow(bw2), title('2');
 bw3 = applylut(bw2, lut);
 subplot(2, 2, 3), imshow(bw3), title('3');
 bw4 = applylut(bw3, lut);
 subplot(2, 2, 4), imshow(bw4), title('4');
- 输入:
- 输入:
- 输出:
bwmorph(f, opeartion, n) 将操作(膨胀,腐蚀,查找)进行组合操作
![]()
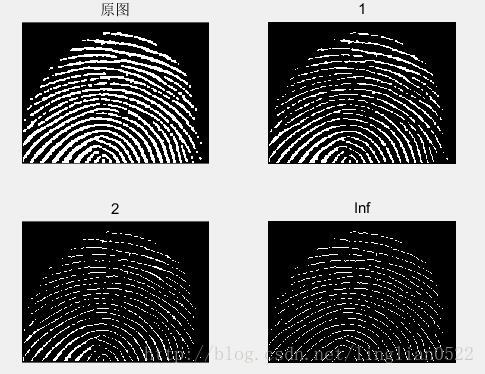
细化操作 thin
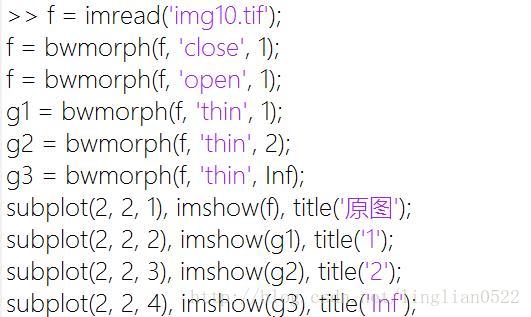
f = imread('img10.tif');
f = bwmorph(f, 'close', 1);
f = bwmorph(f, 'open', 1);
g1 = bwmorph(f, 'thin', 1);
g2 = bwmorph(f, 'thin', 2);
g3 = bwmorph(f, 'thin', Inf);
subplot(2, 2, 1), imshow(f), title('原图');
subplot(2, 2, 2), imshow(g1), title('1');
subplot(2, 2, 3), imshow(g2), title('2');
subplot(2, 2, 4), imshow(g3), title('Inf');- 输入:
- 输出:
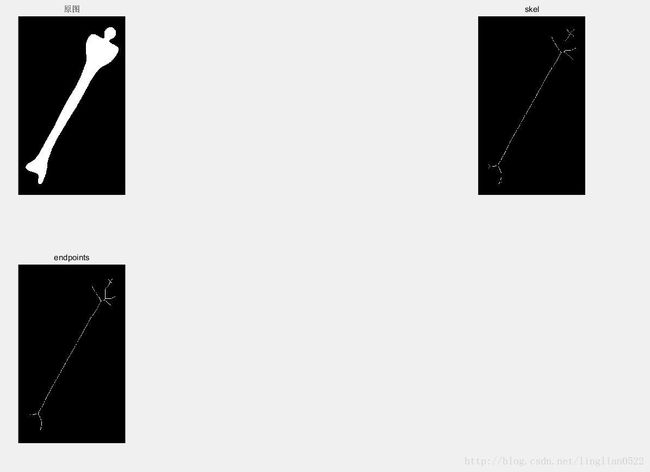
骨骼操作 skel
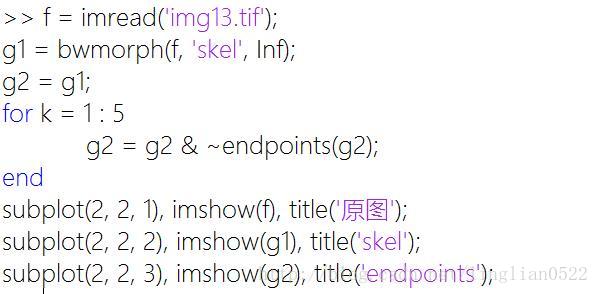
f = imread('img13.tif');
g1 = bwmorph(f, 'skel', Inf);
g2 = g1;
for k = 1 : 5
    g2 = g2 & ~endpoints(g2);
end
subplot(2, 2, 1), imshow(f), title('原图');
subplot(2, 2, 2), imshow(g1), title('skel');
subplot(2, 2, 3), imshow(g2), title('endpoints');- 输入:
- 输出:
