上篇文章实现了一个自定义的loader,那肯定就有了自定义plugin的实现。
前言
前端很多时候会用到markdown格式转html标签的需求,至少我自己有遇到过,就是我第一个博客后台项目,是用的md格式写的,写完存储在数据库中,在前台展示的时候会拉取到md字符串,然后通过md2html这样的插件转换成html甚至高亮梅美化过后展示在页面上,效果还是不错的,那么自己来实现一个这样的插件有多困难呢,其实不然。
项目初始化
创建一个工作文件夹,取名就叫md-to-html-plugin,初始化npm仓库
mkdir md-to-html-plugin
npm init -y引入基础的webpack依赖,这里我仍然使用4.X版本
"devDependencies": {
  "webpack": "^4.30.0",
  "webpack-cli": "^3.3.0",
  "webpack-dev-server": "^3.7.2"
}
安装依赖
npm i或者yarn install
修改script脚本
"scripts": {
  "dev": "webpack"
}根目录下新建webpack.config.js文件,进行简单配置,并创建对应的测试文件,如:test.md、src/app.js
const {resolve} = require('path');
const MdToHtmlPlugin = require('./plugins/md-to-html-plugin');

module.exports = {
  mode: 'development',
  entry: resolve(__dirname, 'src/app.js'),
  output: {
    path: resolve(__dirname, 'dist'),
    filename: 'app.js'
  },
  plugins: [
    new MdToHtmlPlugin({
      // 要解析的文件
      template: resolve(__dirname, 'test.md'),
      // 解析后的文件名
      filename: 'test.html'
    })
  ]
}
test.md
# 这是H1标题

- 这是ul列表第1项
- 这是ul列表第2项
- 这是ul列表第3项
- 这是ul列表第4项
- 这是ul列表第5项
- 这是ul列表第6项


## 这是H2标题

1. 这是ol列表第1项
2. 这是ol列表第2项
3. 这是ol列表第3项
4. 这是ol列表第4项
5. 这是ol列表第5项
6. 这是ol列表第6项
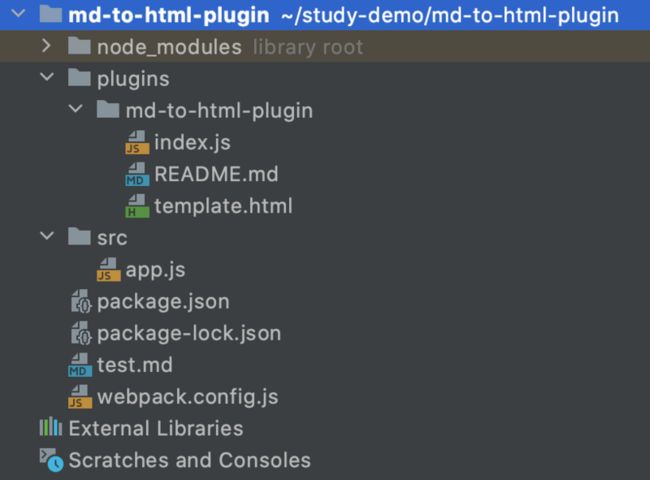
根目录下创建plugins,存放我们要开发的插件
最终的目录结构如下:
创建MdToHtmlPlugin
class MdToHtmlPlugin {
  constructor({ template, filename }) {

    if (!template) {
      throw new Error('template can not be empty!')
    }

    this.template = template;
    this.filename = filename ? filename : 'md.html';
  }

  /**
   * 编译过程中在apply方法中执行逻辑, 里面会有很多相关的钩子集合
   */
  apply(compiler) {

  }

}

module.exports = MdToHtmlPlugin;初始化的时候接受webpack.config.js中传入的options,对应一个要解析的md文件,一个解析后的文件路径
预解析
编译过程在apply中执行,我们在这个方法里先粗略的把我们逻辑框架写出来,大概思路如下:
1. markdown文件
2. template模板 html文件
3. markdown -> html
4. html标签替换掉template.html的占位符``
5. webpack打包
解释下就是:
- 把我们要解析的md文件内容读取出来
- 把插件的模板文件读取出来
- 读取后的md文件内容肯定是字符串,如果后期要逐个解析成html的话,肯定是转成数组然后遍历解析比较方便,那就先把读取到的md文件转成数组,即字符串转数组
- 数组解析成html标签
- 把模板中的占位区替换成解析后的html内容
- 把解析完成的文件动态添加到资源中输出到打包路径下
/**
 * 编译过程中在apply方法中执行逻辑, 里面会有很多相关的钩子集合
 * hooks: emit
 * // 生成资源到 output 目录之前触发,这是一个异步串行 AsyncSeriesHook 钩子
 * // 参数是 compilation
 * @param compiler, 编译器实例, Compiler暴露了和webpack整个生命周期相关的钩子
 */
apply(compiler) {
  // 希望在生成的资源输出到output指定目录之前执行某个功能
  // 通过tap来挂载一个函数到钩子实例上, 第一个参数传插件名字, 第二个参数接收一个回调函数,参数是compilation,compilation暴露了与模块和依赖有关的粒度更小的事件钩子
  compiler.hooks.emit.tap('md-to-html-plugin', (compilation) => {
    const _assets = compilation.assets;
    // 读取资源, webpack配置里面我们传的template(要解析的md文件)
    const _mdContent = readFileSync(this.template, 'utf8');
    // 读取插件的模板文件html
    const _templateHTML = readFileSync(resolve(__dirname, 'template.html'), 'utf8');
    // 处理预解析的md文件, 将字符串转为数组, 然后逐个转换解析
    const _mdContentArr = _mdContent.split('\n');
    // 数组解析成html标签
    const _htmlStr = compileHTML(_mdContentArr);

    const _finalHTML = _templateHTML.replace(INNER_MARK, _htmlStr);
    // 增加资源(解析后的html文件)
    _assets[this.filename] = {
      // source函数return的资源将会放在_assets下的this.filename(解析后的文件名)里面
      source() {
        return _finalHTML;
      },
      // 资源的长度
      size() {
        return _finalHTML.length;
      }
    }
  })
}
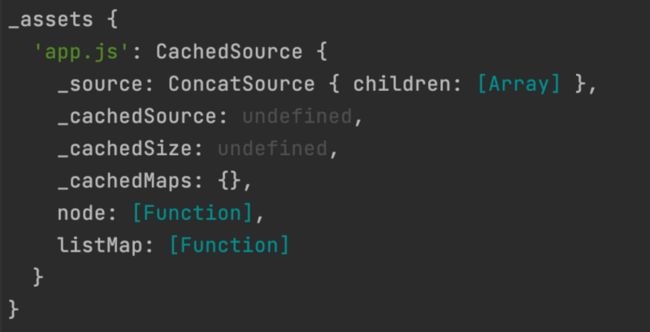
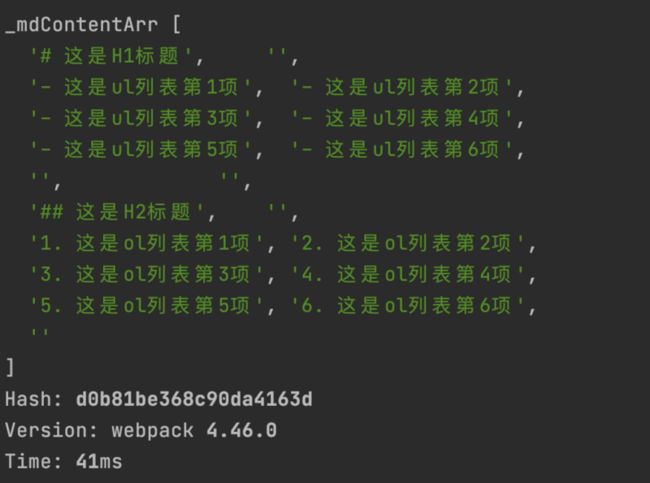
查看_assets
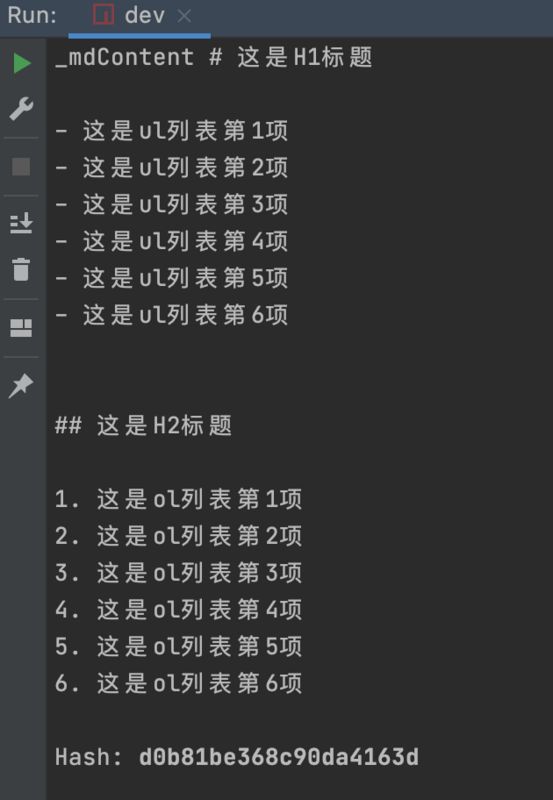
读取md资源
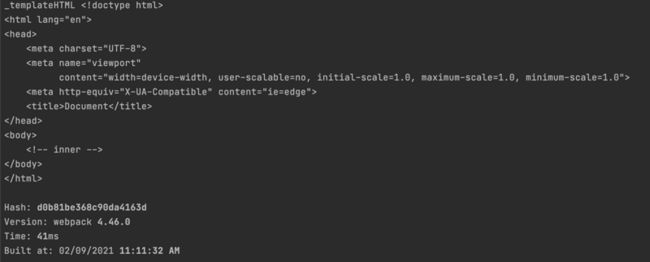
加载插件html模板
解析md文件成数组格式,方便后续对md文件内容逐行解析
添加资源
compileHTML这个核心的方法还没写,但是大概的框架已经出来了,这里就是要重点掌握一下tapable这个事件流
什么是webpack事件流?
webpack本质上是一种事件流的机制,它的工作流程就是将各个插件串联起来,而实现这一切的核心就是Tapable。
Webpack 的 Tapable 事件流机制保证了插件的有序性,将各个插件串联起来, Webpack 在运行过程中会广播事件,插件只需要监听它所关心的事件,就能加入到这条webapck机制中,去改变webapck的运作,使得整个系统扩展性良好。
Tapable也是一个小型的 library,是Webpack的一个核心工具。类似于node中的events库,核心原理就是一个订阅发布模式。作用是提供类似的插件接口。
webpack中最核心的负责编译的Compiler和负责创建bundles的Compilation都是Tapable的实例
Tapable类暴露了tap、tapAsync和tapPromise方法,可以根据钩子的同步/异步方式来选择一个函数注入逻辑
compileHTML方法分析
拿到md的内容数组格式后,我们可以将其遍历组装析成树形结构化的数据然后解析成我们想要的html结构,分析完md数据特点,可以大概转化成如下的树形结构:
/**
* {
* h1: {
* type: 'single',
* tags: [
* '这是h1标题
'
* ]
* },
* ul: {
* type: 'wrap',
* tags: [
* '这是ul列表第1项 '
* '这是ul列表第2项 '
* '这是ul列表第3项 '
* '这是ul列表第4项 '
* '这是ul列表第5项 '
* '这是ul列表第6项 '
* ]
* }
* }
*/plugins目录下创建compiler.js文件,里面暂时只有一个compileHTML方法
function compileHTML(_mdArr) {
  console.log('_mdArr', _mdArr)
}

module.exports = {
  compileHTML
}
编译树
匹配H标签
// 匹配md每行开头的标符
const reg_mark = /^(.+?)\s/;
// 匹配#字符
const reg_sharp = /^\#/;
function createTree(mdArr) {
  let _htmlPool = {};
  let _lastMark = '';

  mdArr.forEach((mdFragment) => {
    const matched = mdFragment.match(reg_mark);
    /**
     * [ '# ', '#', index: 0, input: '# 这是H1标题', groups: undefined ]
     * 第一项是匹配到的内容,第二项是子表达式,就是正则表达式里的内容(.+?)
     */
    if (matched) {
      const mark = matched[1];
      const input = matched['input'];

      if (reg_sharp.test(mark)) {
        const tag = `h${mark.length}`;
        const tagContent = input.replace(reg_mark, '');

        if (_lastMark === mark) {
          _htmlPool[tag].tags = [..._htmlPool[tag].tags, `<${tag}>${tagContent}`]
        } else {
          _lastMark = mark;
          _htmlPool[tag] = {
            type: 'single',
            tags: [`<${tag}>${tagContent}`]
          }
        }

      }
    }
  })
  console.log('_htmlPool', _htmlPool)
}

function compileHTML(_mdArr) {
  const _htmlPool = createTree(_mdArr);
}

module.exports = {
  compileHTML
}
打印_htmlPool看看是否正确生成预期的树结构:
匹配无序列表
// 匹配无序列表
const reg_crossbar = /^\-/;

// 匹配无序列表
if (reg_crossbar.test(mark)) {
  const _key = `ul-${Date.now()}`;
  const tag = 'li';
  const tagContent = input.replace(reg_mark, '');
  // 注意, 这个key必须不能重复
  if (reg_crossbar.test(_lastMark)) {
    _htmlPool[_key].tags = [..._htmlPool[_key].tags, `<${tag}>${tagContent}`];
  } else {
    _lastMark = mark;
    _htmlPool[_key] = {
      type: 'wrap',
      tags: [`<${tag}>${tagContent}`]
    }
  }
}
匹配有序列表
// 匹配有序列表(数字)
const reg_number = /^\d/;

// 匹配有序列表
if (reg_number.test(mark)) {
  const tag = 'li';
  const tagContent = input.replace(reg_mark, '');
  if (reg_number.test(_lastMark)) {
    _htmlPool[`ol-${_key}`].tags = [..._htmlPool[`ol-${_key}`].tags, `<${tag}>${tagContent}`];
  } else {
    _key = randomNum();
    _lastMark = mark;
    _htmlPool[`ol-${_key}`] = {
      type: 'wrap',
      tags: [`<${tag}>${tagContent}`]
    }
  }
}
html字符串拼接
function compileHTML(_mdArr) {
  const _htmlPool = createTree(_mdArr);
  let _htmlStr = '';
  let item;
  for (const k in _htmlPool) {
    item = _htmlPool[k];
    if (item.type === 'single') {
      item.tags.forEach(tag => {
        _htmlStr += tag;
      })
    } else if (item.type === 'wrap') {
      let _list = `<${k.split('-')[0]}>`;
      item.tags.forEach(tag => {
        _list += tag;
      })
      _list += ``;
      _htmlStr += _list;
    }
  }
  return _htmlStr;
}
预览
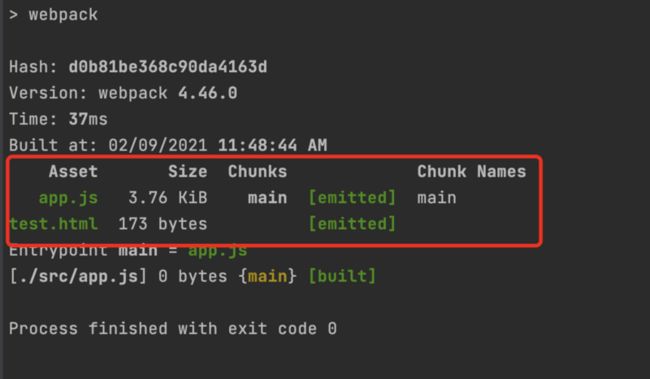
npm run dev后发现dist目录下生成了app.js和test.html,打开test.html:
Document
这是H1标题
- 这是ul列表第1项
- 这是ul列表第2项
- 这是ul列表第3项
- 这是ul列表第4项
- 这是ul列表第5项
- 这是ul列表第6项
这是H2标题
- 这是ol列表第1项
- 这是ol列表第2项
- 这是ol列表第3项
- 这是ol列表第4项
- 这是ol列表第5项
- 这是ol列表第6项
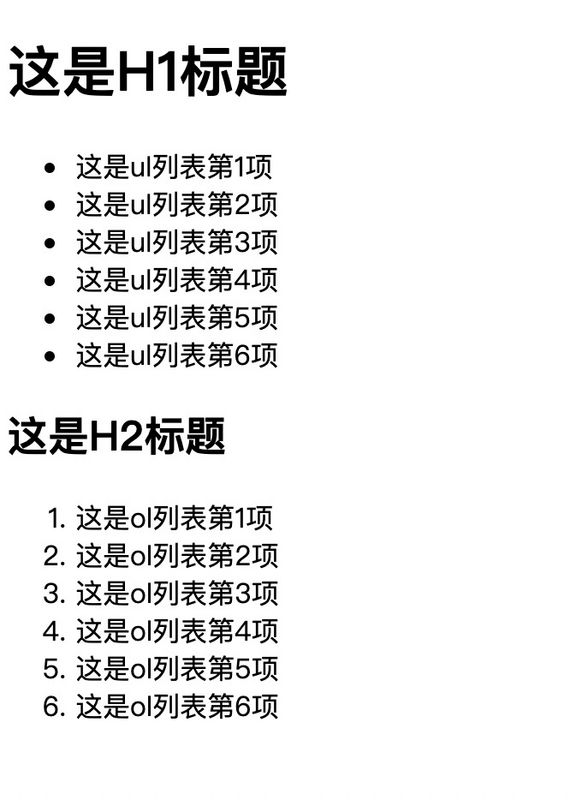
浏览器打开预览效果:
写在最后的话
其实实际应用过程中还可以针对特定的标签做css美化,例如微信公众号的编辑器,可以看到每个标签都会有响应的样式修饰过,原理不变,js秀到底层就是操作字符串。
