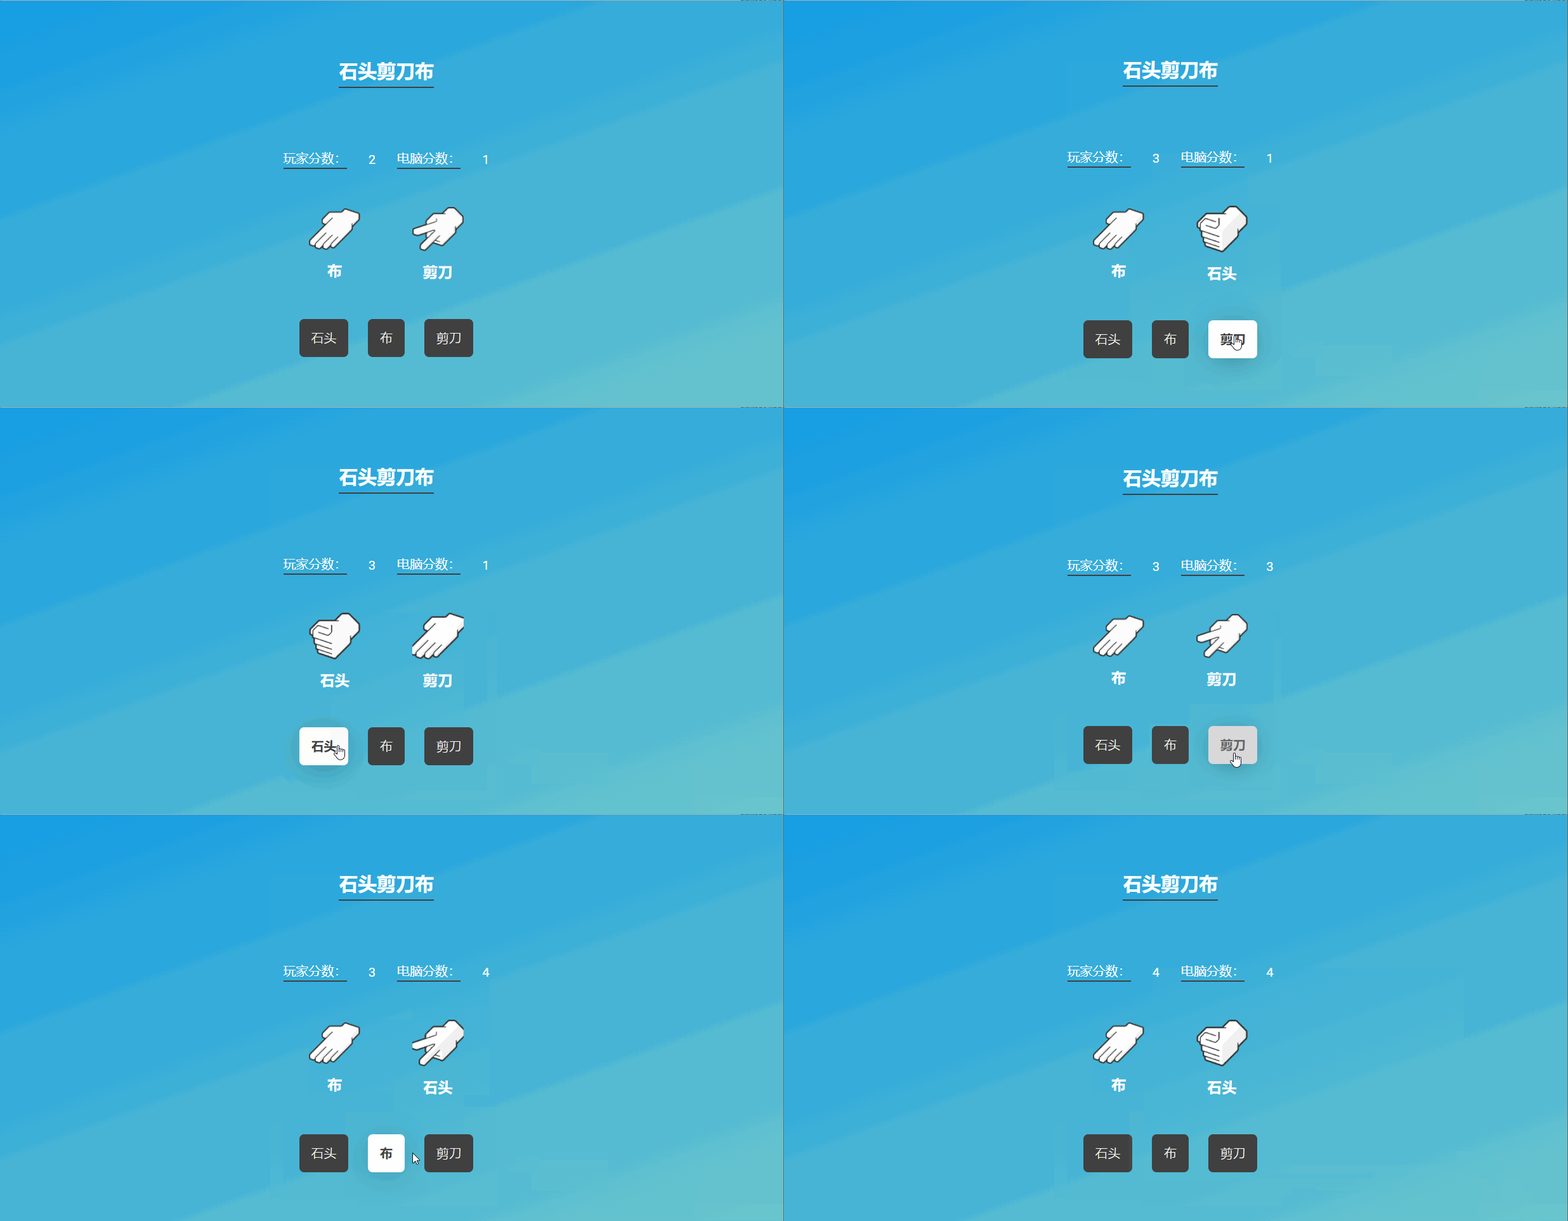
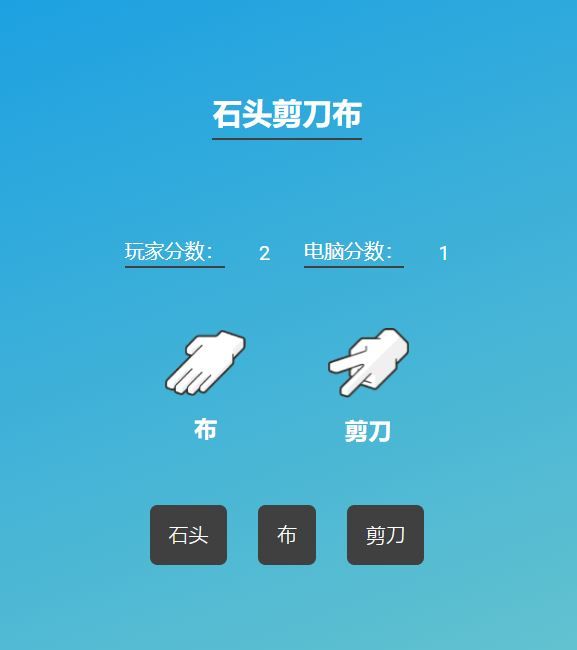
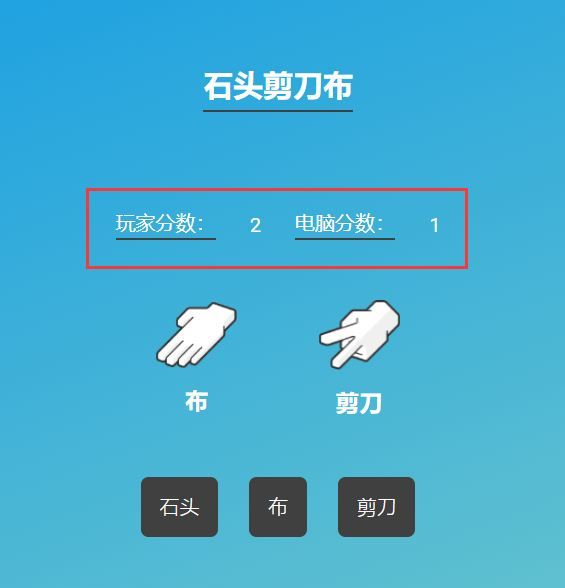
效果图
游戏可以通过这个链接进入
关于JS构建过程
首先,我创建了一个对象,其中包含每种可能性的文本格式(石头、纸、剪刀),然后将图像源也添加到该对象中。
在我制作的 HTML 中:
- playerChoiceImg
- playerChoiceTxt
- computerChoiceImg
- computerChoiceTxt
能够修改其中的每个内容。
然后创建了一个points变量,它将存储每个玩家(玩家和计算机)的分数。
之后,我需要一个介于 1 和 3 之间的随机生成的数字来指示计算机的选择。
// 变量
const choices = [{
        id: 1,
        name: "石头",
        image: "./img/rock.png"
    },{
        id: 2,
        name: "布",
        image: "./img/paper.png"
    },{
        id: 3,
        name: "剪刀",
        image: "./img/scissors.png"
    }]

let playerPoints = document.querySelector(".playerPoints")
let computerPoints = document.querySelector(".computerPoints")
let playerChoiceImg = document.querySelector("#playerChoiceImg")
let playerChoiceTxt = document.querySelector("#playerChoiceTxt")
let computerChoiceImg = document.querySelector("#computerChoiceImg")
let computerChoiceTxt = document.querySelector("#computerChoiceTxt")
let buttons = document.querySelectorAll(".btn")
let points = [0, 0]
let randomNumber;
老实说我给这些对象一个ID,但没有在项目中使用它们。我只是在选择时使用了每个索引。
添加事件监听器
这里我使用 forEach() 方法将事件监听器附加到按钮上。
这个事件监听器将完成大部分工作。
// 事件监听
buttons.forEach((button) => {
    button.addEventListener("click", () => {
        if (button.textContent === "石头") {
            playerChoiceImg.src = choices[0].image;
            playerChoiceTxt.textContent = choices[0].name;
        } else if (button.textContent === "布") {
            playerChoiceImg.src = choices[1].image;
            playerChoiceTxt.textContent = choices[1].name;
        } else if (button.textContent === "剪刀") {
            playerChoiceImg.src = choices[2].image;
            playerChoiceTxt.textContent = choices[2].name;
        }
        getComputerChoice();
        console.log(points);
    })
})
正如大家在上面代码中看到的那样,我使用 if-else 语句以及根据按钮的 textContent 来定义哪个按钮执行什么操作。
if-else 语句:
如果按钮本身有“石头”文字,那么会在playerChoiceTxt中显示“石头”,同时将playerChoiceImg的图像源更改为存储在对象中的图像源,其他 2 个也是如此。
之后,我创建了计算机的选择功能,如下所示:
// 选择功能
function getComputerChoice() {
    computerChoiceImg.src = "./img/gif.gif"
    setTimeout(() => {
        randomNumber = Math.floor(Math.random() * 3);
        computerChoiceImg.src = choices[randomNumber].image;
        computerChoiceTxt.textContent = choices[randomNumber].name;
        gameRules();
        playerPoints.textContent = points[0];
        computerPoints.textContent = points[1];
        whoWon();
    }, 1000);
}
1.我用石头、剪纸和剪刀的 3 幅图创建了一个循环 gif。
2.然后添加了一个setTimeout,它负责动画的时长。
3.在里面我让函数创建一个介于 0-2 之间的随机数,这是选择对象中的元素编号,这将指示计算机的选择。
4.将文本和图像内容更改为所选对象元素的名称和图像源。
5.然后运行 gameRules() 函数(我们稍后会谈到)。
6.更新了每个玩家点数指示器的文本内容。
7.检查每个函数调用的分数,以检查是否有人获胜。(whoWon() 函数)
函数 gameRules()
function gameRules() {
    if (playerChoiceTxt.textContent === choices[0].name && computerChoiceTxt.textContent === choices[1].name) {
        points[1]++;
    } else if (playerChoiceTxt.textContent === choices[1].name && computerChoiceTxt.textContent === choices[2].name) {
        points[1]++;
    } else if (playerChoiceTxt.textContent === choices[2].name && computerChoiceTxt.textContent === choices[0].name) {
        points[1]++;
    } else if (playerChoiceTxt.textContent === computerChoiceTxt.textContent) {
        console.log("draw");
    } else {
        points[0]++;
    }
}
这个函数检查玩家的选择并检查计算机选择是否可以战胜它。我已经根据游戏规则设置了这些 if-else 语句。如果计算机赢了,则计算机的分数加 1,否则玩家的分数加 1。
函数 whoWon()
又是 if-else 语句
function whoWon() {
    if (points[0] === 10) {
        alert("你干掉了AI成功取得胜利!")
        points = [0, 0];
    } else if (points[1] === 10) {
        alert("你被人工智能打败了!")
        points = [0, 0];
    }
}
最后只要检查点数组是否有人已经达到 10 分,如果是,则将这些点重置为其初始值。
完整代码
以上就是HTML+JS实现猜拳游戏的示例代码的详细内容,更多关于JS猜拳的资料请关注脚本之家其它相关文章!


