jenkins简单使用+jenkins主从架构搭建
主机准备
192.168.1.17 web
192.168.1.18 git
192.168.1.19 jenkins
git服务器搭建
[root@git ~]# curl -o /etc/yum.repos.d/CentOS-Base.repo  https://mirrors.aliyun.com/repo/Centos-7.repo
[root@git ~]# yum -y install git
[root@git ~]# useradd git
[root@git ~]# cd /home/git/
[root@git git]# passwd git
[root@git git]# su - git
[git@git ~]$ ls
[git@git ~]$ mkdir git-data
[git@git ~]$ git --bare init git-data/
Initialized empty Git repository in /home/git/git-data/
[git@git ~]$ ls  git-data/
branches  config  description  HEAD  hooks  info  objects  refs
web操作clone仓库
[root@git ~]# curl -o /etc/yum.repos.d/CentOS-Base.repo  https://mirrors.aliyun.com/repo/Centos-7.repo
[root@web ~]# yum -y install git
[root@web ~]# mkdir test
[root@web ~]# cd test/
[root@web test]# git clone [email protected]:/home/git/git-data/
Cloning into 'git-data'...
[email protected]'s password:
warning: You appear to have cloned an empty repository.
测试提交
[root@web git-data]# ls
[root@web git-data]# echo 123456 > index.html
[root@web git-data]# git config --global user.email "[email protected]"
[root@web git-data]# git config --global user.name "Your Name"   #实际生产用自己的
[root@web git-data]# git add .
[root@web git-data]# git status
# On branch master
#
# Initial commit
#
# Changes to be committed:
#   (use "git rm --cached ..." to unstage)
#
#       new file:   index.html
#
[root@web git-data]# git commit -m "123456"
[master (root-commit) ac08948] 123456
 1 file changed, 1 insertion(+)
 create mode 100644 index.html
[root@web git-data]# git push origin master
[email protected]'s password:
Counting objects: 3, done.
Writing objects: 100% (3/3), 215 bytes | 0 bytes/s, done.
Total 3 (delta 0), reused 0 (delta 0)
To [email protected]:/home/git/git-data/
 * [new branch]      master -> master
配置免密登录git服务器
[root@web git-data]# cat /etc/ssh/sshd_config |grep autho
AuthorizedKeysFile      .ssh/authorized_keys
[root@web ~]# ssh-keygen
[root@web ~]# cat /root/.ssh/id_rsa.pub
ssh-rsa AAAAB3NzaC1yc2EAAAADAQABAAABAQDQtVs4WQ....		#配置给git服务器后验证
[root@web git-data]# touch ssh
[root@web git-data]# git add .
[root@web git-data]# git commit -m "ssh test"
[master 85fa019] ssh test
 1 file changed, 0 insertions(+), 0 deletions(-)
 create mode 100644 ssh
[root@web git-data]# git push
[root@web ~]# ssh [email protected]
[git@git ~]$ mkdir .ssh
[git@git ~]$ chmod 700 .ssh
[git@git ~]$ chmod 600 .ssh/authorized_keys
[git@git ~]$ cat .ssh/authorized_keys
ssh-rsa AAAAB3NzaC1yc2EAAAADAQ此处是web服务器的秘钥
jenkins主机安装jenkins,配置Jdk
jenkins包源https://repo.huaweicloud.com/jenkins/
[root@jenkins ~]# curl -o /etc/yum.repos.d/CentOS-Base.repo  https://mirrors.aliyun.com/repo/Centos-7.repo
[root@jenkins ~]# yum -y install git mailx postfix
[root@jenkins ~]# systemctl enable postfix --now
[root@jenkins ~]#  yum  -y install jenkins-2.263.2-1.1.noarch.rpm  java
###JDK方便实验用yum装,你也可以尝试下面的方式安装
[root@jenkins ~]# tar xf jdk-8u45-linux-x64.tar.gz
[root@jenkins ~]# tail -n3 /etc/profile
JAVA_HOME=/root/jdk1.8.0_45
PATH=$JAVA_HOME/bin/:$PATH
export JAVA_HOME PATH
[root@jenkins ~]# vim /etc/init.d/jenkins
candidates="
...
/root/jdk1.8.0_45/bin/java
...
"
[root@jenkins ~]# systemctl daemon-reload
[root@jenkins ~]# source /etc/profile
[root@jenkins ~]# java -version
java version "1.8.0_45"
Java(TM) SE Runtime Environment (build 1.8.0_45-b14)
Java HotSpot(TM) 64-Bit Server VM (build 25.45-b02, mixed mode)
启动jenkins
[root@jenkins ~]# systemctl start jenkins
[root@jenkins ~]# ps -ef | grep jenkins
root      12504      1 19 18:40 ?        00:00:12 /root/jdk1.8.0_45/bin/java -Dcom.sun.akuma.Daemon=daemonized -Djava.awt.headless=true -DJENKINS_HOME=/var/lib/jenkins -jar /usr/lib/jenkins/jenkins.war --logfile=/var/log/jenkins/jenkins.log --webroot=/var/cache/jenkins/war --daemon --httpPort=8080 --debug=5 --handlerCountMax=100 --handlerCountMaxIdle=20
[root@jenkins ~]# ss -anutlp| grep 8080
tcp  LISTEN  0  50  [::]:8080   [::]:*  users:(("java",pid=12504,fd=161))
jenkins升级,下载最新的jenkins的jar包替换重启
(最新版本网络问题无法直接安装)。 https://repo.huaweicloud.com/jenkins/war/2.319/
[root@jenkins ~]# rpm -ql jenkins
/usr/lib/jenkins/jenkins.war
[root@jenkins ~]# cp jenkins.war /usr/lib/jenkins/jenkins.war
[root@jenkins ~]# systemctl restart jenkins
浏览器访问 http://192.168.1.19:8080
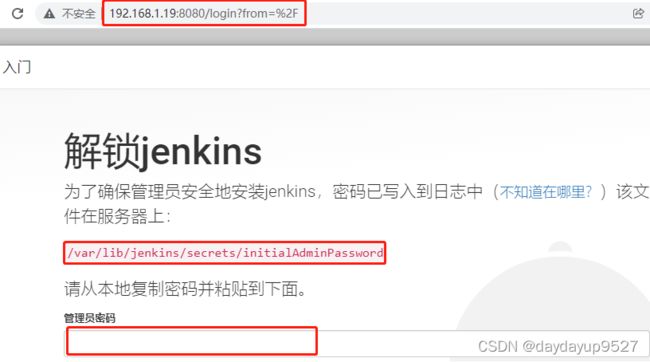
按默认的的插件安装即可
[root@jenkins ~]# cat /var/lib/jenkins/secrets/initialAdminPassword
7876ea63f38e481fa0aa44f11d5f08a9

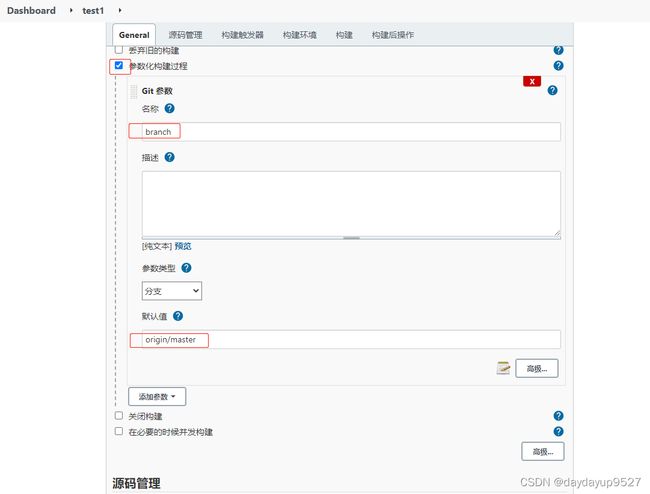
Jenkins参数化构建可以选择不同的参数 如git 参数(git tag v1) 字符参数 (git reflog ),文本参数
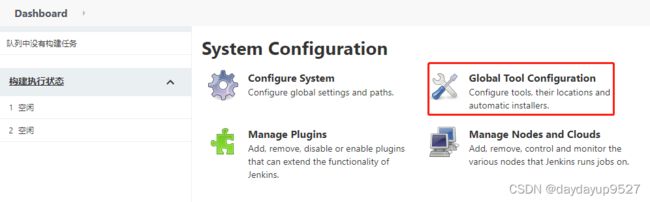
配置Java-jdk
[root@jenkins ~]# tar xf  apache-maven-3.5.0-bin.tar.gz
[root@jenkins ~]# tar xf jdk-8u45-linux-x64.tar.gz
[root@jenkins ~]# ls
  apache-maven-3.5.0  apache-maven-3.5.0-bin.tar.gz
  jdk1.8.0_45  jdk-8u45-linux-x64.tar.gz
[root@jenkins ~]# mv apache-maven-3.5.0 /usr/local/maven3.3
[root@jenkins ~]# mv jdk1.8.0_45/ /usr/local/jdk1.8


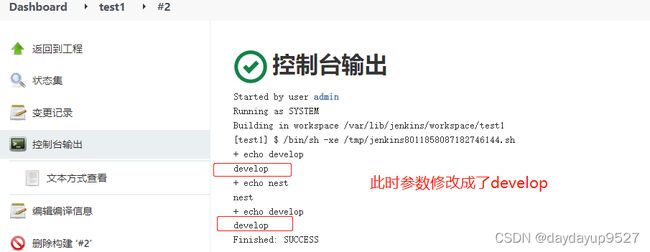
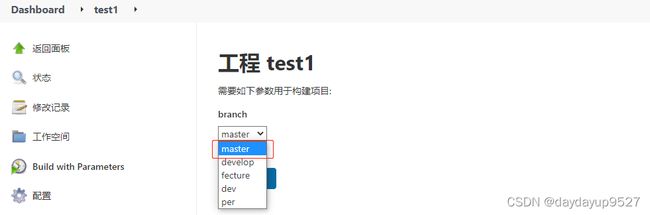
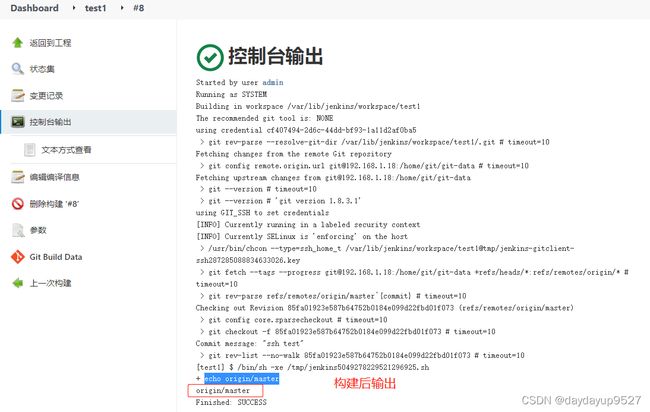
参数化构建
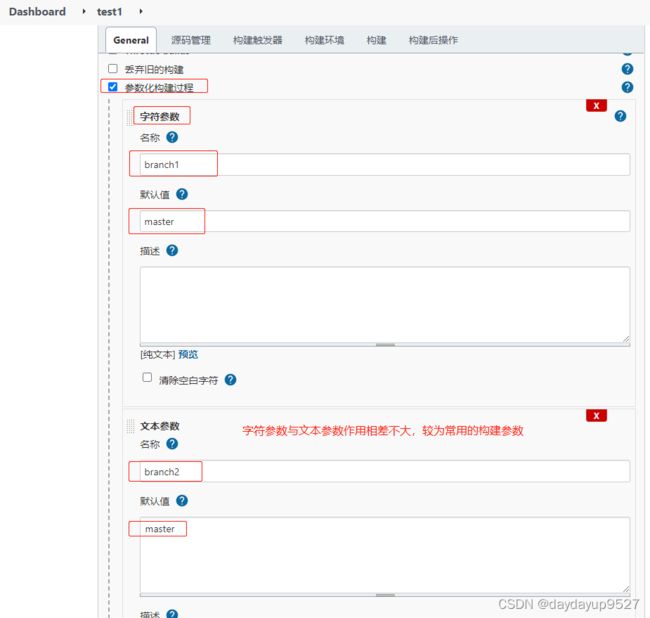


实现变量的调用 ${barnch1},默认master。如在git

你也可以临时修改默认值,实先参数的改变,也可以设置多个参数,调用变量。

比如想要拉取不同分支的代码,源码管理处配置git的构建分支

Extended Choice Parameter插件
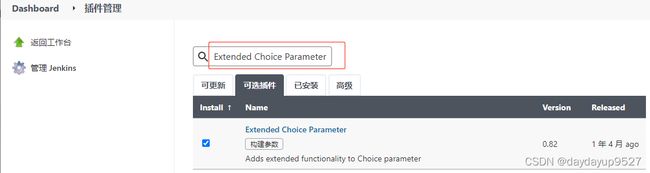


也可以选项配置在jenkins主机上,实现相同的效果
[root@jenkins ~]# cat /usr/local/ceshi.txt
ceshi=first,second,third


Git Parameter插件

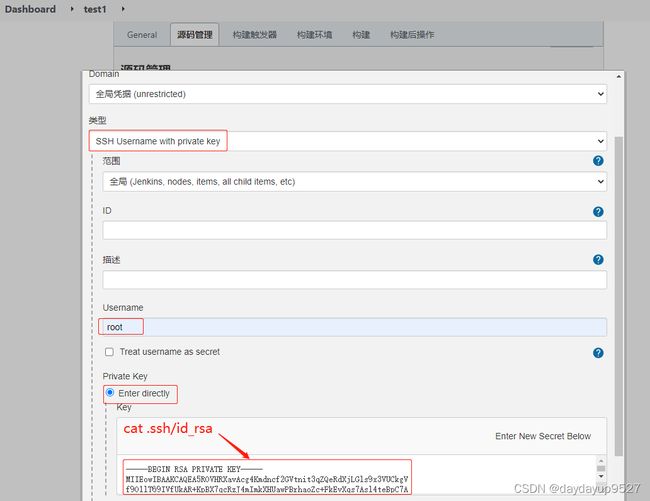
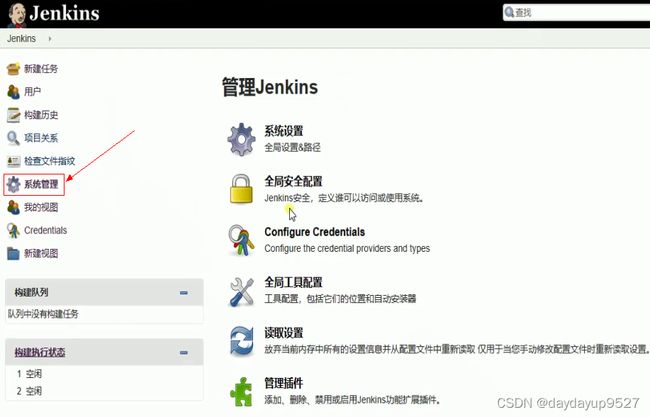
给jenkins配置git仓库
[root@jenkins ~]# vim +29 /etc/sysconfig/jenkins
29 JENKINS_USER="root"
[root@jenkins ~]# systemctl restart jenkins
[root@jenkins ~]# ssh-keygen
[root@jenkins ~]# cat .ssh/id_rsa.pub
[root@jenkins ~]# ssh [email protected]
[root@git ~]# su - git
Last login: Sun Jan 16 17:43:49 EST 2022 from 192.168.1.17 on pts/1
[git@git ~]$ vim .ssh/authorized_keys

验证

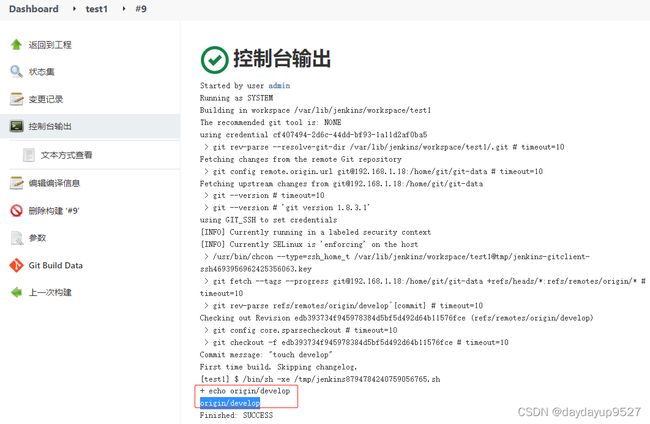
在web上创建分支并提交
[root@web git-data]# git branch develop
[root@web git-data]# git checkout develop
[root@web git-data]# touch develop.txt
[root@web git-data]# git add .
[root@web git-data]# git commit -m "touch develop"
[root@web git-data]# git push origin develop
重新构建

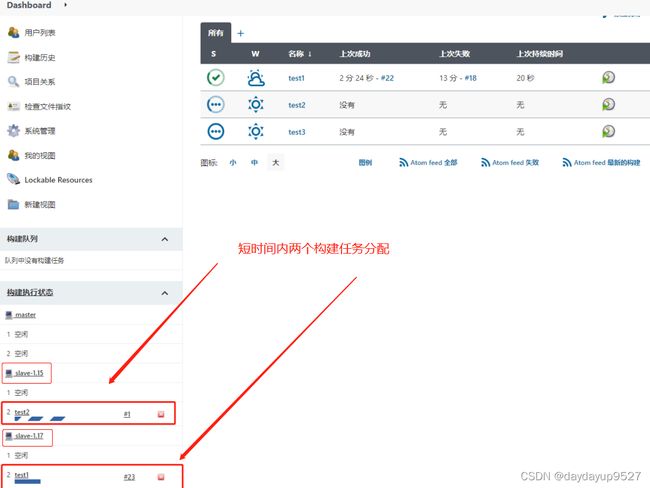
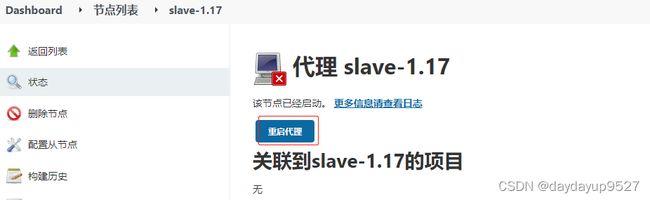
Jenkins的master与slave
slave主机必须有Java环境,装git且jenkins服务器能够无密码SSH节点,然后重启代理(你也可以重新配置账户密码)


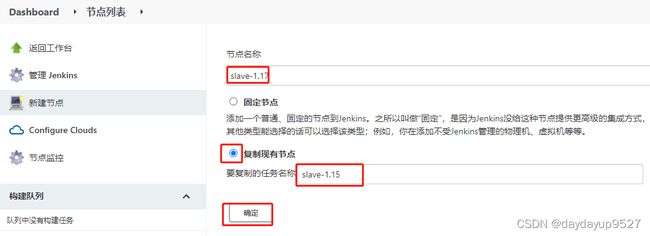
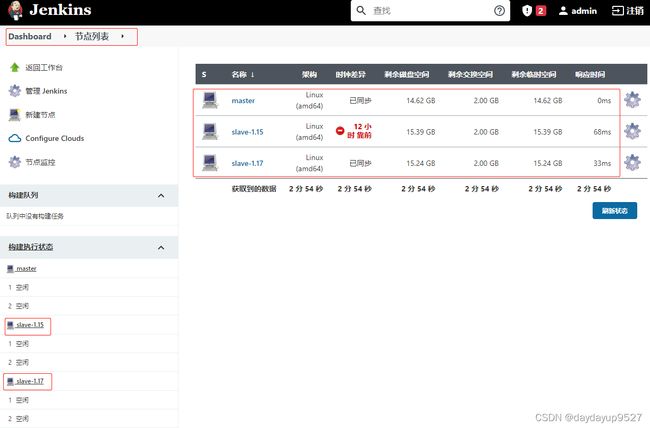
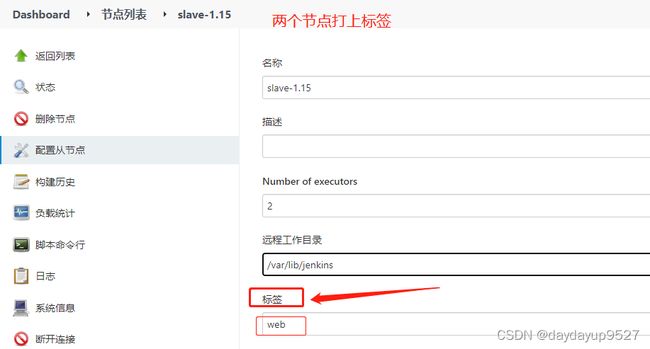
继续添加节点

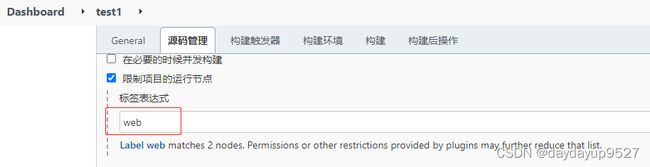
重新配置项目

配置项目运行的节点选择
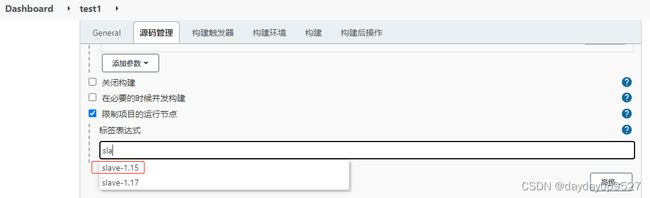

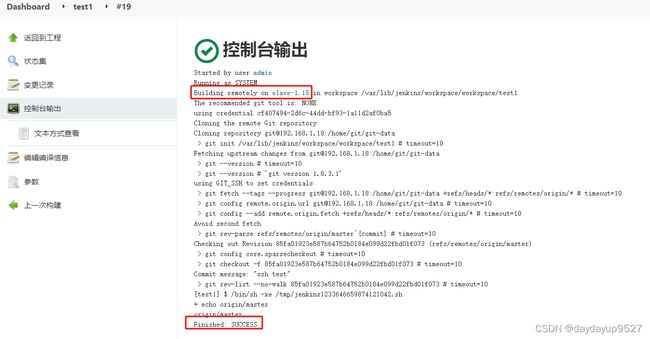
此时再次构建查看输出,已经在slave-1.15上构建了

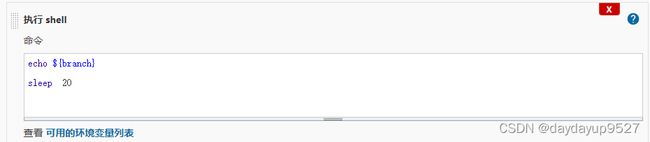
重新配置构建
重现添加两个构建项目test2 test3