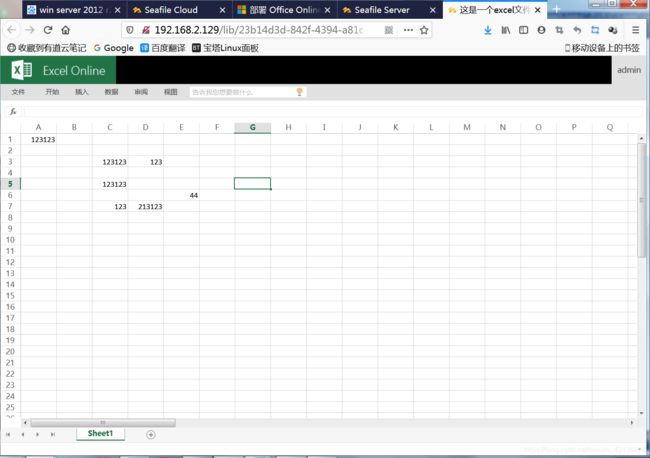
seafile专业版集成微软的office online实现在线协同编辑
在办公的时候,我们经常会用到协同编辑,今天我们使用开源的seafile和微软的Office Online Server 来安装一个属于自己的协同编辑。
一.设备信息
| 名称 | 系统版本 | 配置 | ip地址 |
|---|---|---|---|
| seafile_server | CentOS 7.6(core) | 4c 4g 50g | 192.168.2.129 |
| office_online | winserver_2012_R2 | 4c 4g 60g | 192.168.2.131 |
| 客户机 | Windows7 | 2c 2g 50g | 192.168.2.1 |
2.此处应有环境初始化脚本,在之前的文章内可以找到。
二.安装系统
1. seafile_server:
1.1 下载安装包核安装脚本
安装脚本下载
wget https://raw.githubusercontent.com/haiwen/seafile-server-installer-cn/master/seafile-server-centos-7-amd64-http
安装包去官网下载,然后放到/opt目录下
[root@seafile (21:45:25)~]# ls
anaconda-ks.cfg  init.sh  seafile-server-centos-7-amd64-http
[root@seafile (21:45:33)~]# ll /opt/
total 109028
-rw-r--r--. 1 root root 111643624 Dec  9 15:52 seafile-pro-server_6.3.6_x86-64.tar.gz
[root@seafile (21:45:38)~]#
1.2 使用一键脚本安装seafile专业版(安装前记得拍快照)
[root@seafile (21:45:38)~]# bash seafile-server-centos-7-amd64-http 6.3.6

  This script installs the community edition of the Seafile Server on a Centos 7 64bit
  - Newest Seafile server version, MariaDB, Memcached, NGINX -
  -----------------------------------------------------------------

  This installer is meant to run on a freshly installed machine
  only. If you run it on a production server things can and
  probably will go terrible wrong and you will loose valuable
  data!

  For questions or suggestions please contact us at
  [email protected]

  -----------------------------------------------------------------

  Possible options:
  1 = Seafile Community (Free) Edition (CE)
  2 = Seafile Professional Edition (PRO)

1) CE
2) PRO
3) ABORT
Which Seafile version would you like to install? 2 ##选择PRO

...
中间下载软件部分省略,如果出现报错,恢复快照重装,或者重装系统。
(安装时间与网速有关,时间稍长的话可以借此时间看个电视剧,话说最近的庆余年挺好看的哈)

电视剧都看完了,居然还没下载完成,旅店的网速真是太慢了,如果是云服务器的话,速度应该会很快。如果你的下载速度和我一样,那我们就边下载边把Winserver的环境部署一下吧。
...
安装成功后屏幕会弹出如下信息,这个就是seafile的默认管理员的账户和密码,其他没用的我略掉了。

  Server Address:      http://127.0.0.1

  Seafile Admin:       [email protected]
  Admin Password:      rahth7Eb

  Seafile Data Dir:    /opt/seafile/seafile-data

  Seafile DB Credentials:  Check /opt/seafile.my.cnf
  Root DB Credentials:     Check /root/.my.cnf

  This report is also saved to /opt/seafile/aio_seafile-server.log
...
1.3 seafile主要程序的开启和关闭
seafile的开启和关闭
systemctl start seafile
systemctl status seafile
systemctl stop seafile
seahub的开启和关闭
systemctl start seahub
systemctl status seahub
systemctl stop seahub
1.4 编辑seahub_settings.py
在seahub_settings.py中添加如下内容:
vim /opt/seafile/conf/seahub_settings.py


# Enable Office Online Server
ENABLE_OFFICE_WEB_APP = True

# Url of Office Online Server's discovery page
# The discovery page tells Seafile how to interact with Office Online Server when view file online
# You should change `http://example.office-web-app.com` to your actual Office Online Server server address
OFFICE_WEB_APP_BASE_URL = 'http://192.168.2.131/hosting/discovery'

# Expiration of WOPI access token
# WOPI access token is a string used by Seafile to determine the file's
# identity and permissions when use Office Online Server view it online
# And for security reason, this token should expire after a set time period
WOPI_ACCESS_TOKEN_EXPIRATION = 30 * 60

# List of file formats that you want to view through Office Online Server
# You can change this value according to your preferences
# And of course you should make sure your Office Online Server supports to preview
# the files with the specified extensions
OFFICE_WEB_APP_FILE_EXTENSION = ('ods', 'xls', 'xlsb', 'xlsm', 'xlsx',
    'ppsx', 'ppt','pptm', 'pptx', 'doc', 'docm', 'docx')

# Enable edit files through Office Online Server
ENABLE_OFFICE_WEB_APP_EDIT = True

# types of files should be editable through Office Online Server
# Note, Office Online Server 2016 is needed for editing docx
OFFICE_WEB_APP_EDIT_FILE_EXTENSION = ('xlsx', 'pptx', 'docx')
然后重启seafile和seahub。
[root@seafile (01:27:49)~]# systemctl restart seafile
[root@seafile (01:28:07)~]# systemctl restart seahub
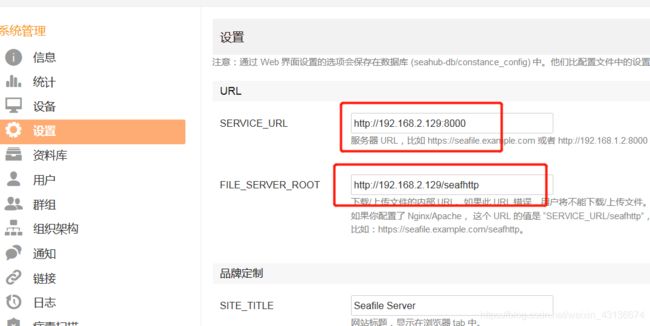
1.5 配置seafile的URL
2.Office Online Server
官方文档:
https://technet.microsoft.com/zh-cn/library/jj219455(v=office.16).aspx.
若环境下有域控添加到域控下即可,若无域控,需要在此系统下创建域控并添加此主机到域控需要的软件包 链接:https://pan.baidu.com/s/1yRDvSun5cAbiNTH68udnKw 提取码:tan2
复制这段内容后打开百度网盘手机App,操作更方便哦
(微软官方文档原文)
简化流程(我们可以边看官方文档,边看我的笔记):
前提:加入到域,这是加入到域的教程,这是创建域的教程,如果用这台设备当做域服务器,会出现问题。
2.1 步骤一:安装需要的服务和功能
第一步,安装4个软件包。
第二步,软件已经下载好,都在上面的链接里。
2.2 步骤二,安装Office Online Server
第一步,下载Office Online Server,在msdn上就可以找到镜像和语言包,上面链接里面也有。
第二、三、四、五步,
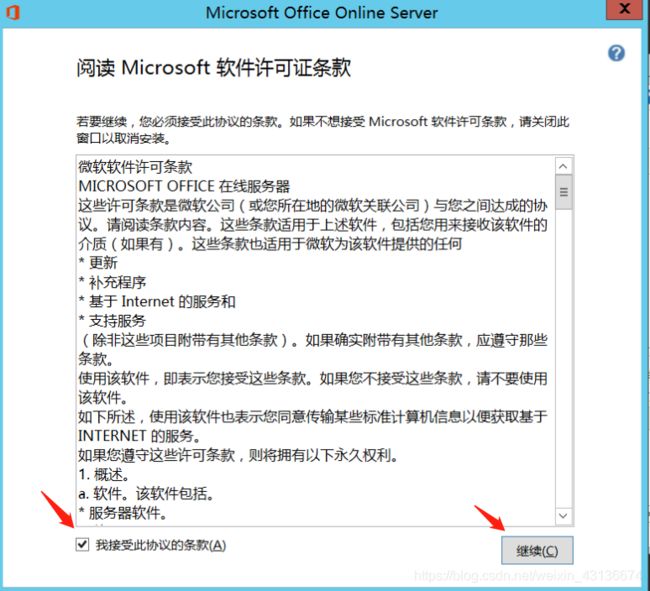
双击cn_office_online_server_may_2016_x64_dvd_8480704镜像,然后点击Setup.exe。
 选择默认安装路径。
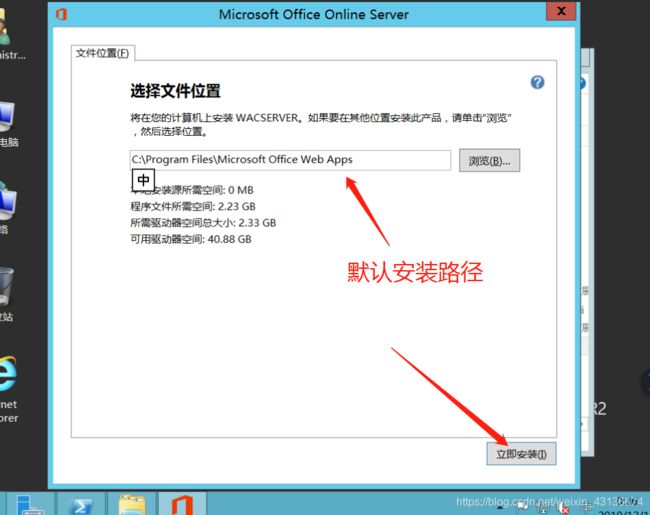 等待安装完成即可。
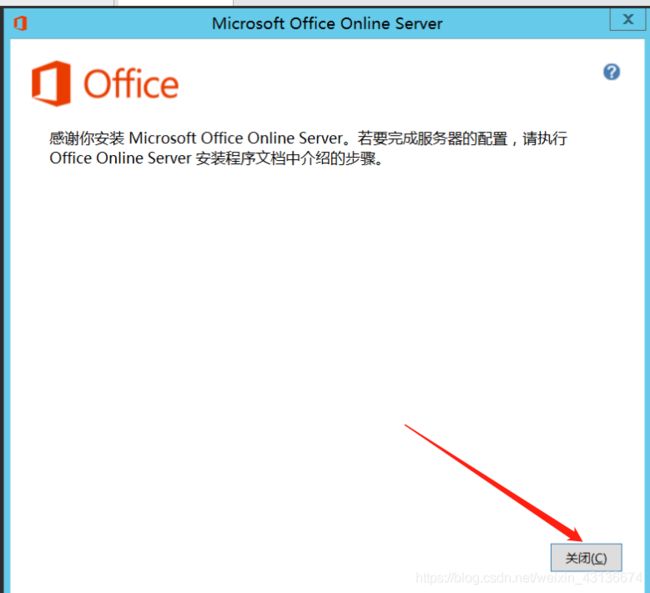
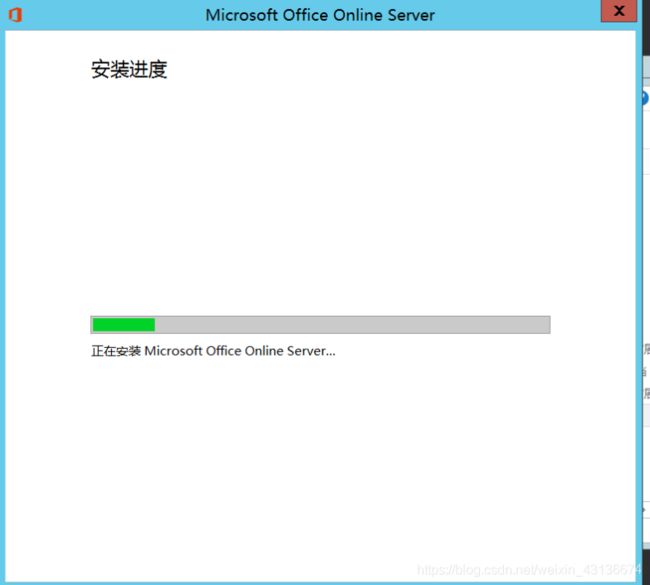 安装完成后点击关闭。
2.3 步骤三,安装语言包
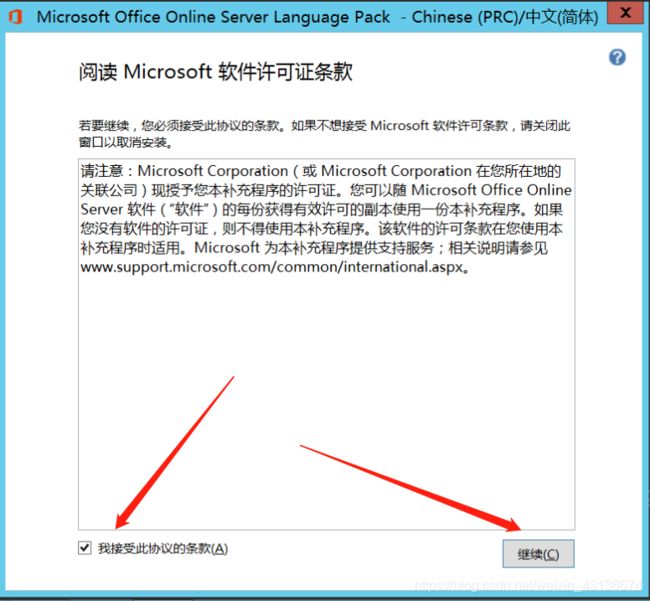
双击安装语言包cn_office_online_server_language_pack_may_2016_x64_8783021
阅读协议后点击继续就自动安装好了。
2.4 步骤四,部署http的单服务器
2.4.1 创建 Office Online Server 场
1.在powershell中运行下面的代码。(这里如果出现问题,请重启服务器)
New-OfficeWebAppsFarm -InternalURL "http://192.168.2.131" -AllowHttp -EditingEnabled
2.在弹出的提示后面输入【Y】。
PS C:\Users\Administrator> New-OfficeWebAppsFarm -InternalURL "http://192.168.2.131" -AllowHttp -EditingEnabled

将 EditingEnabled 设置为 TRUE。只有当此 Office Online Server 的用户具有允许使用
Office Online 进行编辑的许可证时,您才应该这样做。
是否继续执行此操作?
[Y] 是(Y)  [N] 否(N)  [S] 挂起(S)  [?] 帮助 (默认值为“Y”): y


FarmOU                                      :
InternalURL                                 : http://192.168.2.131/
ExternalURL                                 :
AllowHTTP                                   : True
AllowOutboundHttp                           : False
SSLOffloaded                                : False
CertificateName                             :
S2SCertificateName                          :
EditingEnabled                              : True
LogLocation                                 : C:\ProgramData\Microsoft\OfficeWebApps\Data\Logs\ULS
LogRetentionInDays                          : 7
LogVerbosity                                :
Proxy                                       :
CacheLocation                               : C:\ProgramData\Microsoft\OfficeWebApps\Working\d
MaxMemoryCacheSizeInMB                      : 75
DocumentInfoCacheSize                       : 5000
CacheSizeInGB                               : 15
ClipartEnabled                              : False
OnlinePictureEnabled                        : False
OnlineVideoEnabled                          : False
TranslationEnabled                          : False
MaxTranslationCharacterCount                : 125000
TranslationServiceAppId                     :
TranslationServiceAddress                   :
RenderingLocalCacheLocation                 : C:\ProgramData\Microsoft\OfficeWebApps\Working\waccache
RecycleActiveProcessCount                   : 5
AllowCEIP                                   : False
OfficeAddinEnabled                          : False
ExcelRequestDurationMax                     : 300
ExcelSessionTimeout                         : 450
ExcelWorkbookSizeMax                        : 10
ExcelPrivateBytesMax                        : -1
ExcelConnectionLifetime                     : 1800
ExcelExternalDataCacheLifetime              : 300
ExcelAllowExternalData                      : True
ExcelUseEffectiveUserName                   : False
ExcelWarnOnDataRefresh                      : True
ExcelUdfsAllowed                            : False
ExcelMemoryCacheThreshold                   : 90
ExcelUnusedObjectAgeMax                     : -1
ExcelCachingUnusedFiles                     : True
ExcelAbortOnRefreshOnOpenFail               : True
ExcelAutomaticVolatileFunctionCacheLifeTime : 300
ExcelConcurrentDataRequestsPerSessionMax    : 5
ExcelDefaultWorkbookCalcMode                : File
ExcelRestExternalDataEnabled                : True
ExcelChartAndImageSizeMax                   : 1
OpenFromUrlEnabled                          : False
OpenFromUncEnabled                          : True
OpenFromUrlThrottlingEnabled                : True
PicturePasteDisabled                        : True
RemovePersonalInformationFromLogs           : False
AllowHttpSecureStoreConnections             : False
Machines                                    : {WIN-HRIUKDEF4MI}


PS C:\Users\Administrator>
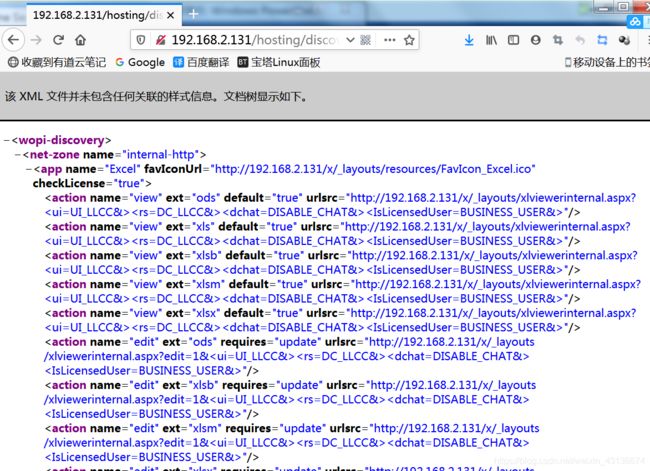
3.测试
访问http://192.168.2.131/hosting/discovery测试
 然后配置 Secure Store 访问
在powershell中输入Set-OfficeWebAppsFarm -AllowHttpSecureStoreConnections:$true


