DolphinScheduler3.1.4 集群部署
文章目录
- DolphinScheduler3.1.4 集群部署
-
- 一、解压 dolphinScheduler3.1.4 安装包
- 二、复制 mysql8.0.16 的驱动
- 三、创建mysql数据库用户和权限
- 四、配置 dolphinscheduler_env.sh 文件
- 五、初始化元数据
- 六、配置 install_env.sh 文件
- 七、安装 dolphinScheduler
DolphinScheduler3.1.4 集群部署
一、解压 dolphinScheduler3.1.4 安装包
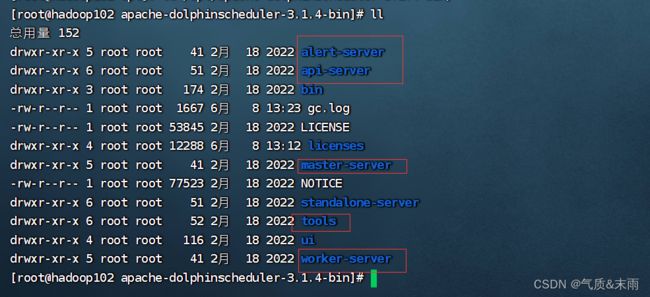
首先将 apache-dolphinscheduler-3.1.4-bin.tar.gz 安装包解压到 /opt 目录·
输入命令: tar -zxvf apache-dolphinscheduler-3.1.4-bin.tar.gz -C /opt/
二、复制 mysql8.0.16 的驱动
输入命令: cd /opt/apache-dolphinscheduler-3.1.4-bin/ 进入目录
我们需要将 mysql8 的驱动 复制到 DolphinScheduler 的下面五个模块的 libs 目录下,输入命令:cp /opt/software/mysql-connector-java-8.0.16.jar /opt/apache-dolphinscheduler-3.1.4-bin/alert-server/libs/ 这五个依次这样cp 就行了
三、创建mysql数据库用户和权限
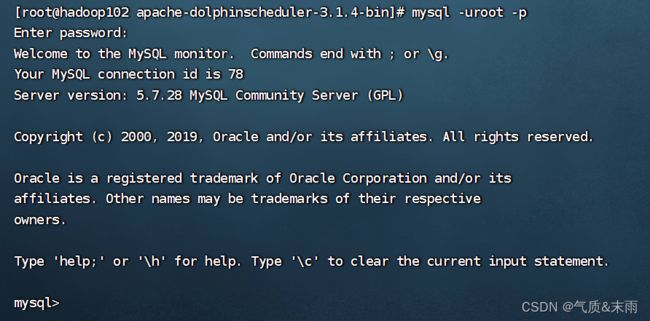
都复制完之后,我们需要进入 mysql 创建数据库和 用户
输入命令:mysql -u root -pp@ssw0rd
然后我们依次执行一下的命令:
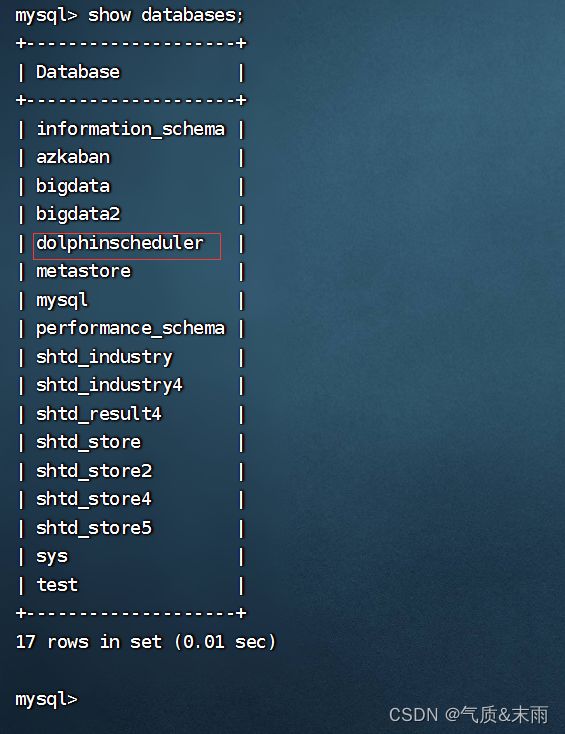
输入命令:CREATE DATABASE dolphinscheduler DEFAULT CHARACTER SET utf8 DEFAULT COLLATE utf8_general_ci; 创建数据库
输入命令:CREATE USER 'dolphinscheduler'@'%' IDENTIFIED BY 'dolphinscheduler'; 创建用户
输入命令:GRANT ALL PRIVILEGES ON dolphinscheduler.* TO 'dolphinscheduler'@'%'; 赋予用户响应权限
输入命令:flush privileges;
然后退出就行了
四、配置 dolphinscheduler_env.sh 文件
输入命令: cd /opt/apache-dolphinscheduler-3.1.4-bin/bin/env/ 进入这个目录

下面这两个文件需要我们进行配置
输入命令:vim dolphinscheduler_env.sh 添加以下的内容
这些环境需要配置自己的路径,可以参照格式
# Licensed to the Apache Software Foundation (ASF) under one or more
# contributor license agreements.  See the NOTICE file distributed with
# this work for additional information regarding copyright ownership.
# The ASF licenses this file to You under the Apache License, Version 2.0
# (the "License"); you may not use this file except in compliance with
# the License.  You may obtain a copy of the License at
#
#     http://www.apache.org/licenses/LICENSE-2.0
#
# Unless required by applicable law or agreed to in writing, software
# distributed under the License is distributed on an "AS IS" BASIS,
# WITHOUT WARRANTIES OR CONDITIONS OF ANY KIND, either express or implied.
# See the License for the specific language governing permissions and
# limitations under the License.
#

# JAVA_HOME, will use it to start DolphinScheduler server
export JAVA_HOME=${JAVA_HOME:-/opt/jdk1.8}

# Database related configuration, set database type, username and password
export DATABASE=${DATABASE:-mysql}
export SPRING_PROFILES_ACTIVE=${DATABASE}
export SPRING_DATASOURCE_URL="jdbc:mysql://hadoop102:3306/dolphinscheduler?useUnicode=true&characterEncoding=UTF-8&useSSL=false&allowPublicKeyRetrieval=true"
export SPRING_DATASOURCE_USERNAME=${SPRING_DATASOURCE_USERNAME:-"dolphinscheduler"}
export SPRING_DATASOURCE_PASSWORD=${SPRING_DATASOURCE_PASSWORD:-"dolphinscheduler"}

# DolphinScheduler server related configuration
export SPRING_CACHE_TYPE=${SPRING_CACHE_TYPE:-none}
export SPRING_JACKSON_TIME_ZONE=${SPRING_JACKSON_TIME_ZONE:-UTC}
export MASTER_FETCH_COMMAND_NUM=${MASTER_FETCH_COMMAND_NUM:-10}

# Registry center configuration, determines the type and link of the registry center
export REGISTRY_TYPE=${REGISTRY_TYPE:-zookeeper}
export REGISTRY_ZOOKEEPER_CONNECT_STRING=${REGISTRY_ZOOKEEPER_CONNECT_STRING:-hadoop102:2181,hadoop103:2181,hadoop104:2181}

# Tasks related configurations, need to change the configuration if you use the related tasks.
export HADOOP_HOME=${HADOOP_HOME:-/opt/hadoop-3.1.3}
export HADOOP_CONF_DIR=${HADOOP_CONF_DIR:-/opt/hadoop-3.1.3/etc/hadoop}
export SPARK_HOME1=${SPARK_HOME1:-/opt/spark}
export SPARK_HOME2=${SPARK_HOME2:-/opt/spark}
export PYTHON_HOME=${PYTHON_HOME:-/opt/soft/python}
export HIVE_HOME=${HIVE_HOME:-/opt/hive}
export FLINK_HOME=${FLINK_HOME:-/opt/flink}
export DATAX_HOME=${DATAX_HOME:-/opt/soft/datax}
export SEATUNNEL_HOME=${SEATUNNEL_HOME:-/opt/soft/seatunnel}
export CHUNJUN_HOME=${CHUNJUN_HOME:-/opt/soft/chunjun}

export PATH=$HADOOP_HOME/bin:$SPARK_HOME1/bin:$SPARK_HOME2/bin:$PYTHON_HOME/bin:$JAVA_HOME/bin:$HIVE_HOME/bin:$FLINK_HOME/bin:$DATAX_HOME/bin:$SEATUNNEL_HOME/bin:$CHUNJUN_HOME/bin:$PATH
五、初始化元数据
输入命令:sh ./tools/bin/upgrade-schema.sh 初始化元数据
六、配置 install_env.sh 文件
输入命令: cd /opt/apache-dolphinscheduler-3.1.4-bin/bin/env/ 进入这个目录
输入命令: vim install_env.sh 添加下面内容 这里面是配置master 和 worker 节点的
# Licensed to the Apache Software Foundation (ASF) under one or more
# contributor license agreements.  See the NOTICE file distributed with
# this work for additional information regarding copyright ownership.
# The ASF licenses this file to You under the Apache License, Version 2.0
# (the "License"); you may not use this file except in compliance with
# the License.  You may obtain a copy of the License at
#
#     http://www.apache.org/licenses/LICENSE-2.0
#
# Unless required by applicable law or agreed to in writing, software
# distributed under the License is distributed on an "AS IS" BASIS,
# WITHOUT WARRANTIES OR CONDITIONS OF ANY KIND, either express or implied.
# See the License for the specific language governing permissions and
# limitations under the License.
#

# ---------------------------------------------------------
# INSTALL MACHINE
# ---------------------------------------------------------
# A comma separated list of machine hostname or IP would be installed DolphinScheduler,
# including master, worker, api, alert. If you want to deploy in pseudo-distributed
# mode, just write a pseudo-distributed hostname
# Example for hostnames: ips="ds1,ds2,ds3,ds4,ds5", Example for IPs: ips="192.168.8.1,192.168.8.2,192.168.8.3,192.168.8.4,192.168.8.5"
ips="hadoop102,hadoop103,hadoop104"

# Port of SSH protocol, default value is 22. For now we only support same port in all `ips` machine
# modify it if you use different ssh port
sshPort="22"

# A comma separated list of machine hostname or IP would be installed Master server, it
# must be a subset of configuration `ips`.
# Example for hostnames: masters="ds1,ds2", Example for IPs: masters="192.168.8.1,192.168.8.2"
masters="hadoop102,hadoop103"

# A comma separated list of machine <hostname>:<workerGroup> or <IP>:<workerGroup>.All hostname or IP must be a
# subset of configuration `ips`, And workerGroup have default value as `default`, but we recommend you declare behind the hosts
# Example for hostnames: workers="ds1:default,ds2:default,ds3:default", Example for IPs: workers="192.168.8.1:default,192.168.8.2:default,192.168.8.3:default"
workers="hadoop102:default,hadoop103:default,hadoop104:default"

# A comma separated list of machine hostname or IP would be installed Alert server, it
# must be a subset of configuration `ips`.
# Example for hostname: alertServer="ds3", Example for IP: alertServer="192.168.8.3"
alertServer="hadooop102"

# A comma separated list of machine hostname or IP would be installed API server, it
# must be a subset of configuration `ips`.
# Example for hostname: apiServers="ds1", Example for IP: apiServers="192.168.8.1"
apiServers="hadoop102"

# The directory to install DolphinScheduler for all machine we config above. It will automatically be created by `install.sh` script if not exists.
# Do not set this configuration same as the current path (pwd). Do not add quotes to it if you using related path.
installPath=${installPath:-"/opt/dolphinscheduler"}

# The user to deploy DolphinScheduler for all machine we config above. For now user must create by yourself before running `install.sh`
# script. The user needs to have sudo privileges and permissions to operate hdfs. If hdfs is enabled than the root directory needs
# to be created by this user
deployUser="dolphinscheduler"

# The root of zookeeper, for now DolphinScheduler default registry server is zookeeper.
zkRoot=${zkRoot:-"/dolphinscheduler"}
七、安装 dolphinScheduler
然后部署完成之后,需要进行安装
输入命令:sh ./bin/install.sh
输入命令:./start-all.sh 启动命令
可以看到 master worker 都启动起来了

输入命令:./stop-all.sh 关闭命令
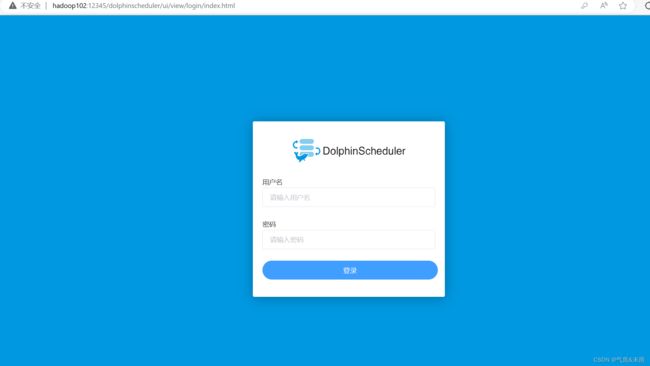
dolphinScheduler UI界面: http://hadoop102:12345/dolphinscheduler/ui
初始用户名密码:admin/dolphinscheduler123
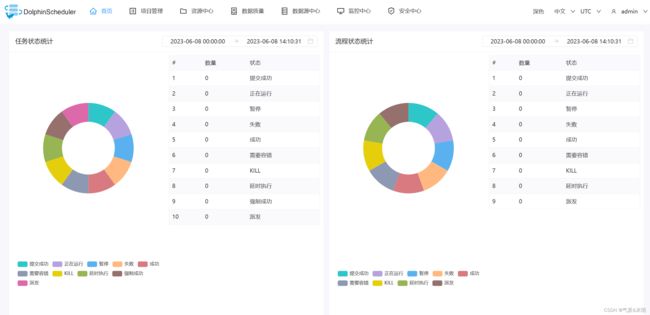
登录之后