Create a Skybox From Photos
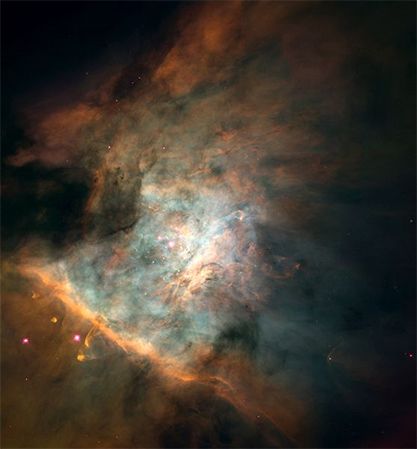
The picture used in it was taken from here.
The skybox from the tutorial is available in .TGA and Source format here.
Before we get started , I should point out that this method is quite inefficient, as while there won't be any seams that are outright visible, there will be somewhat noticeable distortion around the edges of each skybox face; this is due to a lack of proper 90-degree field-of-view in the 2D image. Probably the best method out there for working with 2D imagery would be to texture a sphere in a modeling program with the reference picture, and rendering out six cameras for each direction; this would fix the perspective issue.
Instead, this method should be used for quick mock-ups, or if there is no other option, as it is largely useful for incoherent images, such as outer space.
STEP 1) Find an image
Make sure the reference image is a nice, high resolution; skyboxes use textures that are usually 1024x1024 pixels each .
In my case, I will use a picture of a nebula I took from Wikipedia; the image is a monstrous 2730x2940 pixels, but is not big enough to contain six 1024^2 faces, so I will have to downsize the faces to the next availbe power of two: 512x512.
STEP 2) Create a grid
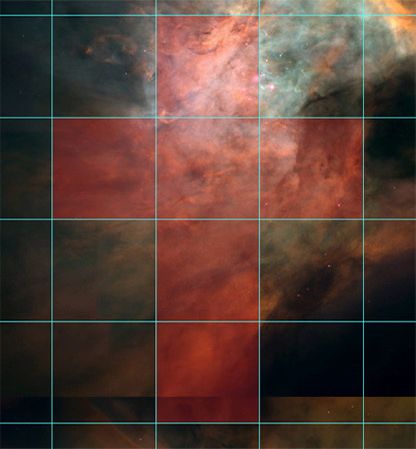
Open up the image in Photoshop and, using Guides, begin laying down a grid of regular 1024x1024 (or, in my case, 512x512) squares.
STEP 3) Plan out your skybox
Look at your image and decide which area you want to use for the skybox. In this tutorial, I will use theVertical Cross cubemap configuration, which is generally useful for quickly deducing the final skybox layout, but there is no best configuration; the other formations are described here.
For my nebula, I offset the image a bit so the bright center would move into the box that corresponds with the up direction (the ceiling) of the skybox.
STEP 4) Cover up seams
This is probably the longest, somewhat complicated, and labor-intesive step, so come prepared.
With your skybox planned out, all that's left is making all of the faces blend seamlessly with one another. Here is a diagram showing which face edges must blend with which:
Keep in mind the 3D nature of the skybox; what you are essentialy looking at is a flat cut-out for a cube, so some faces will be flipped or rotated in the final in-game representation, and so these faces must be blended accordingly. For example, the Xs and Os in this diagram represent some of the edges that will have to be flipped and rotated before making them seamless. Basically, line up the X with the X, and the O with the O.
I find it easier to do this by imagining folding the cut-out before me into a cube, and thinking how the cube faces would change before meeting each other.
Here is an example of the way I cover up a seam:
Basically, I took an unused part of the image that already blended with one of the edges (edge 1), translated and rotated that part around so it would conform with the edge that I wanted edge 1 to blend with (edge 2), and (try to keep up with me here) masked away everything but the edge.
Once this is done, the faces should seamlessly blend with one another, because you effectively covered up the seam.
NOTE: Some faces will have more than one edge that needs to be blended; make sure that each time you cover up an edge, it does not overlap with a diferent edge that has also been covered up, as it is really difficult to prevent yourself from creating new seams that way.
STEP 5) Finishing up
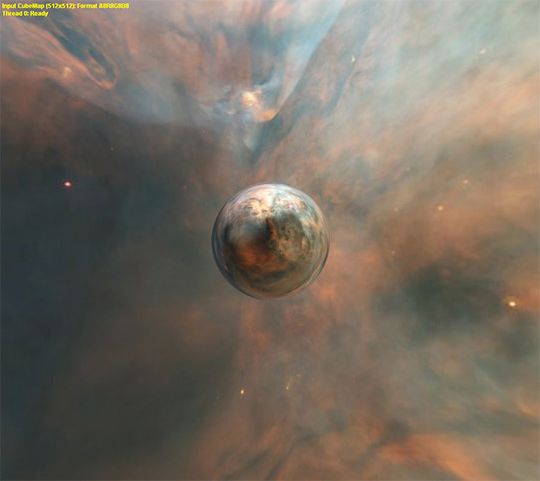
When you are finished masking the seams, your job is effectively done. This is the result I ended up with:
All that's left is to convert the configuration into six faces, compile, and voilà!
You just made a skybox from a photo!
原文地址点击这里


