版本记录
| 版本号 | 时间 |
|---|---|
| V1.0 | 2017.08.06 |
前言
在app中,很多时候都需要在输入框里面输入东西,这个时候键盘弹出,不可避免的就会有遮挡页面的问题,这一篇就讲一下解决键盘遮挡页面的方法。感兴趣的可以看看我写的其他小技巧。
1. 实用小技巧(一):UIScrollView中上下左右滚动方向的判断
2. 实用小技巧(二):屏幕横竖屏的判断和相关逻辑
3.实用小技巧(三):点击手势屏蔽子视图的响应
4.实用小技巧(四):动态的增删标签视图
5.实用小技巧(五):通过相册或者相机更改图标
6.实用小技巧(六):打印ios里所有字体
7. 实用小技巧(七):UITableViewCell自适应行高的计算
8. 实用小技巧(八):数字余额显示的分隔
9.实用小技巧(九):类头条模糊背景的实现
10.实用小技巧(十):晃动手机换后台服务器网络
11.实用小技巧(十一):scrollView及其子类显示的一些异常处理
12.实用小技巧(十二):头像图片缩放以及保存到相册简单功能的实现
13.实用小技巧(十三):一种类酷我音乐盒动画实现
14.实用小技巧(十四):生成跳往applestore指定app的方法
15.实用小技巧(十五):左侧向右滑动返回上一级控制器
16.实用小技巧(十六):获取设备信息
17.实用小技巧(十七):清除缓存目录
18.实用小技巧(十八):取出gif图的每一帧
19.实用小技巧(十九):获取相机和麦克风权限
20.实用小技巧(二十):游客模式的实现
21.实用小技巧(二十一):版本检测的实现
22.实用小技巧(二十二):键盘遮挡问题
功能要求
获取设备的闪光灯的权限,并可控制闪光灯的关闭。
功能实现
1. 几个重要的类
AVCaptureSessionAVCaptureDeviceAVCaptureDeviceInput
AVCaptureSession
/*!
 @class AVCaptureSession
 @abstract
    AVCaptureSession is the central hub of the AVFoundation capture classes.

 @discussion
    To perform a real-time capture, a client may instantiate AVCaptureSession and add appropriate AVCaptureInputs, such as AVCaptureDeviceInput, and outputs, such as AVCaptureMovieFileOutput. [AVCaptureSession startRunning] starts the flow of data from the inputs to the outputs, and [AVCaptureSession stopRunning] stops the flow. A client may set the sessionPreset property to customize the quality level or bitrate of the output.
 */
NS_CLASS_AVAILABLE(10_7, 4_0) __TVOS_PROHIBITED
@interface AVCaptureSession : NSObject
{
@private
    AVCaptureSessionInternal *_internal;
}
它是AVFoundation框架中最重要的类。
AVCaptureDevice
/*!
 @class AVCaptureDevice
 @abstract
    An AVCaptureDevice represents a physical device that provides realtime input media data, such as video and audio.

 @discussion
    Each instance of AVCaptureDevice corresponds to a device, such as a camera or microphone. Instances of AVCaptureDevice cannot be created directly. An array of all currently available devices can also be obtained using the AVCaptureDeviceDiscoverySession. Devices can provide one or more streams of a given media type. Applications can search for devices matching desired criteria by using AVCaptureDeviceDiscoverySession, or may obtain a reference to the default device matching desired criteria by using +[AVCaptureDevice defaultDeviceWithDeviceType:mediaType:position:].

    Instances of AVCaptureDevice can be used to provide media data to an AVCaptureSession by creating an AVCaptureDeviceInput with the device and adding that to the capture session.
 */
NS_CLASS_AVAILABLE(10_7, 4_0) __TVOS_PROHIBITED
@interface AVCaptureDevice : NSObject
{
@private
    AVCaptureDeviceInternal *_internal;
}
所有视频、音频以及相关硬件设备的获取都在这个类中,这里就使用其两个相关的枚举,如下:
typedef NS_ENUM(NSInteger, AVCaptureTorchMode) {
    AVCaptureTorchModeOff  = 0,
    AVCaptureTorchModeOn   = 1,
    AVCaptureTorchModeAuto = 2,
} NS_AVAILABLE(10_7, 4_0) __TVOS_PROHIBITED;

typedef NS_ENUM(NSInteger, AVCaptureFlashMode) {
    AVCaptureFlashModeOff  = 0,
    AVCaptureFlashModeOn   = 1,
    AVCaptureFlashModeAuto = 2
} NS_AVAILABLE(10_7, 4_0) __TVOS_PROHIBITED;
AVCaptureDeviceInput
/*!
 @class AVCaptureDeviceInput
 @abstract
    AVCaptureDeviceInput is a concrete subclass of AVCaptureInput that provides an interface for capturing media from an AVCaptureDevice.

 @discussion
    Instances of AVCaptureDeviceInput are input sources for AVCaptureSession that provide media data from devices connected to the system, represented by instances of AVCaptureDevice.
 */
NS_CLASS_AVAILABLE(10_7, 4_0) __TVOS_PROHIBITED
@interface AVCaptureDeviceInput : AVCaptureInput
{
@private
    AVCaptureDeviceInputInternal *_internal;
}
2. 代码实现
下面我们直接看代码。
#import "JJTorchVC.h"
#import
#import "Masonry.h"

@interface JJTorchVC ()

@property (nonatomic, strong) UIButton *switchButton;
@property (nonatomic, strong) AVCaptureSession *captureSession;
@property (nonatomic, strong) AVCaptureDevice *captureDevice;

@end

@implementation JJTorchVC

- (void)viewDidLoad
{
    [super viewDidLoad];

    self.view.backgroundColor = [UIColor whiteColor];

    [self setupUI];

    AVCaptureSession *captureSession = [[AVCaptureSession alloc] init];
    self.captureSession = captureSession;

    NSArray *allDevices = [AVCaptureDevice devices];
    for (AVCaptureDevice *currentDevice in allDevices) {
        if (currentDevice.position == AVCaptureDevicePositionBack) {
            self.captureDevice = currentDevice;
        }
    }

    AVCaptureDeviceInput *deviceInput = [[AVCaptureDeviceInput alloc] initWithDevice:self.captureDevice error:nil];

    [self.captureSession addInput:deviceInput];
}

- (void)viewWillAppear:(BOOL)animated
{
    [super viewWillAppear:animated];

    self.navigationController.navigationBarHidden = YES;
}

- (void)viewWillDisappear:(BOOL)animated
{
    [super viewWillDisappear:animated];

    self.navigationController.navigationBarHidden = NO;
}

#pragma mark - Object Private Function

- (void)setupUI
{
    UIButton *switchButton = [UIButton buttonWithType:UIButtonTypeCustom];
    switchButton.backgroundColor = [UIColor lightTextColor];
    [switchButton addTarget:self action:@selector(switchButtonDidClick:) forControlEvents:UIControlEventTouchUpInside];
    [switchButton setImage:[UIImage imageNamed:@"torch_off"] forState:UIControlStateNormal];
    [switchButton setImage:[UIImage imageNamed:@"torch_on"] forState:UIControlStateSelected];
    [self.view addSubview:switchButton];
    self.switchButton = switchButton;

    [self.switchButton mas_makeConstraints:^(MASConstraintMaker *make) {
        make.center.equalTo(self.view);
        make.width.height.equalTo(@100);
    }];
}

#pragma mark - Action && Notification

- (void)switchButtonDidClick:(UIButton *)button
{
    button.selected = !button.selected;

    NSLog(@"%d",button.isSelected);

    if ([self.captureDevice hasTorch] && [self.captureDevice hasFlash]) {
        if (button.isSelected) {
            NSLog(@"开关已打开");
            if (self.captureDevice.torchMode == AVCaptureTorchModeOff) {
                [self.captureSession beginConfiguration];
                [self.captureDevice lockForConfiguration:nil];
                [self.captureDevice setTorchMode:AVCaptureTorchModeOn];
                [self.captureDevice setFlashMode:AVCaptureFlashModeOn];
                [self.captureDevice unlockForConfiguration];
                [self.captureSession commitConfiguration];
            }
        }
        else {
            NSLog(@"开关已关闭");

            if (self.captureDevice.torchMode == AVCaptureTorchModeOn) {
                [self.captureSession beginConfiguration];
                [self.captureDevice lockForConfiguration:nil];
                [self.captureDevice setTorchMode:AVCaptureTorchModeOff];
                [self.captureDevice setFlashMode:AVCaptureFlashModeOff];
                [self.captureDevice unlockForConfiguration];
                [self.captureSession commitConfiguration];
                [self.captureSession stopRunning];
            }

        }
    }
}
@end
功能效果
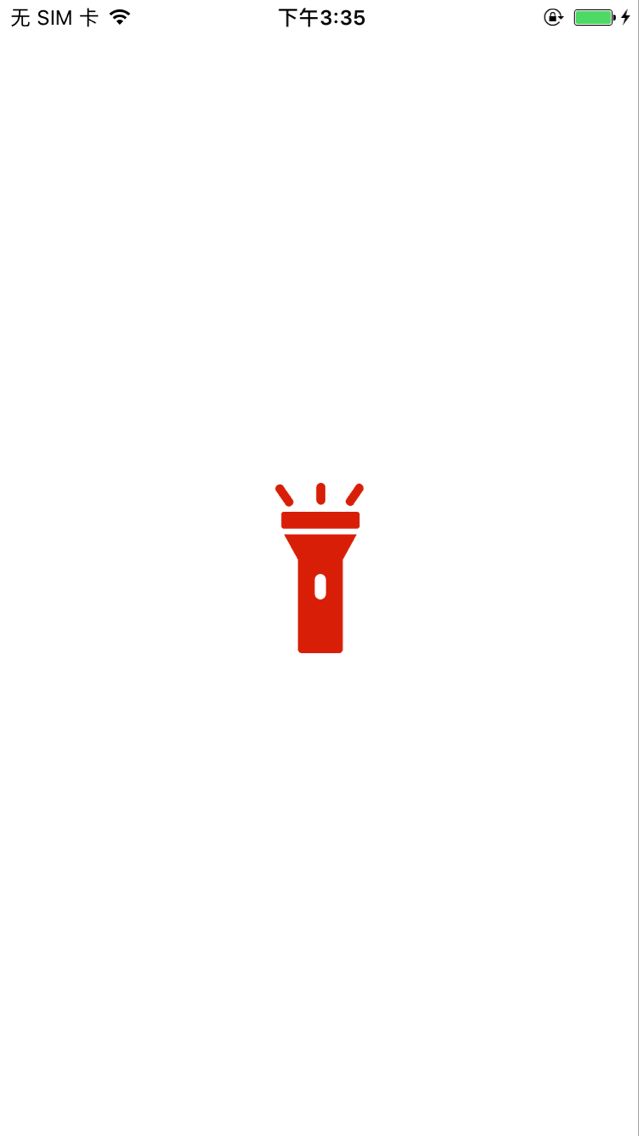
这里只能给两张页面图示,不能给闪光灯打开的图示了。
后记
这个就暂时写这么多了,都是很基础的东西,后续会加深难度和展示更炫酷的功能。


