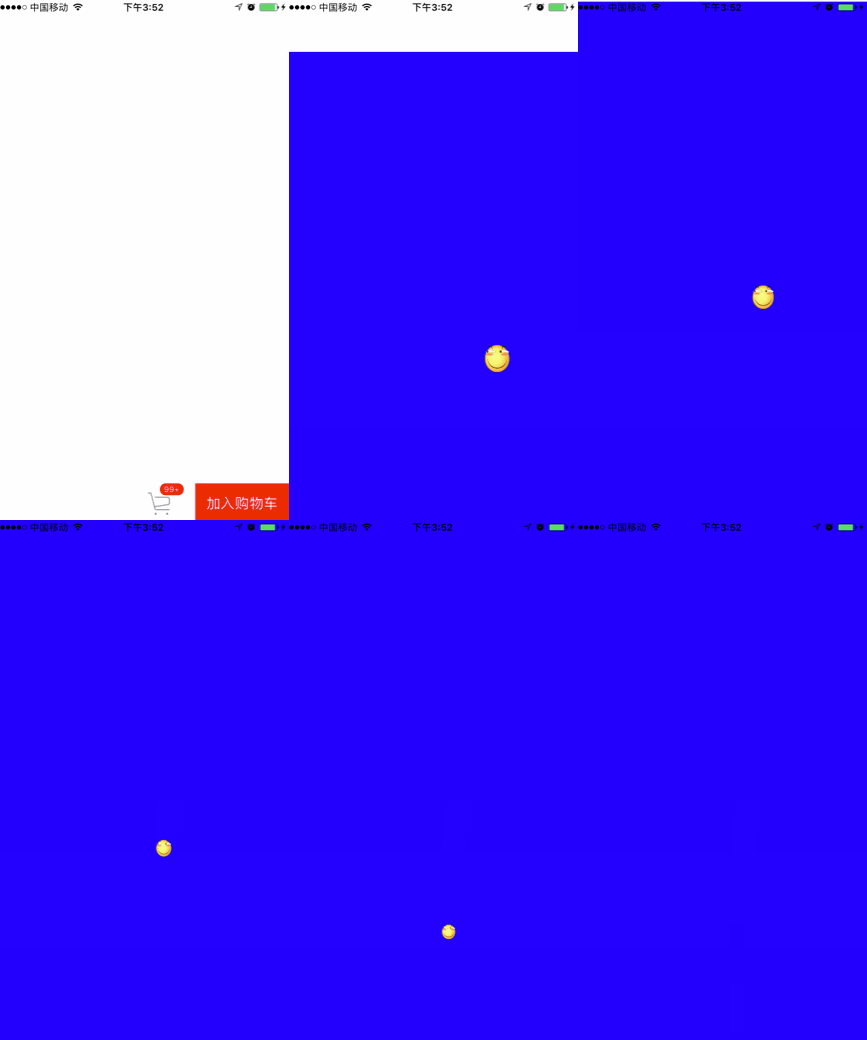
之前APP里的加入购物车动画是最简单的UIView动画(一句代码那种),这几天正好有时间所以就跟产品那边确认优化了一下。虽然产品嘴上说让我自由发挥,但我相信没处理好肯定会让我改,改到产品那边满意为止,所以我研究了一下京东的加入购物车动画。
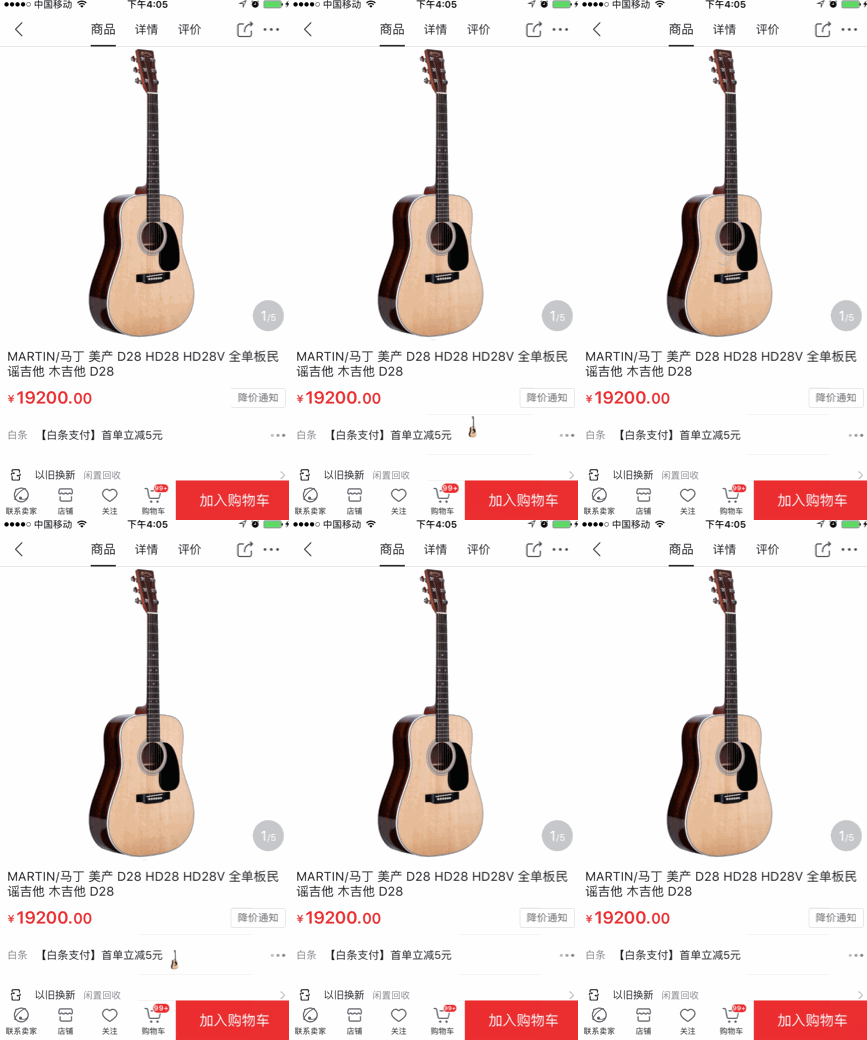
先看看京东的购物车动画是怎样的:
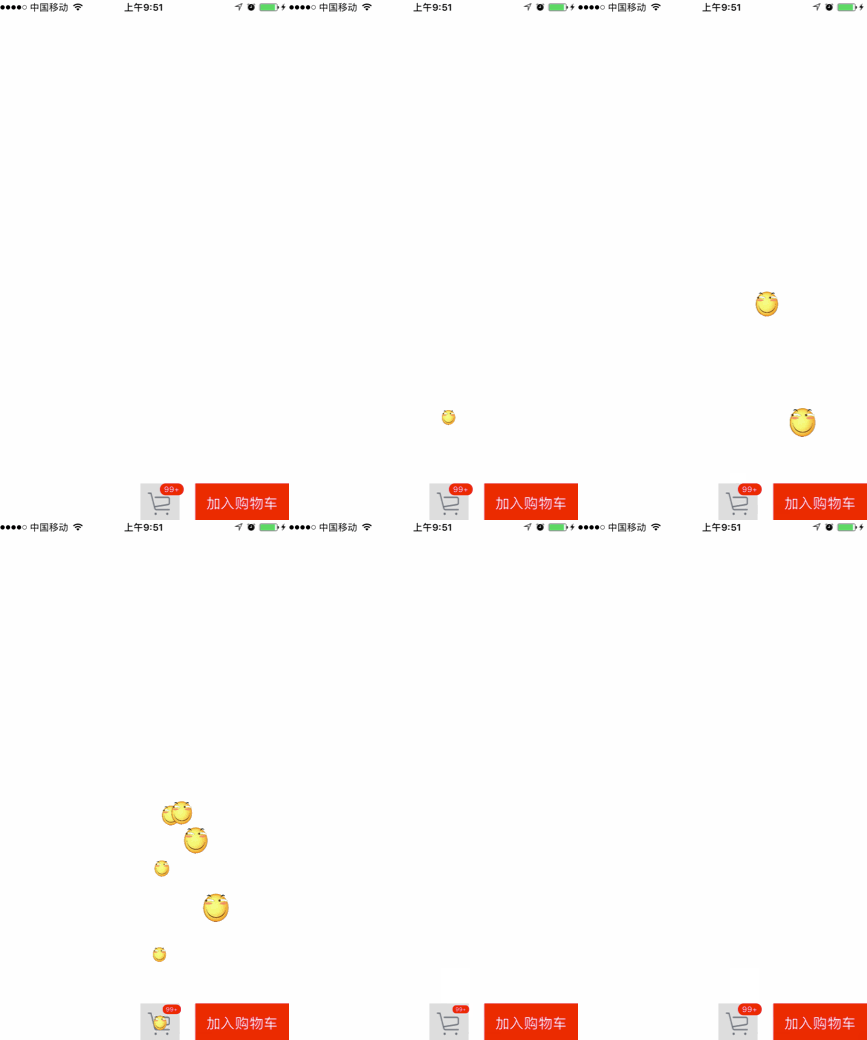
再看看我模仿出来的效果:
我为了突出效果把动画写得夸张了点,实际项目中不会这么张狂。
先分析一下整个动画的过程
当用户点击加入购物车按钮时,一张商品图片从“加入购物车按钮”中心飞到了“购物车”按钮中心。其中:
- 飞行的路径是抛物线的
- 飞行过程中图片越来越小
- 飞行结束后商品数量label颤抖了两下
如何定义这个动画?
- 这个动画是购物车相关的,所以它的类名应该是
ShoppingCartTool或者ShoppingCartManagement之类的。 - 这个动画效果至少需要3个参数:商品图片、起点和终点。
- 我们需要在动画结束时进行相应处理,所以还需要一个动画结束时回调的block。
- 类方法比对象方法使用更加方便。
基于这四点,方法定义如下:
#import
#import

@interface ShoppingCartTool : NSObject

/**
 加入购物车的动画效果

 @param goodsImage 商品图片
 @param startPoint 动画起点
 @param endPoint   动画终点
 @param completion 动画执行完成后的回调
 */
+ (void)addToShoppingCartWithGoodsImage:(UIImage *)goodsImage
                             startPoint:(CGPoint)startPoint
                               endPoint:(CGPoint)endPoint
                             completion:(void (^)(BOOL finished))completion;

@end
动画实现详细讲解
先把完整代码贴出来:
+ (void)addToShoppingCartWithGoodsImage:(UIImage *)goodsImage startPoint:(CGPoint)startPoint endPoint:(CGPoint)endPoint completion:(void (^)(BOOL))completion{

    //------- 创建shapeLayer -------//
    CAShapeLayer *animationLayer = [[CAShapeLayer alloc] init];
    animationLayer.frame = CGRectMake(startPoint.x - 20, startPoint.y - 20, 40, 40);
    animationLayer.contents = (id)goodsImage.CGImage;

    // 获取window的最顶层视图控制器
    UIViewController *rootVC = [[UIApplication sharedApplication].delegate window].rootViewController;
    UIViewController *parentVC = rootVC;
    while ((parentVC = rootVC.presentedViewController) != nil ) {
        rootVC = parentVC;
    }
    while ([rootVC isKindOfClass:[UINavigationController class]]) {
        rootVC = [(UINavigationController *)rootVC topViewController];
    }

    // 添加layer到顶层视图控制器上
    [rootVC.view.layer addSublayer:animationLayer];


    //------- 创建移动轨迹 -------//
    UIBezierPath *movePath = [UIBezierPath bezierPath];
    [movePath moveToPoint:startPoint];
    [movePath addQuadCurveToPoint:endPoint controlPoint:CGPointMake(200,100)];
    // 轨迹动画
    CAKeyframeAnimation *pathAnimation = [CAKeyframeAnimation animationWithKeyPath:@"position"];
    CGFloat durationTime = 1; // 动画时间1秒
    pathAnimation.duration = durationTime;
    pathAnimation.removedOnCompletion = NO;
    pathAnimation.fillMode = kCAFillModeForwards;
    pathAnimation.path = movePath.CGPath;


    //------- 创建缩小动画 -------//
    CABasicAnimation *scaleAnimation = [CABasicAnimation animationWithKeyPath:@"transform.scale"];
    scaleAnimation.fromValue = [NSNumber numberWithFloat:1.0];
    scaleAnimation.toValue = [NSNumber numberWithFloat:0.5];
    scaleAnimation.duration = 1.0;
    scaleAnimation.timingFunction = [CAMediaTimingFunction functionWithName:kCAMediaTimingFunctionEaseInEaseOut];
    scaleAnimation.removedOnCompletion = NO;
    scaleAnimation.fillMode = kCAFillModeForwards;


    // 添加轨迹动画
    [animationLayer addAnimation:pathAnimation forKey:nil];
    // 添加缩小动画
    [animationLayer addAnimation:scaleAnimation forKey:nil];


    //------- 动画结束后执行 -------//
    dispatch_after(dispatch_time(DISPATCH_TIME_NOW, (int64_t)(durationTime * NSEC_PER_SEC)), dispatch_get_main_queue(), ^{
        [animationLayer removeFromSuperlayer];
        completion(YES);
    });
}
看到这种抛物线的动画我就条件反射的想到CAShapeLayer+UIBezierPath。
展示:由layer决定
layer可以装图片
animationLayer.contents = (id)goodsImage.CGImage;
轨迹:由贝塞尔曲线决定
贝塞尔曲线决定了移动轨迹
pathAnimation.path = movePath.CGPath;
动画:由animation决定
动画有很多,按需添加
// 添加轨迹动画
[animationLayer addAnimation:pathAnimation forKey:nil];
// 添加缩小动画
[animationLayer addAnimation:scaleAnimation forKey:nil];
难点
颤抖效果如何实现?
快速缩放两次不就是颤抖效果了吗?
/** 加入购物车按钮点击 */
- (void)addButtonClicked:(UIButton *)sender {
    [ShoppingCartTool addToShoppingCartWithGoodsImage:[UIImage imageNamed:@"heheda"] startPoint:self.addButton.center endPoint:self.shoppingCartButton.center completion:^(BOOL finished) {
        NSLog(@"动画结束了");

        //------- 颤抖吧 -------//
        CABasicAnimation *scaleAnimation = [CABasicAnimation animationWithKeyPath:@"transform.scale"];
        scaleAnimation.fromValue = [NSNumber numberWithFloat:1.0];
        scaleAnimation.toValue = [NSNumber numberWithFloat:0.7];
        scaleAnimation.duration = 0.1;
        scaleAnimation.repeatCount = 2; // 颤抖两次
        scaleAnimation.autoreverses = YES;
        scaleAnimation.timingFunction = [CAMediaTimingFunction functionWithName:kCAMediaTimingFunctionEaseInEaseOut];
        [self.goodsNumLabel.layer addAnimation:scaleAnimation forKey:nil];
    }];
}
就这样成功颤抖了。
细节:
为什么我不直接将动画layer加到window上?
如果直接加在window上,不管是keyWindow还是AppDelegate的window,当动画进行中的时候切换视图控制器,视图控制器切换了,但是动画并不会跟着切换。来张动图你就明白了:
这显然不是我们想要的结果,所以我把动画layer添加到的最顶层视图控制器上。
精髓
通过延迟加载来和动画结束时间相对应:
//------- 动画结束后执行 -------//
dispatch_after(dispatch_time(DISPATCH_TIME_NOW, (int64_t)(durationTime * NSEC_PER_SEC)), dispatch_get_main_queue(), ^{
    [animationLayer removeFromSuperlayer];
    completion(YES);
});
总结:
封装小功能时不仅仅要完成功能,细节是不能忽视的。
补充说明:
实际开发中很可能需要将frame坐标转换为屏幕坐标,这个百度一下就可以找到答案。
Demo
上面的酷炫demo
