本章小目标
- git clone react-weui并试运行
- 构建react开发脚手架
0 前言
最近在使用react做一些东西,发现weui有react版本,很好用。可以拿官方的源码作为一个react开发的脚手架。这篇文章的目标就是让脚手架跑起来
1 下载源码
官方github clone源码
$ git clone https://github.com/weui/react-weui.git
$ cnpm install
$ cnpm start
目录结构参考github网站或源码目录,这样其实就已经有一个基本的脚手架了。
2 安装必要的npm包
上一步直接start是报错的,因为缺少必要的包,按错误提示安装即可。
$ cnpm install --save react react-dom
$ cnpm install --save [email protected] react-weui
$ cnpm install --save webpack-dev-server
$ cnpm install --save webpack
$ cnpm install --save autoprefixer
$ cnpm install --save html-webpack-plugin
$ cnpm install --save extract-text-webpack-plugin
$ cnpm install --save open-browser-webpack-plugin
$ cnpm install --save  fbjs
接下来cnpm start可以启动了。
3 启动并访问demo
$ cnpm start
启动演示DEMO,可访问地址:http://localhost:8080/
$ cnpm run startdoc
但是,startdoc时有报错如下:
ERROR in ./docs/pages/docs.js
Module not found: Error: Cannot resolve 'file' or 'directory' ../../lib/react-weui.min.css in /home/bit/git_app/react-weui/docs/pages
@ ./docs/pages/docs.js 59:0-39
ERROR in ./docs/pages/docs.js
Module not found: Error: Cannot resolve 'file' or 'directory' ../../lib in /home/bit/git_app/react-weui/docs/pages
@ ./docs/pages/docs.js 55:11-31
其实应该先执行构建,生成lib目录,然后再打开demo
$ cnpm run build
$ ls lib
components  index.js  react-weui.min.css  utils  version.js
$ cnpm  run startdoc
再次启动OK。
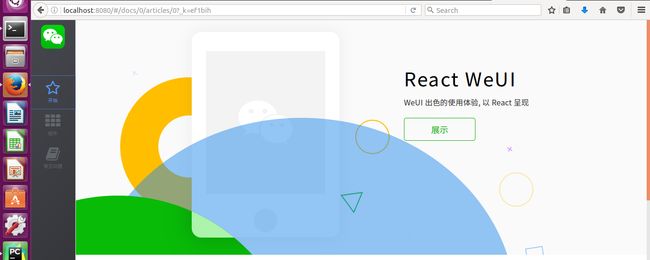
访问演示文档,可访问地址:http://localhost:8080/
将看到一个漂亮的首页(偷懒的话,就拿来改一改),哇哦~
4 创建自己的APP
接下来就通过简单的改造,构建自己的APP脚手架。
到目前为止,目录结构如下
$ tree -L 1
.
├── CHANGELOG.md
├── CONTRIBUTING.md
├── dist
├── docs
├── example
├── lib
├── node_modules
├── package.json
├── README.md
├── src
├── test
├── webpack.config.doc.js
├── webpack.config.js
└── webpack.config.prod.js
4.1 创建APP目录
仿照docs和example,在旁边建一个APP目录,名称为hi_weui
$ mkdir hi_weui
$ cat hi_weui.js #写一段js代码
// hi_weui.js
import React, { Component } from 'react';
import ReactDOM from 'react-dom';
//import Using ES6 syntax
import WeUI from 'react-weui';
//import styles
import 'weui';
import 'react-weui/lib/react-weui.min.css';
const {Button} = WeUI;
class App extends Component {
render() {
return (
);
}
}
ReactDOM.render((
$ cat index.html  #写一个html页面作为入口


    hi_weui
4.2 创建APP对应的webpack配置文件
修改现有的配置文件即可
$ cp webpack.config.js webpack.config.hi_weui.js
$ diff webpack.config.js webpack.config.hi_weui.js
9c9
<     context: path.join(__dirname, 'example'),
---
>     context: path.join(__dirname, 'hi_weui'),
11c11
<         js: ['./app.js'],
---
>         js: ['./hi_weui.js'],
15c15
<         path: path.resolve(__dirname, 'dist'),
---
>         path: path.resolve(__dirname, 'dist_hi_weui'),
51c51
<             template: path.join(__dirname, 'example/index.html')
---
>             template: path.join(__dirname, 'hi_weui/index.html')
4.3 修改package.json文件
$ cat package.json #对应位置增加下面两行
"start:hi_weui": "webpack-dev-server --config webpack.config.hi_weui.js --hot --inline --progress --colors --port 8080",
"build:hi_weui": "rimraf ./dist/docs && webpack --config webpack.config.hi_weui.js --progress --colors -p",
4.4 使用webpack编译构建程序
4.4.1 编译模式
$ cnpm run build:hi_weui
$ cd dist_hi_weui
$ tree
.
├── bundle.js
├── index.html
├── vendor.bundle.js
└── weui.min.css

0 directories, 4 files
$ firefox index.html  #打开网页
4.4.2 热开发模式
$ cnpm run start:hi_weui
访问:http://localhost:8080/
这个时候,可以实时修改js文件,实时在浏览器中看到修改的效果
$ vim hi_weui.js

5 结语
整个过程还是比较简单的。这个脚手架用到了许多东西,可以暂时不纠结里面的细节,等需要的时候再去了解。
下一回预告,介绍在Django框架下使用这个react脚手架的方法