决策树分类实验
决策树分类实验
文章目录
- 决策树分类实验
- 实验说明
- 实验步骤
- 参数优化
- 可视化
实验说明
我们不需要自己去实现决策树,sklearn包里已经实现了决策树分类模型,导入使用即可。
数据集我们使用的是 sklearn包中自带的红酒数据集。
- 实验环境:Anaconda3+VScode
- Python版本:3.7
- 需要的第三方库:sklearn、matplotlib、numpy、pydotplus
实验步骤
一个简单的决策树分类实验一共分为六个步骤:
- 加载数据集
- 拆分数据集
- 创建模型
- 在训练集学习得到模型
- 模型预测
- 模型评测
关于训练集和测试集的划分我们使用的是留出法,最后的结果我们使用准确率来进行评估。
这一步用到的第三方库是 sklearn。
代码如下:
from sklearn.datasets import load_wine
from sklearn.model_selection import train_test_split
from sklearn.tree import DecisionTreeClassifier
from sklearn.metrics import accuracy_score

#1.加载数据集
wdata = load_wine()
# print(wdata)

#2.拆分数据集
x = wdata.data
y = wdata.target
x_train, x_test, y_train, y_test = train_test_split(x, y, test_size=0.2, random_state=100);

#3.创建模型
dtc = DecisionTreeClassifier(random_state=100, max_depth=5)

#4.获取在训练集的模型
dtc.fit(x_train, y_train)

#5.预测结果
dtc_predict = dtc.predict(x_test)

#6.模型评测
result = accuracy_score(y_test, dtc_predict)
print("准确率:{}".format(result))
参数优化
我们可以通过修改随机种子(random_state)和最大深度(max_depth)两个参数来提升模型的准确率。
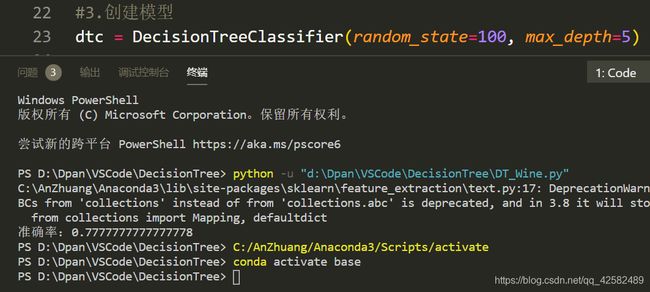
上一步的结果中可以看到,当随机种子为100,最大深度为5时,准确率为0.77。
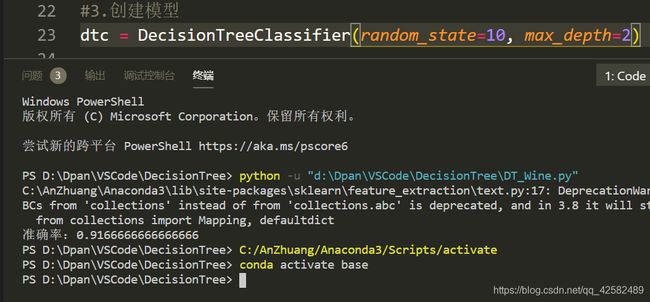
我们将随机种子改为10,最大深度改为2,准确率提升为0.91。
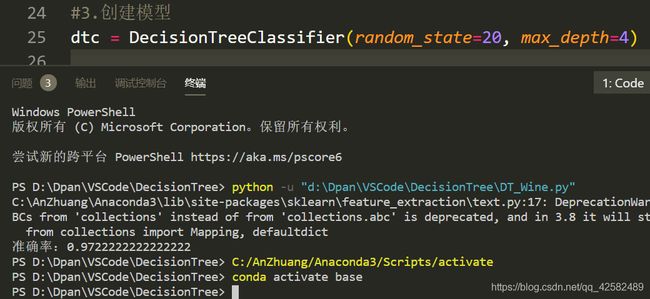
同理,不断地尝试优化参数来提高准确率,当随机种子为20,最大深度为4时,准确率提升为0.97,已经相当高了。
可视化
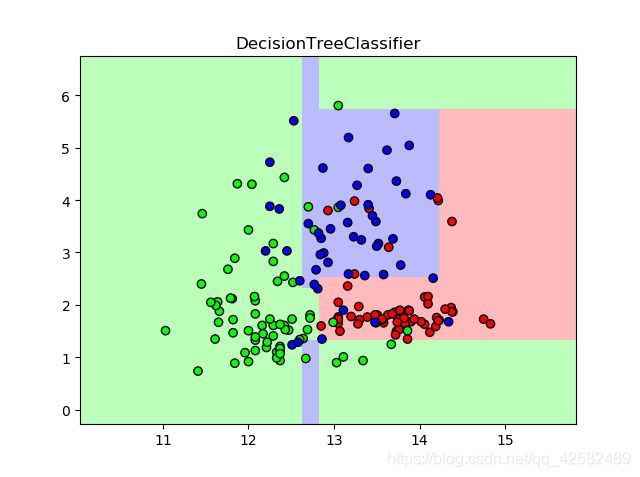
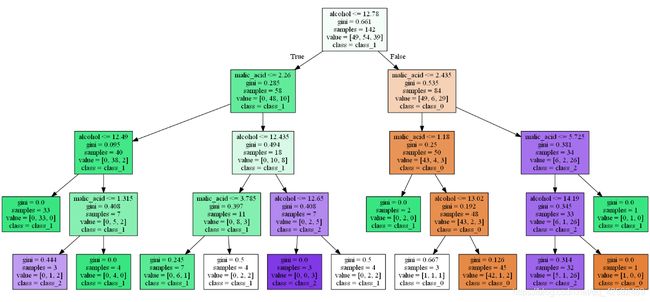
我们将刚才训练的决策树选取两个特征,借助散点图进行可视化。同时,可视化决策树的生成过程。
这一步需要的第三方库是 sklearn、matplotlib、numpy、pydotplus。
代码如下:
from sklearn.datasets import load_wine
from sklearn.model_selection import train_test_split
from sklearn.tree import DecisionTreeClassifier
from sklearn.metrics import accuracy_score
import matplotlib.pyplot as plt
from matplotlib.colors import ListedColormap
import numpy as np
from sklearn.tree import export_graphviz
import pydotplus

#1.加载数据集
wdata = load_wine()
# print(wdata)

#2.拆分数据集
x = wdata.data[:,:2]
y = wdata.target
x_train, x_test, y_train, y_test = train_test_split(x, y, test_size=0.2, random_state=20);

#3.创建模型
dtc = DecisionTreeClassifier(random_state=20, max_depth=4)

#4.获取在训练集的模型
dtc.fit(x_train, y_train)

#5.预测结果
dtc_predict = dtc.predict(x_test)

#6.模型评测
result = accuracy_score(y_test, dtc_predict)
# print("准确率:{}".format(result))

# 散点图表示决策树的分类效果
# 设置背景颜色
bk_color = ListedColormap(['#FFBBBB', '#BBFFBB', '#BBBBFF'])
# 设置散点颜色
point_color = ListedColormap(['#FF0000', '#00FF00', '#0000FF'])
# 设置坐标轴
x1_min, x1_max = x_train[:,0].min()-1, x_train[:,0].max()+1
x2_min, x2_max = x_train[:,1].min()-1, x_train[:,1].max()+1
xx, yy = np.meshgrid(np.arange(x1_min, x1_max, 0.2), np.arange(x2_min, x2_max, 0.2))
z = dtc.predict(np.c_[xx.ravel(), yy.ravel()])
# print(xx.shape)
# print(z.shape)
z = z.reshape(xx.shape)
# print(z)

# 创建图片
plt.figure()
plt.pcolormesh(xx, yy, z, cmap=bk_color)
plt.scatter(x[:,0], x[:,1], c=y, cmap=point_color, edgecolors='black')
# 绘制刻度
plt.xlim(xx.min(), xx.max())
plt.ylim(yy.min(), yy.max())
# 设置标题
plt.title("DecisionTreeClassifier")
# 展示图表
plt.show()

# 可视化决策树生成过程
export_graphviz(dtc, out_file='dt_wine.dot', class_names=wdata.target_names, feature_names=wdata.feature_names[:2], filled=True)
graph = pydotplus.graph_from_dot_file('dt_wine.dot')
graph.write_png('dt_wine.png')
如果出现错误信息“GraphViz’s executables not found”,请参照这篇博客进行解决 GraphViz’s executables not found 解决方案
