卷积的理解
最近大火人工智能,深度学习,各种提到卷积神经网络。不搞懂卷积,好像学习不下去了。
于是就去看各种文章,以下是三篇解释的比较不错的,附上链接。
我对卷积的理解
最容易理解的对卷积(convolution)的解释
理解深度学习中的卷积
这里做一下总结吧。
1. 一维卷积
离散的卷积公式:
g(n)=∑+∞i=−∞f(i)h(n−i)g(n)=∑i=−∞+∞f(i)h(n−i)
例子:
就假设h(x)h(x)是某种药的药效,第一天100%,第二天80%,第三天60%,第x天……酱紫。
f(x)f(x)是小明同学(小明好惨..)第x天吃的药量。
g(x)g(x)是第x天,小明体内的药效。
则
g(1)=f(0)g(1)+f(1)g(0)g(1)=f(0)g(1)+f(1)g(0)
g(2)=f(0)g(2)+f(1)g(1)+f(2)g(0)g(2)=f(0)g(2)+f(1)g(1)+f(2)g(0)
g(3)=f(0)g(3)+f(1)g(2)+f(2)g(1)+f(3)g(0)g(3)=f(0)g(3)+f(1)g(2)+f(2)g(1)+f(3)g(0)
……
符合上面的公式。其实,h(n−i)h(n−i)可以认为是h(i)h(i)先翻转h(−i)h(−i), 再右移nn得到的。
s所以,卷积的过程,可以认为是:
(反转),移动,乘积,求和**
2. 二维卷积
在计算机领域,咱还是比较关心离散的公式:
f[x,y]∗g[x,y]=∑∞n1=−∞∑∞n2=−∞f[n1,n2]⋅g[x−n1,y−n2]f[x,y]∗g[x,y]=∑n1=−∞∞∑n2=−∞∞f[n1,n2]⋅g[x−n1,y−n2]
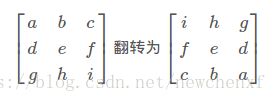
二维卷积就是一维卷积的扩展,原理差不多。核心还是(反转),移动,乘积,求和。这里二维的反转就是将卷积核沿反对角线翻转。比如 
s直接上个python代码,最为直观:
#参考代码:http://machinelearninguru.com/computer_vision/basics/convolution/image_convolution_1.html
#skimage没安装的话,可以执行:pip install scikit-image

from skimage import io, color
import matplotlib.pyplot as plt
import numpy as np
from skimage import exposure
import pylab

def convolve2d(image, kernel):
    # This function which takes an image and a kernel
    # and returns the convolution of them
    # Args:
    #   image: a numpy array of size [image_height, image_width].
    #   kernel: a numpy array of size [kernel_height, kernel_width].
    # Returns:
    #   a numpy array of size [image_height, image_width] (convolution output).
    print('kernel = ')
    print(kernel)
    kernel = np.flipud(np.fliplr(kernel))    # Flip the kernel
    print('after flip, now kernel = ')
    print(kernel)


    output = np.zeros_like(image)            # convolution output
    # Add zero padding to the input image
    #左右上下要扩充一个像素, 否则边沿的像素,如(0,0)点,没法计算
    image_padded = np.zeros((image.shape[0] + 2, image.shape[1] + 2))
    image_padded[1:-1, 1:-1] = image
    for x in range(image.shape[1]):     # Loop over every pixel of the image
        for y in range(image.shape[0]):
            # element-wise multiplication of the kernel and the image
            output[y,x]=(kernel*image_padded[y:y+3,x:x+3]).sum()
    return output

img = io.imread('image.png')    # Load the image
img = color.rgb2gray(img)       # Convert the image to grayscale (1 channel)

# Adjust the contrast of the image by applying Histogram Equalization
image_equalized = exposure.equalize_adapthist(img/np.max(np.abs(img)), clip_limit=0.03)
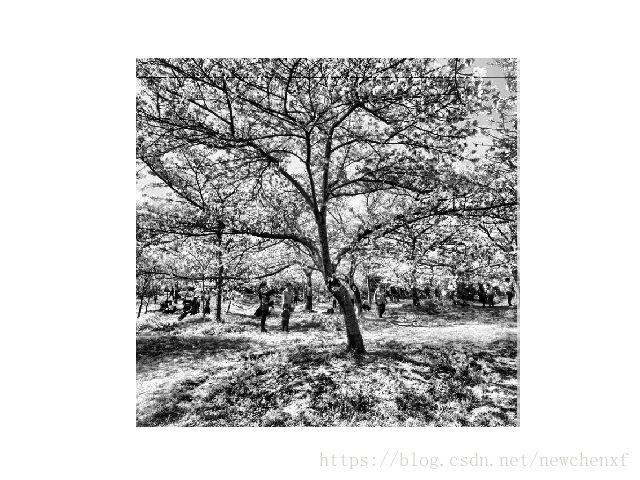
plt.imshow(image_equalized, cmap=plt.cm.gray)
plt.axis('off')
plt.show()

# Convolve the sharpen kernel and the image
kernel = np.array([[0,-1,0],[-1,5,-1],[0,-1,0]])
image_sharpen = convolve2d(img,kernel)
print('\n First 5 columns and rows of the image_sharpen matrix: \n', image_sharpen[:5,:5]*255)

# Plot the filtered image
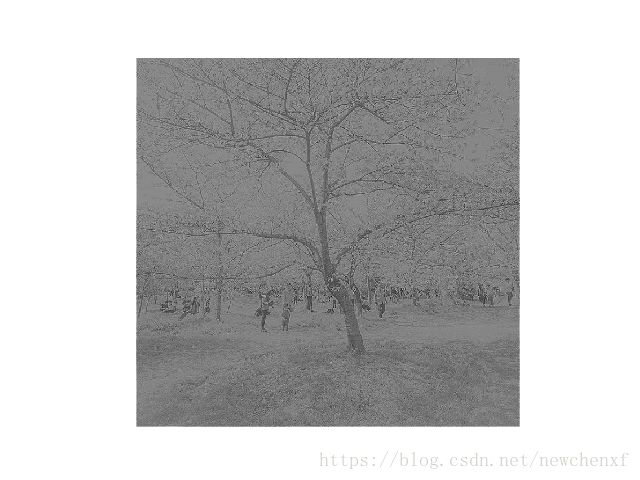
plt.imshow(image_sharpen, cmap=plt.cm.gray)
plt.axis('off')
plt.show()
其中,以下代码就是将卷积核矩阵翻转:
kernel = np.flipud(np.fliplr(kernel))以下代码,就是将卷积核与图像的某块3x3矩阵 乘积+求和:
output[y,x]=(kernel*image_padded[y:y+3,x:x+3]).sum()
