mtcnn-wideFace
数据下载
wider_face数据集可以到官网进行下载

不过国内速度较慢,可以从分享的百度链接进行下载
https://pan.baidu.com/s/1CV_EWMVSpwY01QUUcZyhlw, 密码:
ums2
其中的Face annotation即是标记数据。
目录整理
解压以后,文件的结构为
WIDER_FACE
   - WIDERFACE_TEST
      - images
         - 0-XX
         - 1-XX
         - ...
   - ...
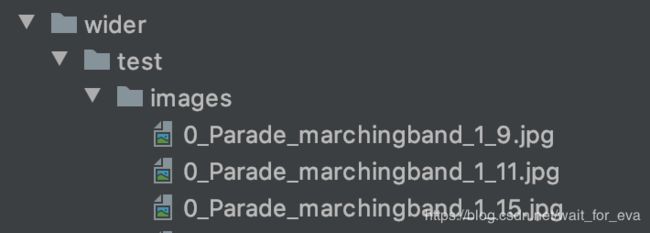
为了简洁,统一命名为
wider
    - test
        - images
            - 0-XX
            - ...
    - train
        - ...
    - valid
        - ...
同时,为了更好的进行数据处理,剔除掉images下的子目录,直接进行图片管理,运行脚本如下
for item in `ls`;do
    mv ./$item/* ./
    rm -rf $item
done
标记格式
原来的标记格式为
File name
Number of bounding box
x1, y1, w, h, blur, expression, illumination, invalid, occlusion, pose
具体数据如下
0--Parade/0_Parade_marchingband_1_849.jpg
1
449 330 122 149 0 0 0 0 0 0
0--Parade/0_Parade_Parade_0_904.jpg
1
361 98 263 339 0 0 0 0 0 0
0--Parade/0_Parade_marchingband_1_799.jpg
21
78 221 7 8 2 0 0 0 0 0
78 238 14 17 2 0 0 0 0 0
113 212 11 15 2 0 0 0 0 0
134 260 15 15 2 0 0 0 0 0
163 250 14 17 2 0 0 0 0 0
201 218 10 12 2 0 0 0 0 0
182 266 15 17 2 0 0 0 0 0
245 279 18 15 2 0 0 0 0 0
304 265 16 17 2 0 0 0 2 1
328 295 16 20 2 0 0 0 0 0
389 281 17 19 2 0 0 0 2 0
406 293 21 21 2 0 1 0 0 0
436 290 22 17 2 0 0 0 0 0
522 328 21 18 2 0 1 0 0 0
643 320 23 22 2 0 0 0 0 0
653 224 17 25 2 0 0 0 0 0
793 337 23 30 2 0 0 0 0 0
535 311 16 17 2 0 0 0 1 0
29 220 11 15 2 0 0 0 0 0
3 232 11 15 2 0 0 0 2 0
20 215 12 16 2 0 0 0 2 0
其中我们需要的只是框图信息,因此将文件格式重新为我们需要的数据,按照coco的方式,去掉分类
x y w h
...
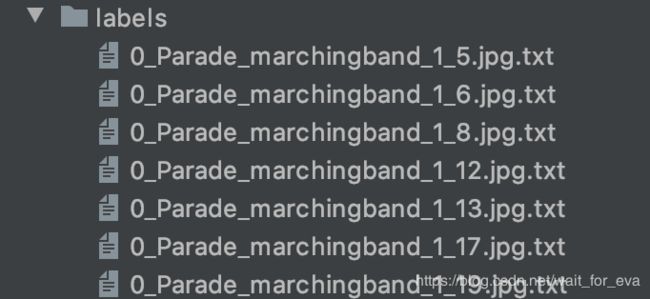
同样的,目录采取这种结构
train
    - images
        - 0-xx.png
    - labels
        - 0-xx.txt
脚本如下
import os
from PIL import Image
import numpy as np
from os.path import basename, join


def parse(path, image_dir=None, label_dir="."):
    with open(path, 'r') as f:
        lines = [line.strip() for line in f.readlines()]
    cursor = 0
    total = len(lines)
    os.system(f'mkdir -p {label_dir}')
    while cursor < total:
        image_name = basename(lines[cursor])
        image_path = join(image_dir, image_name)
        label_path = f'{join(label_dir, image_name)}.txt'
        height, width, _ = np.array(Image.open(image_path)).shape
        with open(label_path, 'w') as f:
            count = int(lines[cursor + 1])
            if count == 0:
                cursor += 3
            else:
                anchors = lines[cursor + 2:cursor + 2 + count]
                for anchor in anchors:
                    f.write(parse_axis(anchor, width, height) + '\n')
                cursor = cursor + 2 + count


def parse_axis(line, width, height):
    x, y, w, h = [float(v) for v in line.strip().split(' ')[:4]]
    x = (x + w / 2) / width
    y = (y + h / 2) / height
    w = w / width
    h = h / height
    return ' '.join(map(str, [x, y, w, h]))


parse('labels.txt', 'images', 'labels')
数据内容
0.37060546875 0.5393996247654784 0.0087890625 0.020637898686679174
0.34814453125 0.5075046904315197 0.0087890625 0.024390243902439025
0.287109375 0.650093808630394 0.01171875 0.024390243902439025
不同文件夹的数据集尺寸都是固定的,可以直接传入,替换掉读取操作,加速转换。
不过如果存在不一致的尺寸,归一数据就会不准确。
归一化数据
为了检测归一化之后的数据准确性,绘图进行展示
from PIL import Image, ImageDraw
from matplotlib import pyplot as plt
import numpy  as np

label_path = '../wider/train/labels/0_Parade_marchingband_1_31.jpg.txt'


def draw_label(path: str):
    labels = np.loadtxt(path).tolist()
    image_path = path.replace('labels', 'images').rstrip('.txt')
    image = Image.open(image_path)
    width, height = image.size
    draw = draw_rectangle(image, width, height)
    for item in labels:
        draw(item)
    plt.imshow(image)
    plt.show()


def draw_rectangle(img, width, height, outline=(255, 0, 0), line_width=3):
    draw = ImageDraw.Draw(img)

    def _draw_rectangle(pos):
        x, y, w, h = pos
        x *= width
        y *= height
        w *= width
        h *= height
        x -= w / 2
        y -= h / 2
        w += x
        h += y
        draw.rectangle((x, y, w, h), outline=outline, width=line_width)

    return _draw_rectangle


draw_label(label_path)
结果
而且统一的目录结构,后续更好排布。


