Introduction to UIKit Dynamics
iOS 7 is a real conundrum. It juxtaposes its smooth, platonic interface elements with the physical realism of making those elements respond realistically to user interaction. We already covered UIMotionEffects, which adjust the appearance of an interface to the way the user is holding a device. Today, we’re going to cover realistic animations using UIKit Dynamics.
In order to create truly realistic animations on iOS 6 and prior, it was necessary to have a deep understanding of math, physics, and the Core Animation library. Not anymore.
UIKit Dynamics are a new way to animate interfaces with realistic effects. They’re realistic because they’re powered by an underlying two-dimensional physics engine, but UIKit Dynamics does not require knowledge of the physics implementation to create stunning animations.
This article is going to take you through the fundamentals you need to be aware of when using UIKit Dynamics before moving on to a fun demonstration of their power. This is not meant to be a comprehensive guide, but rather an overview to get you ready to work with UIKit Dynamics in your own code. The possibilities are endless and we just can’t cover everything here.
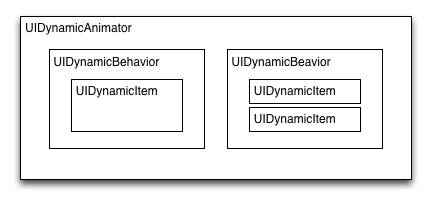
The core component of UIKit Dynamics is the UIDynamicAnimator. This object wraps an underlying physics engine. By itself, a dynamic animator doesn’t do anything. You’ll need to add behaviours to it. These behaviours interact within the physics engine.
A UIKit Dynamics behaviour is the core unit of composition for a UIKit Dynamics animation. These behaviours define how their UIDynamicItems interact with the physics simulation. But what’s a UIDynamicItem?
UIDynamicItem is a protocol that defines a centre, a bounds, and a transform (only two-dimensional transforms are used). UIView conforms to this protocol, and is the most common use of UIDynamicBehaviour. You can also use UICollectionViewLayoutAttributes with UIDynamicBehaviours, but we’re not going to cover that today.
The process to run a UIKit Dynamics animation is:
- Create a UIDynamicAnimator and store it in a strong property (you are responsible for retaining it).
- Create one or more UIDynamicBehaviors. Each behaviour should have one or more items, typically a view to animate.
- Make sure that the initial state of the items used in the UIDynamicBehaviors is a valid state within the UIDynamicAnimator simulation.
- ???
- Profit!
Seriously, it’s that easy. Set up your animator, add your behaviours, sit back, and enjoy some sweet, sweet physics. It’s so easy because UIKit Dynamics provide a declarative interface. It abstracts having to worry about the underlying physics and lets you worry only about the intentions of the animation.
Let’s look at a simple example. We want to animate a view “dropping” due to the force of gravity, then colliding with the bottom of its superview.
That’s pretty cool! Let’s see the code.
That’s it! You can see the code is very straightforward. We create our dynamic animator, then create our gravity and collision behaviours, and that’s it! The dynamic animator will take over and simulate the fall.
What if we want to make our red square “bouncier”? Well, UIKit Dynamics provides a way to access the low-level physics properties of our dynamic items.
As you can see, after the red square hits the bottom of its superview, it bounces several times more than before. That’s because we’ve modified its elasticity within the physics simulator. All we need to add to the previous code is the following:
Dynamic Behaviours are also composable. You can subclass UIDynamicBehavior yourself and add your own behaviours. This way, you can abstract your dynamic behaviour combinations. Let’s take a look at an example to see what I mean.
Consider the above extra-bouncy square. It uses three dynamic behaviours. Let’s combine those into a single UIDynamicBehavior subclass. The initializer looks like the following:
Now we can re-use this behaviour wherever we want. Our previous example’s code is now reduced to the following:
Nice! See how abstracting our behaviours leads to less code and a clear separation of concerns? The best part is that the underlying physics engine is just as fast, meaning there’s no overhead introduced by this abstraction.
Let’s take a look at another example. We’re going to recreate UIAlertView with our own transition animations, driven by UIKit Dynamics. The purpose of this demo is only to show off dynamics and not to make a robust UIAlertView replacement.
We’ll need two methods, a show and a dismiss. The show method takes the alert view, which is offscreen before show is called, and uses a UISnapBehavior to move it to the center of the screen.
| 123456789101112 |
|
We decrease the damping so the view has a little less spring.
For our dismiss method, we want to add gravity to our simulation and add some angular velocity to the alert view (to make it spin as it falls off the screen).
The code for this UIAlertView replacement is available on GitHub.
Let’s look at a more complex example. We’re going to recreate a common element in iOS apps: the sidebar menu. We’re going to have ours opened only with a swipe from the left edge of the screen (using the new UIScreenEdgePanGestureRecognizer in iOS 7), and closed only with a swipe from the right edge of the screen.
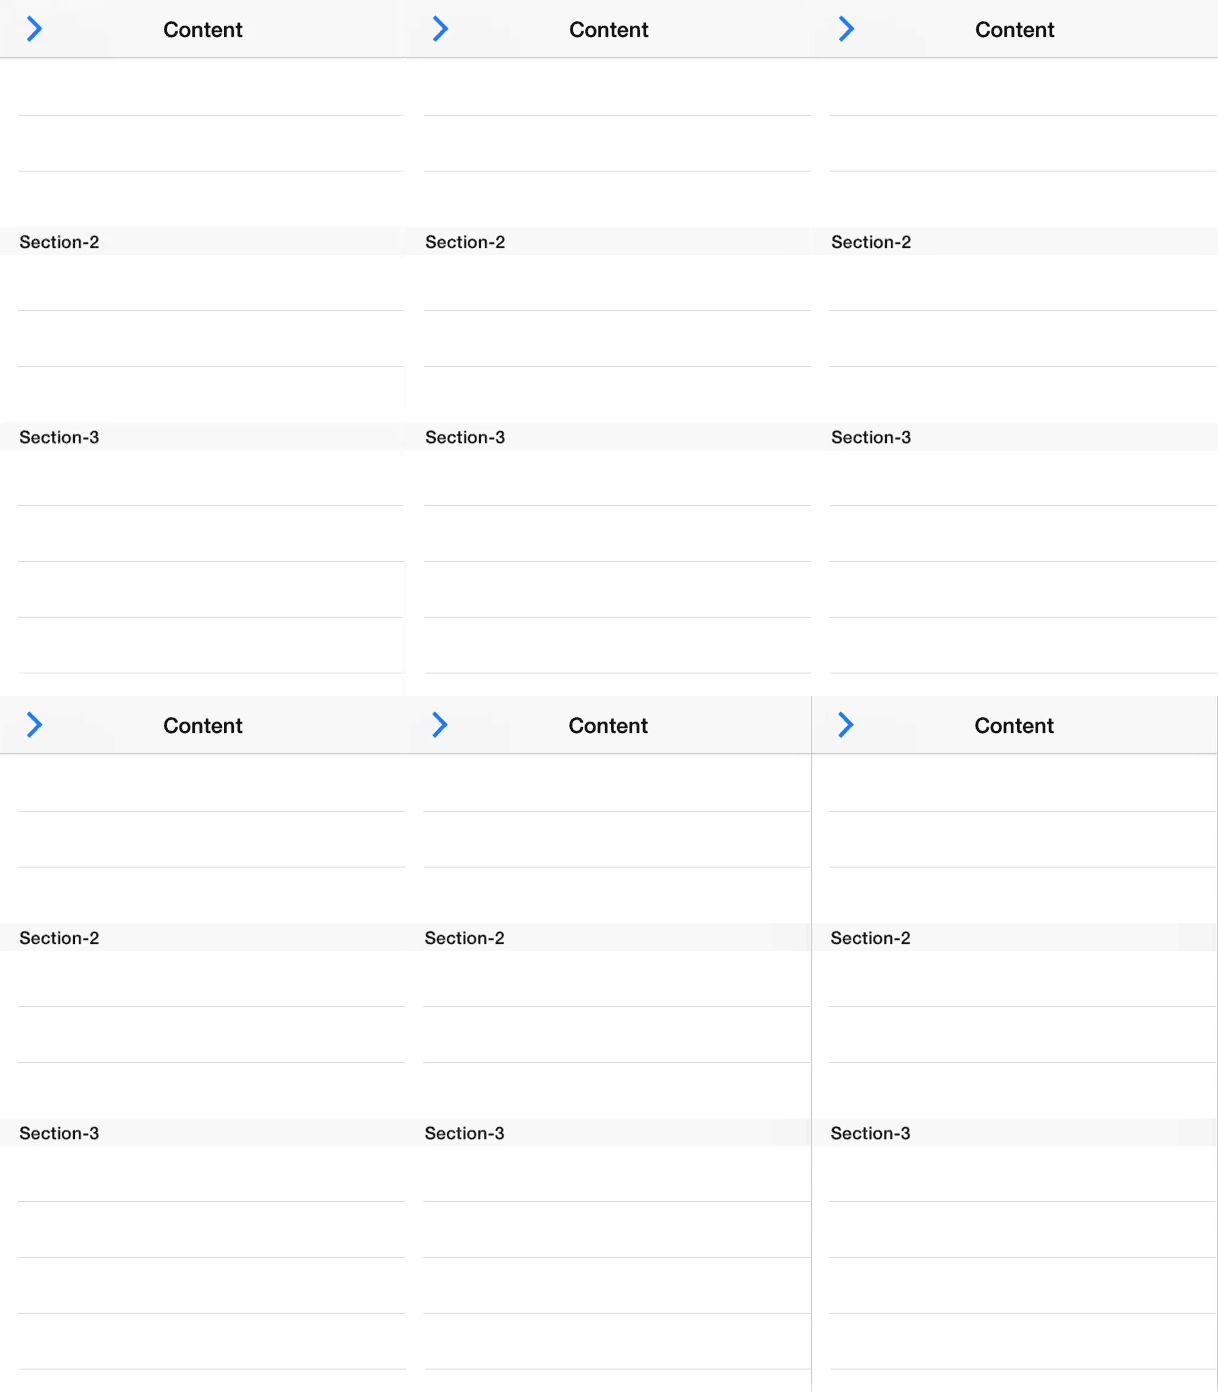
In order to coach the user that they need to drag from the edge of the screen, we’ll use a button that, when tapped, applies a momentary force and causes the content view to bounce slightly.
This is achieved easily enough. We’ll set up our dynamic animator and behaviours in viewDidAppear: (so that we can trust the view geometry, which isn’t always accurate in viewDidLoad).
Notice that the pushBehavior has no force applied to it. We’ll only apply force when that button is pressed.
That will set the force vector for the pushBehavior and activate it (it deactivates itself after being applied).
And that’s it. Imagine how much code that would have involved using CAKeyframeAnimations or UIView animations. UIKit Dynamics has made it easy to make realistic animations.
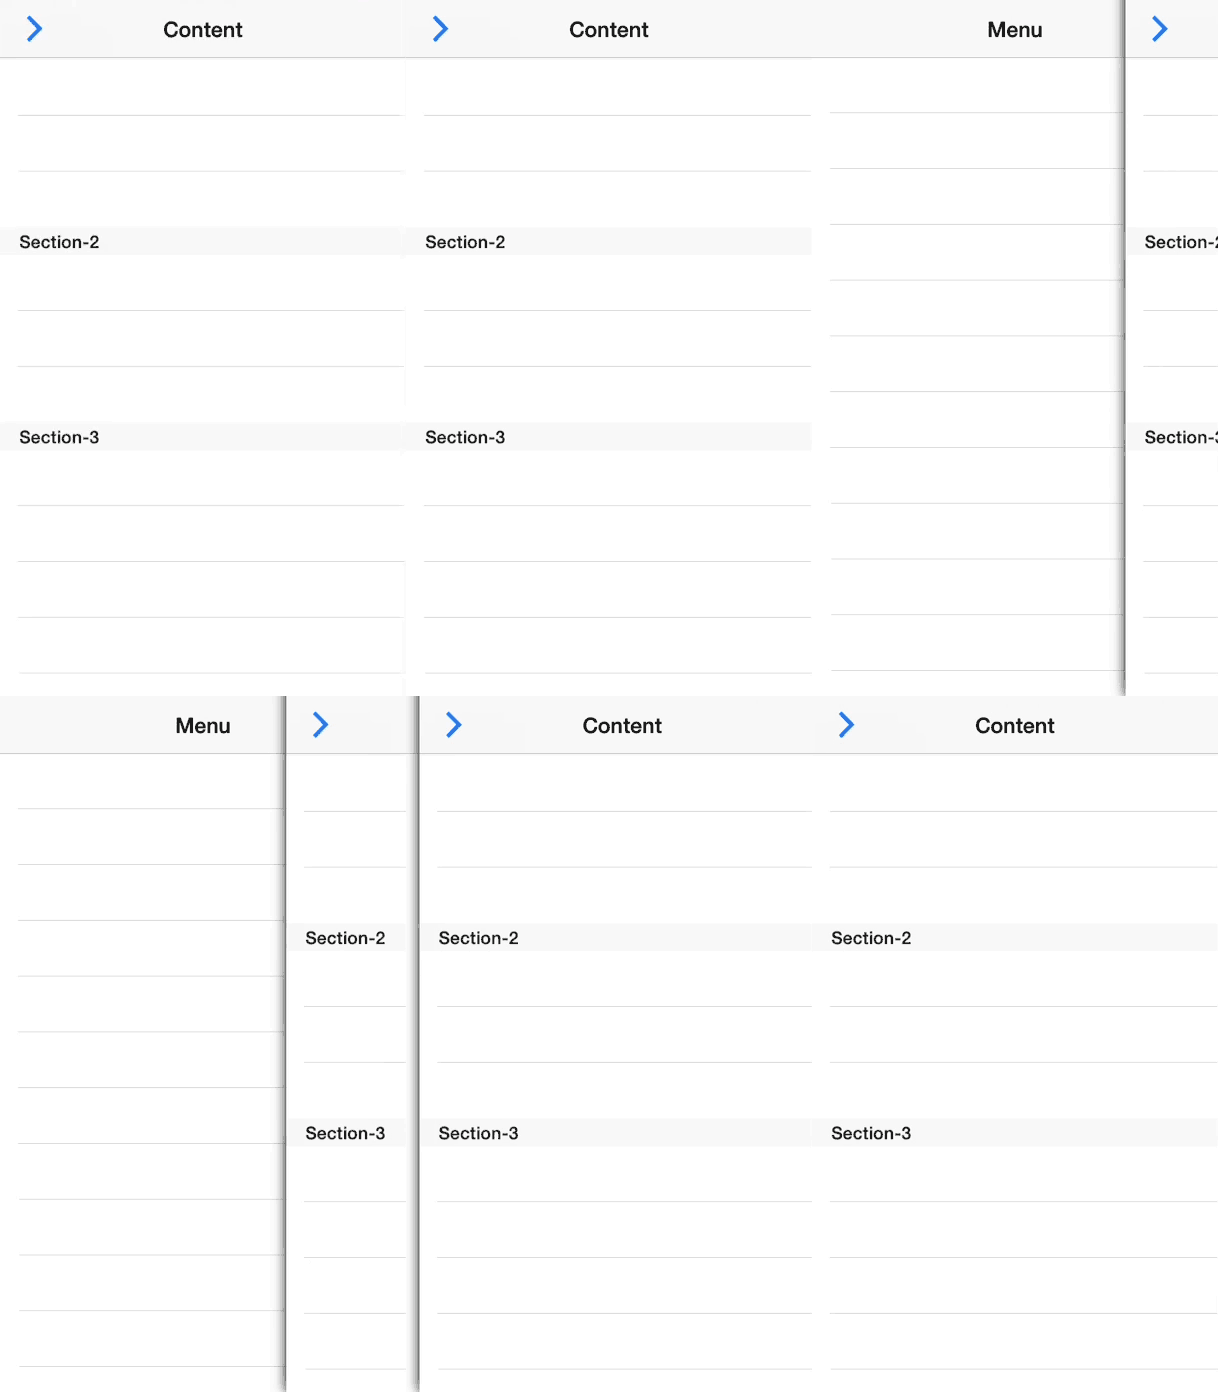
Now for actually opening the menu. If you recall, we created our collision boundaries to have a right edge inset of -280 points (meaning our contentView will never pass that boundary). All we need to do to open the menu is reverse the x-component of the gravity vector. This will force the content view to “fall” to the right edge of the boundary.
In order to accomplish this, we’ll use a UIScreenEdgePanGestureRecognizer. When our recognizer first begins, we’ll attach a UIAttachmentBehavior to our contentView. Whenever our recognizer changes, we’ll just update our attachment behaviour’s anchor point.
When our recognizer’s state is “ended”, we’ll check the velocity to decide which direction the user was last moving – to open the menu or close it. We’ll set our gravity’s direction accordingly and use that velocity to “push” our view in that direction.
Sweet! That’s really all there is to it. You can download the complete source for that example from GitHub.
This is a pretty common pattern when combining pan gesture recognizers with UIKit Dynamics. When the gesture begins, remove gravity or other conflicting forces and add an attachment behaviour. When it changes, update the attachment. When it ends, remove the attachment and re-add gravity.
One final note is that the physics engine that powers UIKit Dynamics expects sane values. That means don’t use CGFLOAT_MAX or CGFLOAT_MIN because they won’t work as you’d expect (I tried).
UIKit Dynamics are not meant to replace UIView animations or CAKeyFrameAnimations – they all solve specific problems and all have their place in your developer tool belt. UIKit Dynamics are also not meant to be used to write games – Apple’s recommendation is to use SpriteKit for that instead.
The interface interactions possible using UIKit Dynamics are just too innumerable to cover everything in one article. I would highly encourage you to take what we discussed today and try implementing some simple animations in your own apps.
Previous Posts in the iOS 7 series:
- Introduction to UIMotionEffect
- Adopting iOS 7 APIs
- Reproducing the iOS 7 Mail App’s Interface
- When to Drop iOS 6 Support
- How to Start Developing for iOS 7 Now
- Migrating to iOS 7


