Unity Shader 卡通渲染 (二):仿塞尔达荒野之息 Shader(高光、平滑)
上一篇传送门:
https://blog.csdn.net/qq_27534999/article/details/100661120
本篇会在上一篇的基础上,添加高光与平滑效果。
一、高光
塞尔达中的头发高光应该是用普通高光加上额外贴图控制的,这边先做普通的高光。
还是用老办法,视角方向和光照方向相加后归一化,之后与法线点乘:
fixed3 worldHalfDir = normalize(worldLightDir + worldViewDir); //高光计算用
...
fixed spec = dot(worldNormal, worldHalfDir);
fixed4 specular = _Specular * lerp(0,1,step(0, spec+_SpecularScale-1)) * step(0.001, _SpecularScale);
...
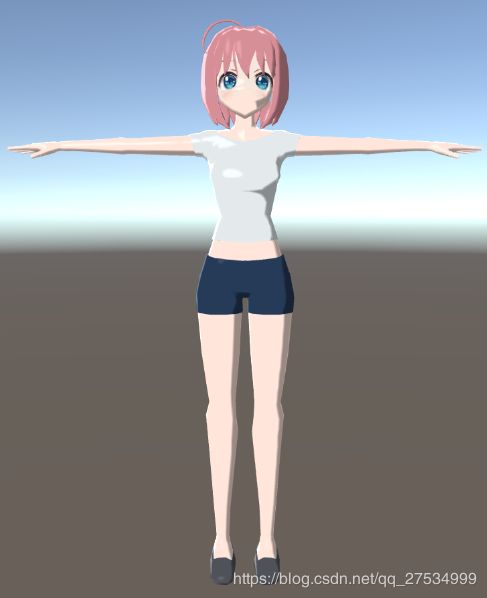
fixed4 rim = light * rimStep * 0.5 * diffStep * _RimColor;效果如下,脸部其实不应有高光的,但模型是一体的,没法分别设置参数。
建议把需要高光的模型单独拆出来,设置合适的 SpecularScale 值。(或者用下一篇讲的顶点色控制)

二、平滑
细心的你肯定会发现锯齿感严重,此时需要做一些平滑处理。(虽然塞尔达荒野之息貌似对锯齿不作处理……)
方法也很简单,就是使用 smoothstep 函数。
smoothstep函数具体细节可以看这里:https://blog.csdn.net/u010333737/article/details/82859246
fixed w = fwidth(spec)*2.0;模仿 Unity Shader 入门精要,计算一个 w值,然后将代码中部分 step 改为 smoothstep,用上 w值即可(也可用一个较小的值替代 w值,实际测试效果差别不大)。
fixed4 specular = _Specular * lerp(0,1,smoothstep(-w, w, spec+_SpecularScale-1)) * step(0.001, _SpecularScale);
...
fixed diffStep = smoothstep(-w+_ShadowThreshold, w+_ShadowThreshold, diffValue);
...
fixed rimStep = smoothstep(-w+_RimThreshold, w+_RimThreshold, rimValue);
将之前的 step 改为 smoothstep后,边缘会更加平滑、柔和:
三、成果
至此,完整 Shader 如下:
Shader "Custom/ToonShadingSimple_v2"
{
	Properties
	{
		[Header(Main)]
		_MainTex ("Texture", 2D) = "white" {}
		_Color ("Color", Color) = (1.0, 1.0, 1.0, 1.0)
		_RimColor ("RimColor", Color) = (1.0, 1.0, 1.0, 1.0)
		_ShadowThreshold ("ShadowThreshold", Range(-1.0, 1.0)) = 0.2
		_ShadowBrightness ("ShadowBrightness", Range(0.0, 1.0)) = 0.6
		_RimThreshold ("RimThreshold", Range(0.0, 1.0)) = 0.35
		_RimPower ("RimPower", Range(0.0, 16)) = 4.0
		_Specular ("Specular", Color) = (1, 1, 1, 1)
		_SpecularScale("Specular Scale", Range(0, 0.1)) = 0.02
	}
	SubShader
	{
		Tags { "RenderType"="Opaque" }
		LOD 100

		Pass
		{
			Cull Back
			Tags { "LightMode"="ForwardBase" }
			CGPROGRAM
			#pragma vertex vert
			#pragma fragment frag
			// make fog work
			#pragma multi_compile_fog

			#include "UnityCG.cginc"
			#include "Lighting.cginc"

			struct appdata
			{
				float4 vertex : POSITION;
				float2 uv : TEXCOORD0;
				float3 normal : NORMAL;

			};

			struct v2f
			{
				float2 uv : TEXCOORD0;
				float3 worldNormal : TEXCOORD1;
				float3 worldPos : TEXCOORD2;
				UNITY_FOG_COORDS(3)
				float4 vertex : SV_POSITION;
			};

			sampler2D _MainTex;
			float4 _MainTex_ST;
			fixed4 _Color;
			fixed4 _RimColor;
			fixed _ShadowThreshold;
			fixed _ShadowBrightness;
			fixed _RimThreshold;
			half _RimPower;
			fixed4 _Specular;
			fixed _SpecularScale;

			v2f vert (appdata v)
			{
				v2f o;
				o.vertex = UnityObjectToClipPos(v.vertex);
				o.uv = TRANSFORM_TEX(v.uv, _MainTex);
				o.worldNormal = mul(v.normal, (float3x3)unity_WorldToObject);
				o.worldPos = mul(unity_ObjectToWorld, v.vertex).xyz;
				UNITY_TRANSFER_FOG(o,o.vertex);
				return o;
			}

			fixed4 frag (v2f i) : SV_Target
			{
				fixed3 worldNormal = normalize(i.worldNormal); //法线 N
				fixed3 worldLightDir = normalize(UnityWorldSpaceLightDir(i.worldPos)); //光照方向 L
				fixed3 worldViewDir = normalize(UnityWorldSpaceViewDir(i.worldPos)); //视角方向 V
				fixed3 worldHalfDir = normalize(worldLightDir + worldViewDir); //高光计算用

				// sample the texture
				fixed4 col = tex2D(_MainTex, i.uv);
				fixed spec = dot(worldNormal, worldHalfDir);
				// w值也可用一个较小的值代替,效果差别不大
				fixed w = fwidth(spec)*2.0;
				fixed4 specular = _Specular * lerp(0,1,smoothstep(-w, w, spec+_SpecularScale-1)) * step(0.001, _SpecularScale);
				fixed diffValue = dot(worldNormal, worldLightDir);
				fixed diffStep = smoothstep(-w+_ShadowThreshold, w+_ShadowThreshold, diffValue);
				fixed4 light = _LightColor0 * 0.5 + 0.5;
				fixed4 diffuse = light * col * (diffStep + (1 - diffStep) * _ShadowBrightness) * _Color;

				// 模仿参考文章的方法,感觉效果不是太好
				// fixed rimValue = 1 - dot(worldNormal, worldViewDir);
				// fixed rimStep = step(_RimThreshold, rimValue * pow(dot(worldNormal,worldLightDir), _RimPower));

				fixed rimValue = pow(1 - dot(worldNormal, worldViewDir), _RimPower);
				fixed rimStep = smoothstep(-w+_RimThreshold, w+_RimThreshold, rimValue);

				fixed4 rim = light * rimStep * 0.5 * diffStep * _RimColor;
				fixed4 final = diffuse + rim + specular;

				// apply fog
				UNITY_APPLY_FOG(i.fogCoord, final);

				return  final;
			}
			ENDCG
		}
	}
}
谢谢观赏!~
下一篇传送门:
https://blog.csdn.net/qq_27534999/article/details/100985558
参考资料:
1、https://roystan.net/articles/toon-shader.html
2、《Unity Shader 入门精要》
3、https://blog.csdn.net/u010333737/article/details/82859246